License 配置 (EMQX 企业版)
任务目标
- 如何配置 EMQX 企业版 License。
- 如何更新 EMQX 企业版 License。
配置 License
EMQX 企业版 License 可以在 EMQ 官网免费申请:申请 EMQX 企业版 License (opens new window)。
下面是 EMQX Custom Resource 的相关配置,你可以根据希望部署的 EMQX 的版本来选择对应的 APIVersion,具体的兼容性关系,请参考EMQX Operator 兼容性:
配置 EMQX 集群
EMQX 企业版在 EMQX Operator 里面对应的 CRD 为 EMQX ,EMQX CRD 支持使用 .spec.bootstrapConfig 配置 EMQX 集群 License ,bootstrapConfig 的配置可以参考文档:bootstrapConfig (opens new window)。这个字段只允许在创建 EMQX 集群的时候配置,不支持更新。注意: 在创建 EMQX 集群之后,如果需要更新 License,请通过 EMQX Dashboard 进行更新。
apiVersion: apps.emqx.io/v2alpha1
kind: EMQX
metadata:
  name: emqx-ee
spec:
  bootstrapConfig: |
    license {
      key = "..."
    }
  image: emqx/emqx-enterprise:5.0.0
1
2
3
4
5
6
7
8
9
10
bootstrapConfig 字段里面的 license.key 表示 Licesne 内容,此例中 License 内容被省略,请用户自行填充。
将上述内容保存为:emqx.yaml,并执行如下命令部署 EMQX 集群:
$ kubectl apply -f emqx.yaml

emqx.apps.emqx.io/emqx created
1
2
3
检查 EMQX 集群状态,请确保 STATUS 为 Running,这可能需要一些时间等待 EMQX 集群准备就绪。
$ kubectl get emqx emqx

NAME   IMAGE      STATUS    AGE
emqx   emqx:5.0   Running   10m
1
2
3
4
创建基于 License 文件的 Secret
Secret 是一种包含少量敏感信息例如密码、令牌或密钥的对象。关于 Secret 更加详尽的文档可以参考:Secret (opens new window)。EMQX Operator 支持使用 Secret 挂载 License 信息,因此在创建 EMQX 集群之前我们需要基于 License 创建好 Secret。
kubectl create secret generic test --from-file=emqx.lic=/path/to/license/file
1
/path/to/license/file 表示 EMQX 企业版 License 文件路径,可以是绝对路径,也可以是相对路径。更多使用 kubectl 创建 Secret 的细节可以参考文档:使用 kubectl 创建 secret (opens new window)。
输出类似于:
配置 EMQX 集群
EMQX 企业版在 EMQX Operator 里面对应的 CRD 为 EmqxEnterprise,EmqxEnterprise 支持通过 .spec.license.secretName 字段来配置 EMQX 企业版 License,secretName 字段的具体描述可以参考:secretName (opens new window)。
apiVersion: apps.emqx.io/v1beta4
kind: EmqxEnterprise
metadata:
  name: emqx-ee
spec:
  license:
    secretName: test
  template:
    spec:
      emqxContainer:
        image:
          repository: emqx/emqx-ee
          version: 4.4.14
1
2
3
4
5
6
7
8
9
10
11
12
13
secretName 表示上一步中创建的 Secret 名称。
将上述内容保存为:emqx.yaml,执行如下命令部署 EMQX 集群:
$ kubectl apply -f emqx.yaml

emqxenterprise.apps.emqx.io/emqx-ee created
1
2
3
检查 EMQX 集群状态,请确保 STATUS 为 Running,这可能需要一些时间等待 EMQX 集群准备就绪。
$ kubectl get emqxenterprises

NAME      STATUS   AGE
emqx-ee   Running  8m33s
1
2
3
4
检查 License 信息
kubectl exec -it emqx-ee-core-0 -c emqx -- emqx_ctl license info
1
输出类似于:
customer        : EMQ
email           : cloudnative@emqx.io
deployment      : deployment-6159820
max_connections : 10000
start_at        : 2023-02-16
expiry_at       : 2023-05-17
type            : trial
customer_type   : 0
expiry          : false
1
2
3
4
5
6
7
8
9
从输出结果可以看到我们申请的 License 的基本信息,包括申请人的信息和 License 支持最大连接数以及 License 过期时间等。
- 通过 EMQX Dashboard 更新 License
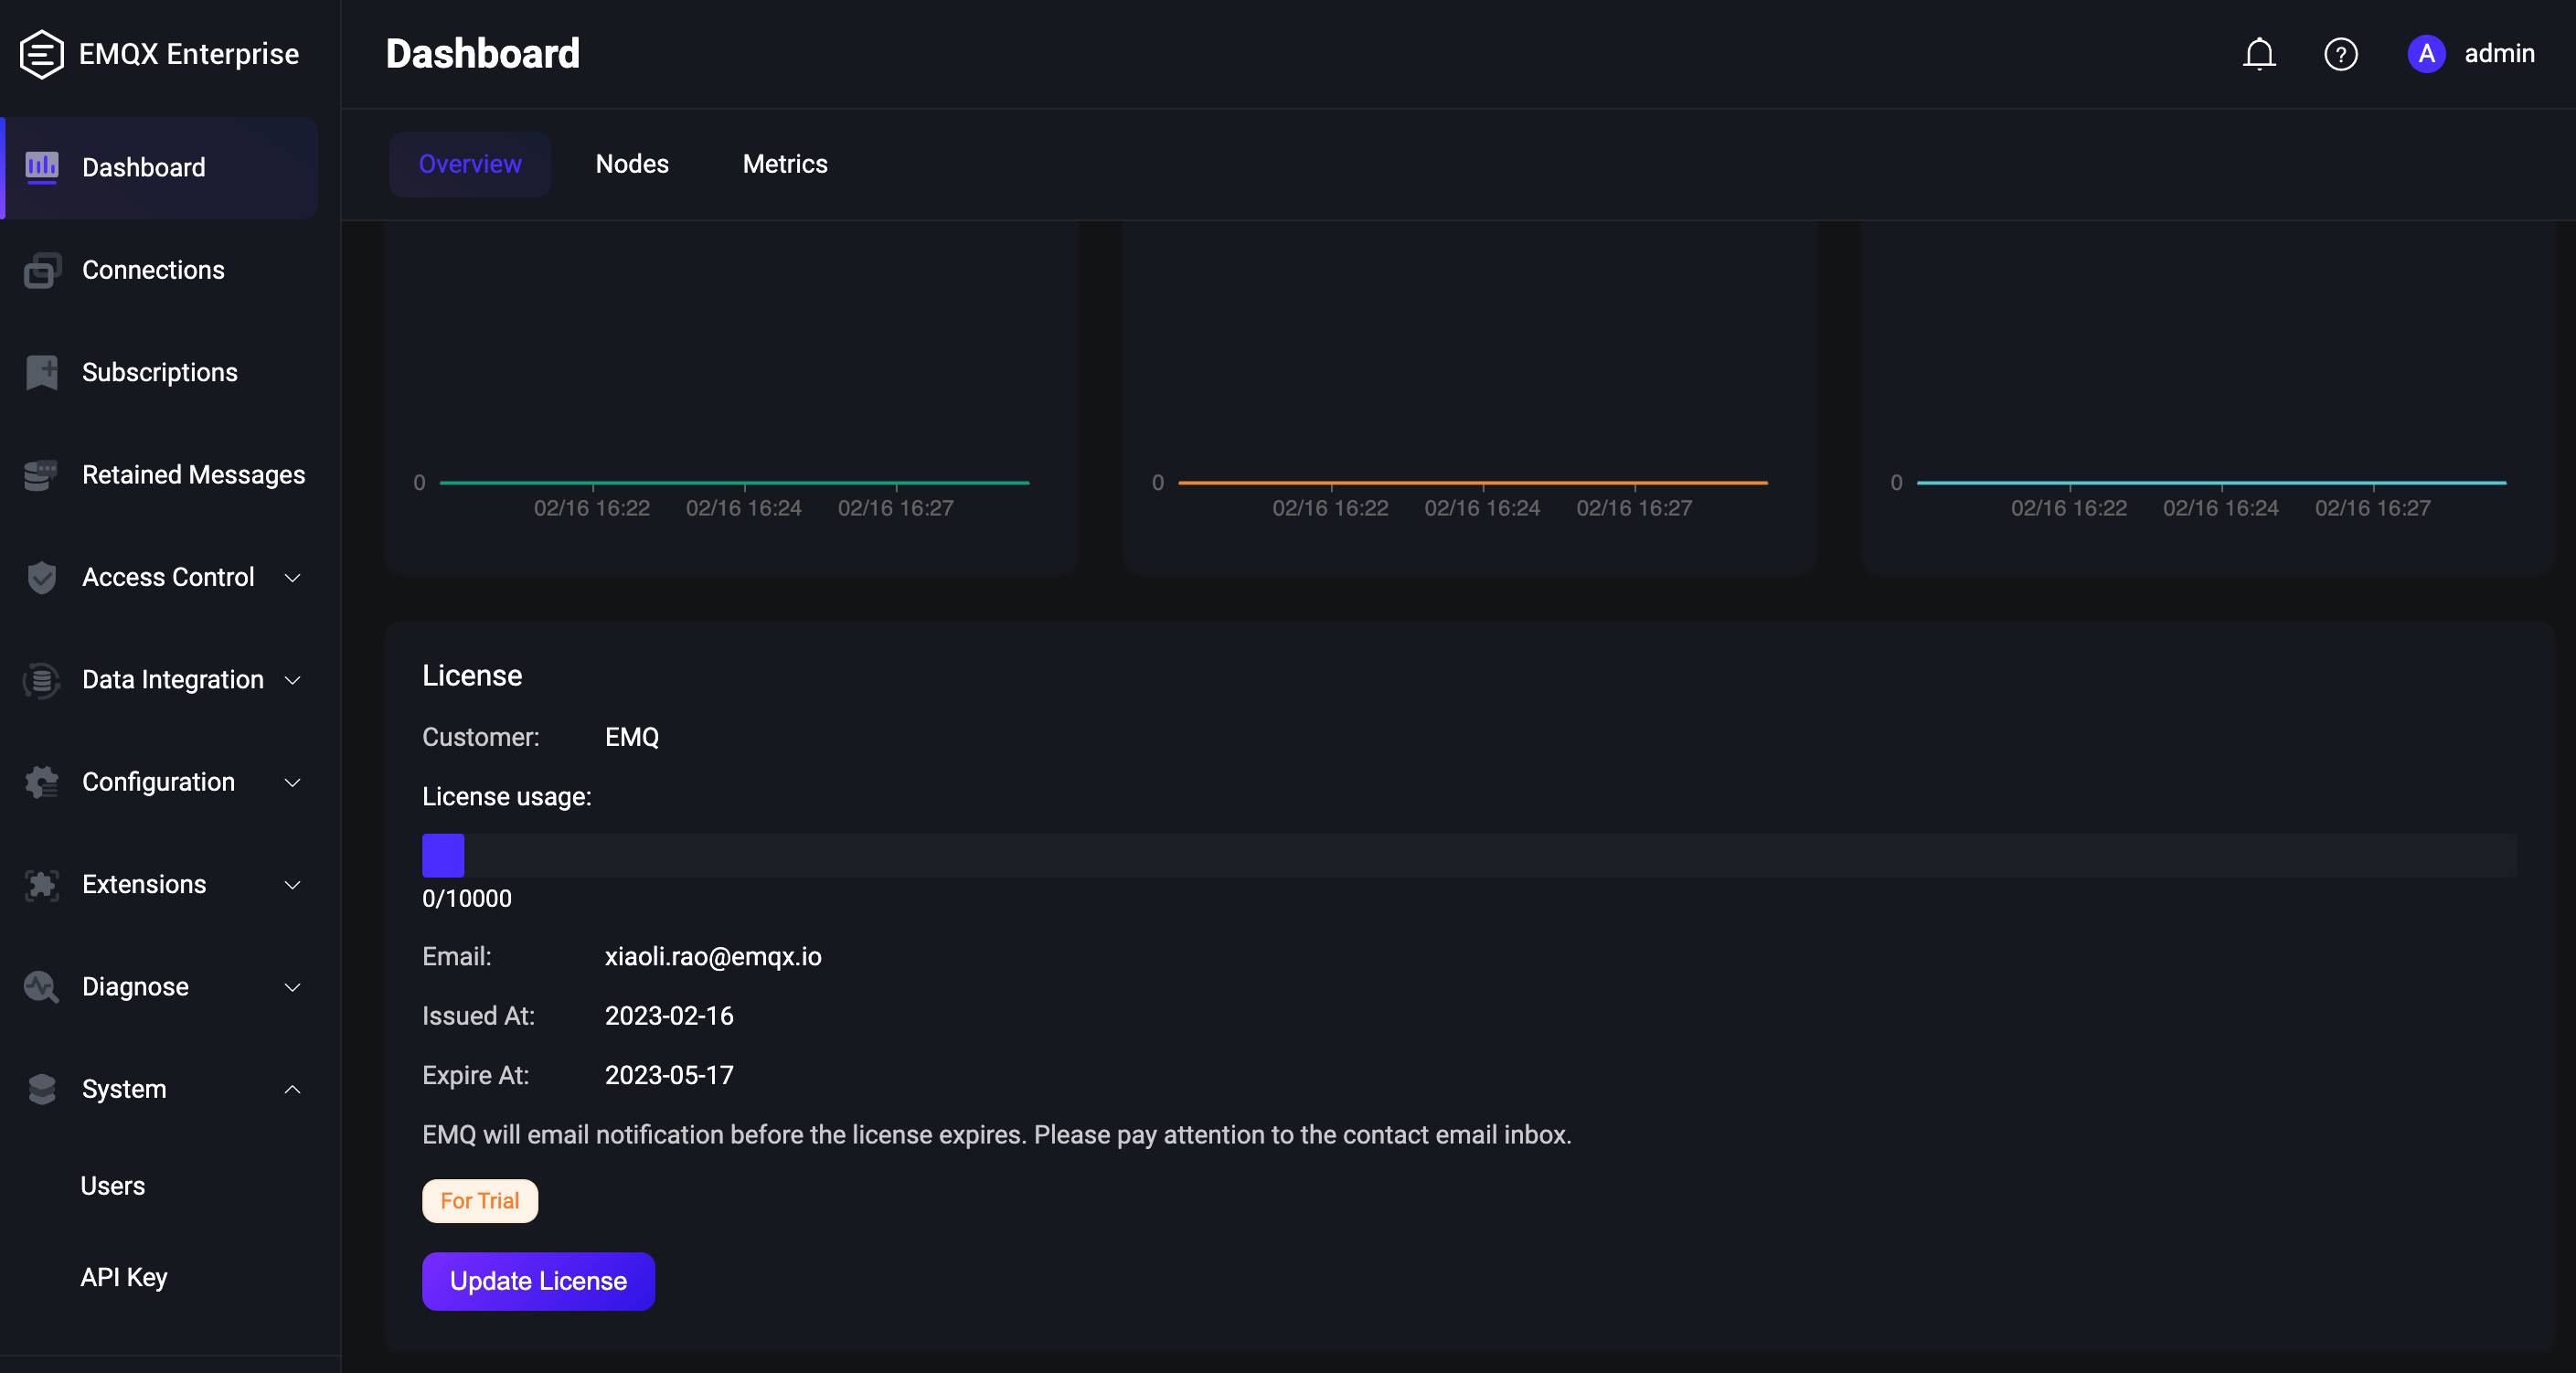
打开浏览器,输入 EMQX Pod 所在宿主机 IP 和 端口 32012 登录 EMQX 集群 Dashboard(Dashboard 默认用户名为:admin ,默认密码为:public),进入 Dashboard 点击 Overview 将页面下拉到底部可以看到集群当前的 License 信息,如下图所示:

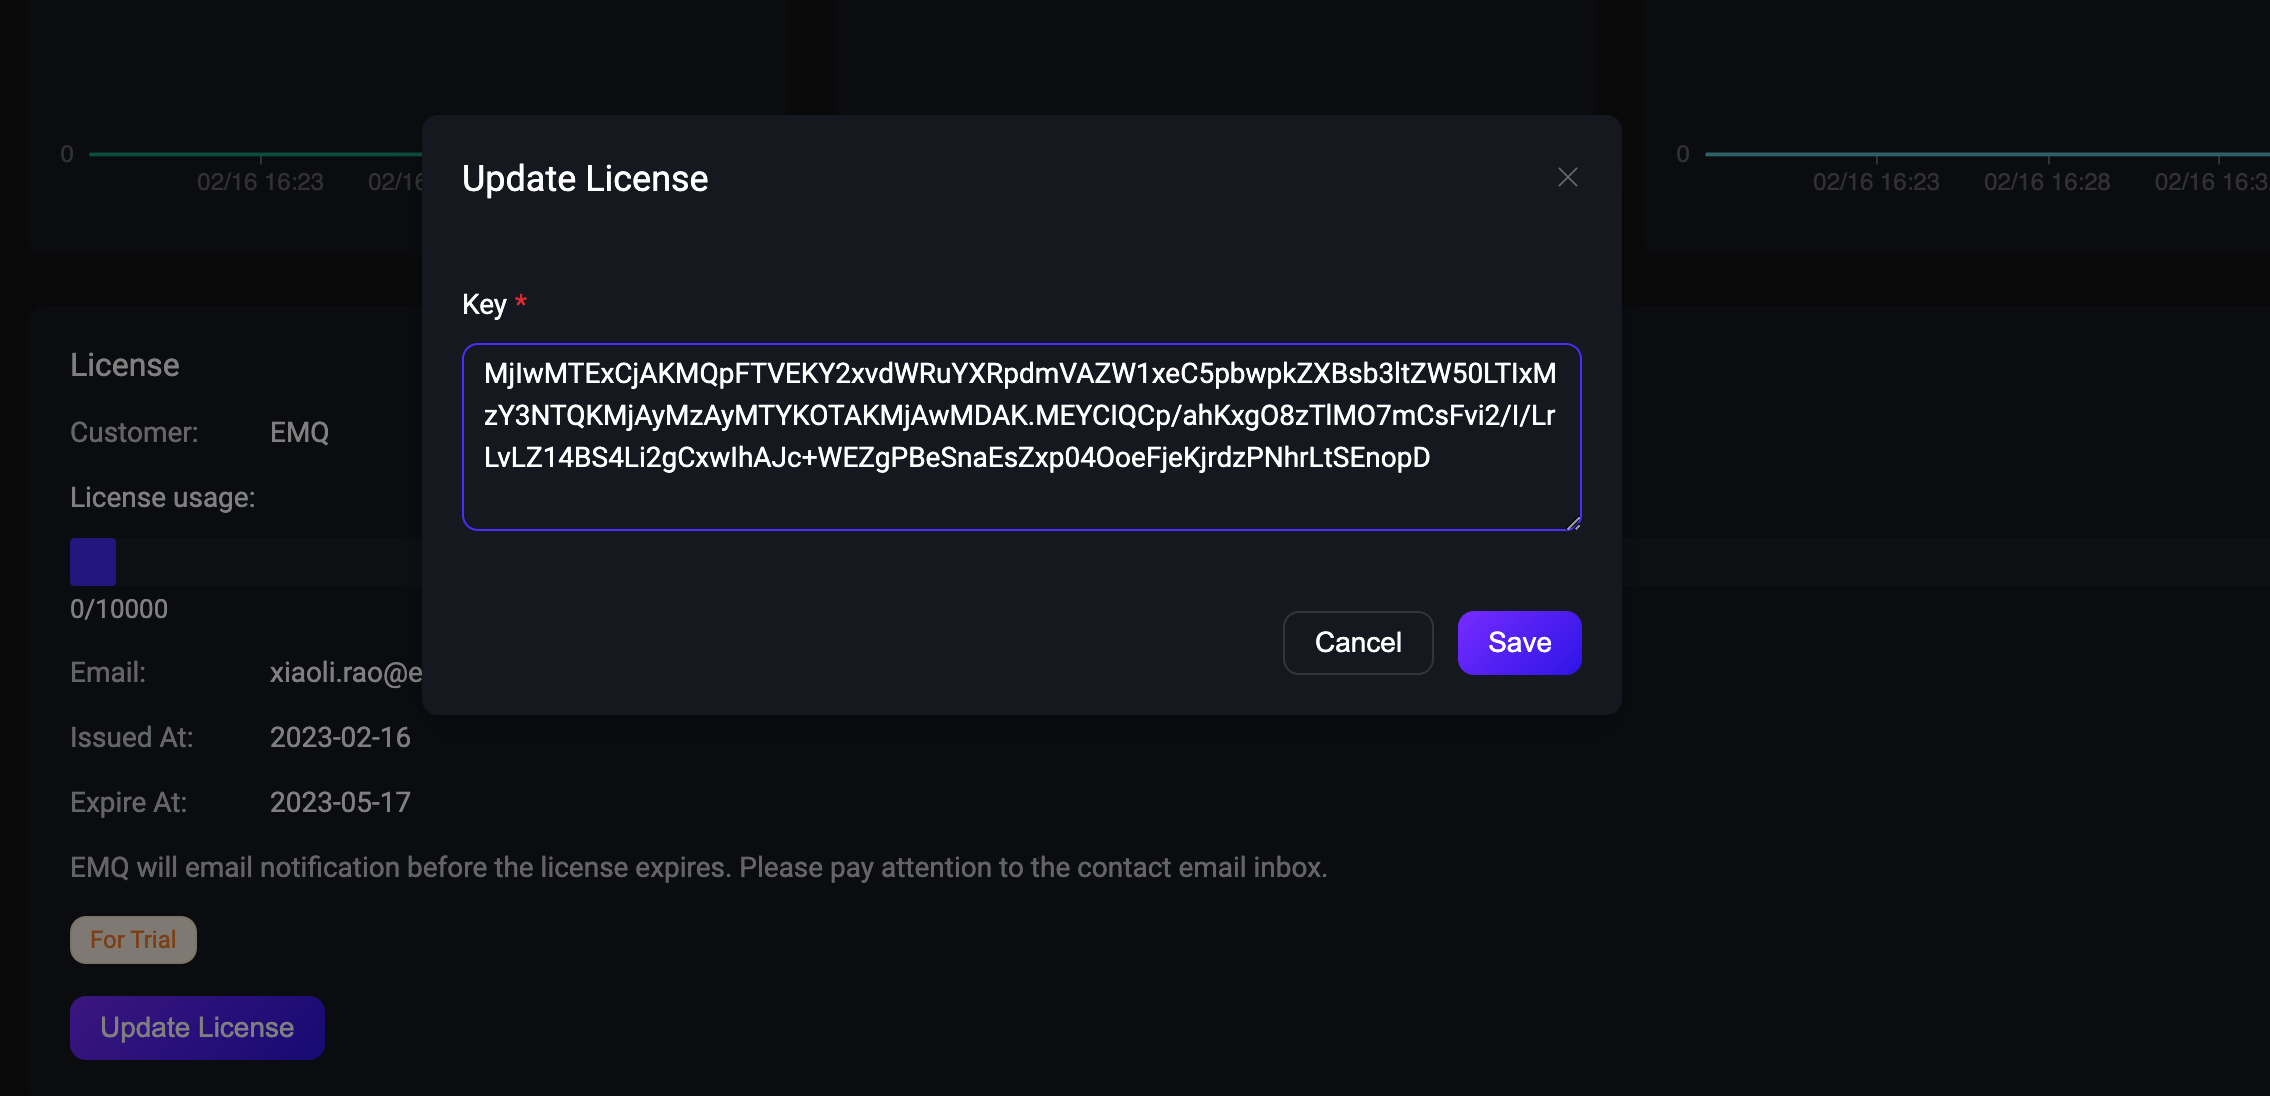
然后点击 Update License 按钮上传最新的 License Key 内容,如下图所示:

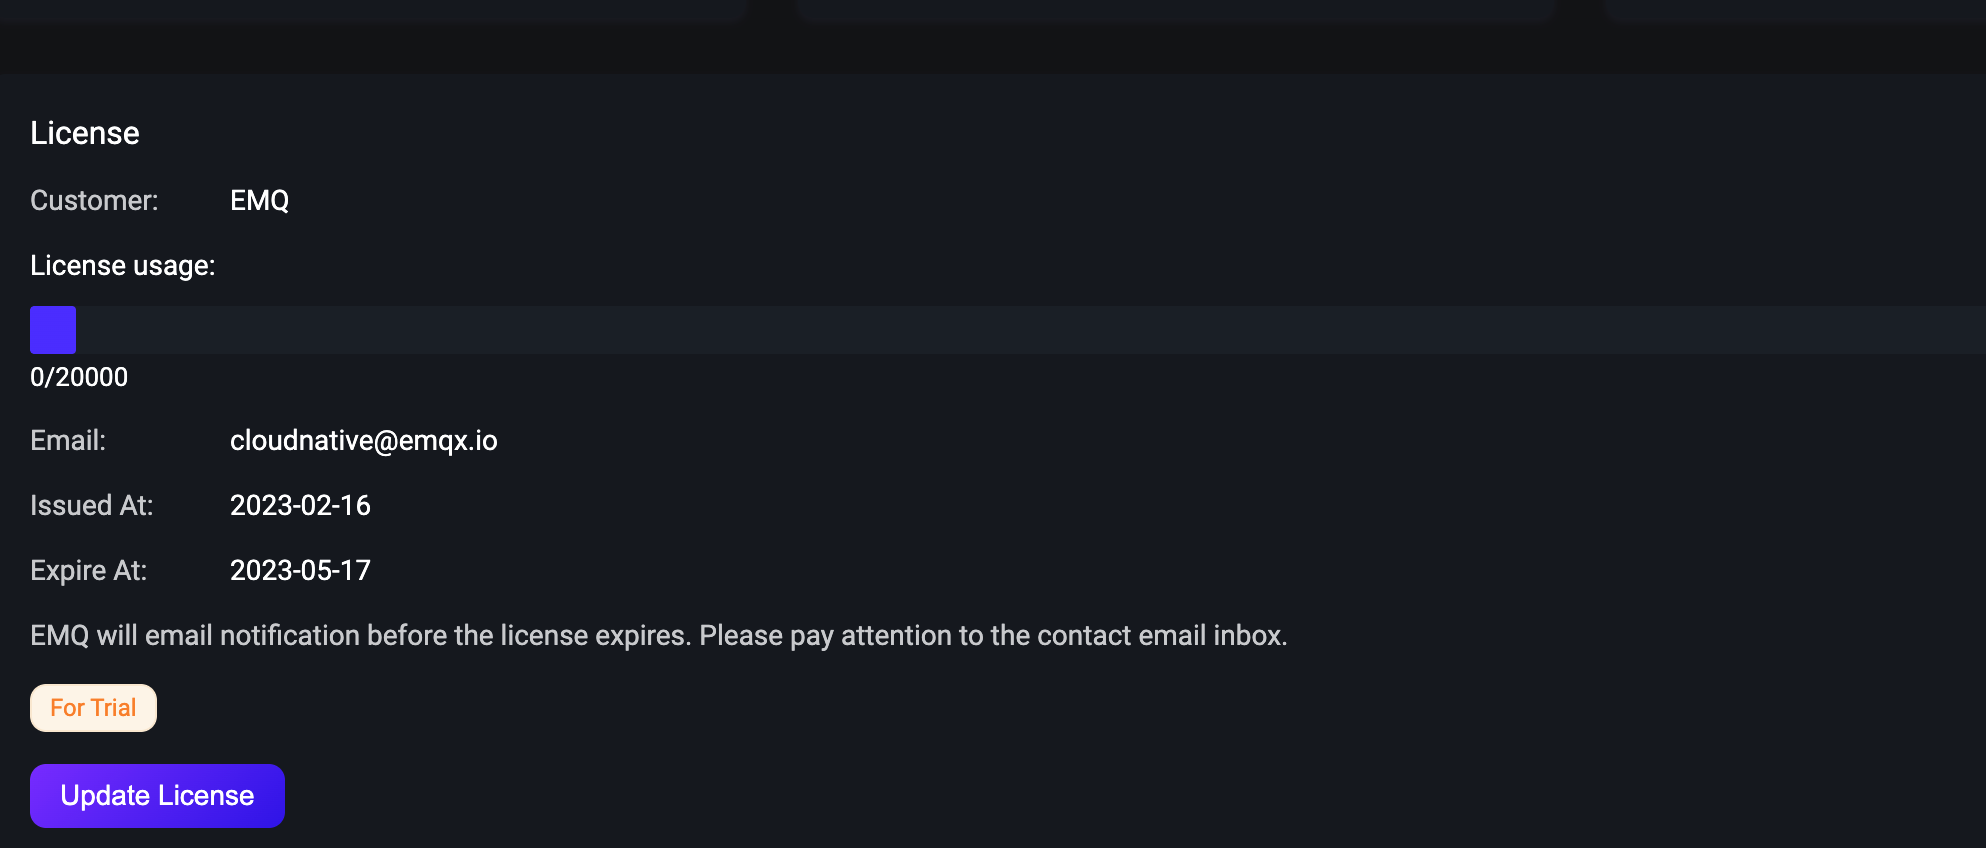
最后点击 Save 按钮保存更新,下图是更新后的 License 信息:

从上面的图中可以看出,License 的内容已经更新,则说明 License 更新成功。
- 更新 EMQX 企业版 License Secret
kubectl create secret generic test --from-file=emqx.lic=/path/to/license/file --dry-run -o yaml | kubectl apply -f -
1
输出类似于:
kubectl exec -it emqx-ee-0 -c emqx -- emqx_ctl license info
1
输出类似于:
customer                 : cloudnative
email                    : cloudnative@emqx.io
max_connections          : 100000
original_max_connections : 100000
issued_at                : 2022-11-21 02:49:35
expiry_at                : 2022-12-01 02:49:35
vendor                   : EMQ Technologies Co., Ltd.
version                  : 4.4.14
type                     : official
customer_type            : 2
expiry                   : false
1
2
3
4
5
6
7
8
9
10
11
若证书信息没有更新,可以等待一会,License 的更新会有些时延。从上面输出的结果可以看出,License 的内容已经更新,则说明 EMQX 企业版 License 更新成功。


