使用 Prometheus+Grafana 监控 EMQX 集群 任务目标 部署emqx-exporter并通过 Prometheus 和 Grafana 监控 EMQX 集群。
部署 Prometheus 和 Grafana Prometheus 部署文档可以参考:Prometheus(opens new window) Grafana 部署文档可以参考:Grafana(opens new window)
部署 EMQX 集群 下面是 EMQX Custom Resource 的相关配置,你可以根据希望部署的 EMQX 的版本来选择对应的 APIVersion,具体的兼容性关系,请参考EMQX Operator 兼容性 :
EMQX 支持通过 http 接口对外暴露指标,集群下所有统计指标数据可以参考文档:HTTP API(opens new window)
apiVersion : apps.emqx.io/v2alpha1
kind : EMQX
metadata :
name : emqx
spec :
image : emqx: 5.0
coreTemplate :
spec :
ports :
- name : dashboard
containerPort : 18083
replicantTemplate :
spec :
ports :
- name : dashboard
containerPort : 18083
1 2 3 4 5 6 7 8 9 10 11 12 13 14 15 16 17
将上述内容保存为:emqx.yaml,并执行如下命令部署 EMQX 集群:
$ kubectl apply -f emqx.yaml

emqx.apps.emqx.io/emqx created
1 2 3
检查 EMQX 集群状态,请确保 STATUS 为 Running,这可能需要一些时间等待 EMQX 集群准备就绪。
$ kubectl get emqx emqx

NAME   IMAGE      STATUS    AGE
emqx   emqx:5.0   Running   10m
1 2 3 4
EMQX 支持通过 http 接口对外暴露指标,集群下所有统计指标数据可以参考文档:HTTP API(opens new window)
apiVersion : apps.emqx.io/v1beta4
kind : EmqxEnterprise
metadata :
name : emqx- ee
spec :
template :
spec :
emqxContainer :
image :
repository : emqx/emqx- ee
version : 4.4.16
ports :
- name : dashboard
containerPort : 18083
1 2 3 4 5 6 7 8 9 10 11 12 13 14 15
将上述内容保存为:emqx.yaml,执行如下命令部署 EMQX 集群:
$ kubectl apply -f emqx.yaml

emqxenterprise.apps.emqx.io/emqx-ee created
1 2 3
检查 EMQX 集群状态,请确保 STATUS 为 Running,这可能需要一些时间等待 EMQX 集群准备就绪。
$ kubectl get emqxenterprises

NAME      STATUS   AGE
emqx-ee   Running  8m33s
1 2 3 4
如果你部署的是 EMQX 4.4 开源版, 则需要通过 EmqxPlugin CRD 开启emqx_prometheus 插件:
cat << "EOF" | kubectl apply -f -
apiVersion: apps.emqx.io/v1beta4
kind: EmqxPlugin
metadata:
name: emqx-prometheus
spec:
selector:
${replace_with_your_emqx_pod_label} : label_value
pluginName: emqx_prometheus
1 2 3 4 5 6 7 8 9 10
创建 API Secret emqx-exporter 和 Prometheus 通过访问 EMQX dashboard API 拉取监控指标,因此需要提前登录 dashboard 创建 API 密钥。
注意,EMQX 5 和 EMQX 4.4 创建 API 密钥的方式有所不同。
部署 emqx-exporter apiVersion : v1
kind : Service
metadata :
labels :
app : emqx- exporter
name : emqx- exporter- service
spec :
ports :
- name : metrics
port : 8085
targetPort : metrics
selector :
app : emqx- exporter
---
apiVersion : apps/v1
kind : Deployment
metadata :
name : emqx- exporter
labels :
app : emqx- exporter
spec :
selector :
matchLabels :
app : emqx- exporter
replicas : 1
template :
metadata :
labels :
app : emqx- exporter
spec :
securityContext :
runAsUser : 1000
containers :
- name : exporter
image : emqx- exporter: latest
imagePullPolicy : IfNotPresent
args :
- - - emqx.nodes=${ emqx- dashboard- service- name} : 18083
- - - emqx.auth- username=${ paste_your_new_api_key_here}
- - - emqx.auth- password=${ paste_your_new_secret_here}
securityContext :
allowPrivilegeEscalation : false
runAsNonRoot : true
ports :
- containerPort : 8085
name : metrics
protocol : TCP
resources :
limits :
cpu : 100m
memory : 100Mi
requests :
cpu : 100m
memory : 20Mi
1 2 3 4 5 6 7 8 9 10 11 12 13 14 15 16 17 18 19 20 21 22 23 24 25 26 27 28 29 30 31 32 33 34 35 36 37 38 39 40 41 42 43 44 45 46 47 48 49 50 51 52 53 54 55
参数"--emqx.nodes" 为暴露18083端口的 service name。不同的 EMQX 版本的 service name 不一样,可以通过命令 kubectl get svc 查看。
将上述内容保存为emqx-exporter.yaml,同时使用你新创建的 API 密钥(EMQX 4.4 则为用户名密码)替换其中的--emqx.auth-username以及--emqx.auth-password,并执行如下命令:
kubectl apply -f emqx-exporter.yaml
1
检查 emqx-exporter 状态,请确保 STATUS 为 Running。
$ kubectl get po -l= "app=emqx-exporter"
NAME STATUS AGE
emqx-exporter-856564c95-j4q5v Running 8m33s
1 2 3 4
配置 Prometheus Monitor Prometheus-operator 使用 PodMonitor(opens new window) 和 ServiceMonitor(opens new window) CRD 定义如何动态的监视一组 pod 或者 service。
apiVersion : monitoring.coreos.com/v1
kind : PodMonitor
metadata :
name : emqx
labels :
app.kubernetes.io/name : emqx
spec :
podMetricsEndpoints :
- interval : 5s
path : /api/v5/prometheus/stats
port : dashboard
relabelings :
- action : replace
replacement : emqx5
targetLabel : cluster
- action : replace
replacement : emqx
targetLabel : from
- action : replace
sourceLabels : [ 'pod' ]
targetLabel : "instance"
selector :
matchLabels :
apps.emqx.io/instance : emqx
apps.emqx.io/managed-by : emqx- operator
namespaceSelector :
matchNames :
---
apiVersion : monitoring.coreos.com/v1
kind : ServiceMonitor
metadata :
name : emqx- exporter
labels :
app : emqx- exporter
spec :
selector :
matchLabels :
app : emqx- exporter
endpoints :
- port : metrics
interval : 5s
path : /metrics
relabelings :
- action : replace
replacement : emqx5
targetLabel : cluster
- action : replace
replacement : exporter
targetLabel : from
- action : replace
sourceLabels : [ 'pod' ]
regex : '(.*)-.*-.*'
replacement : $1
targetLabel : "instance"
- action : labeldrop
regex : 'pod'
namespaceSelector :
matchNames :
1 2 3 4 5 6 7 8 9 10 11 12 13 14 15 16 17 18 19 20 21 22 23 24 25 26 27 28 29 30 31 32 33 34 35 36 37 38 39 40 41 42 43 44 45 46 47 48 49 50 51 52 53 54 55 56 57 58 59 60 61 62 63 64 65 66 67 68 69 70 71 72
`path` 表示指标采集接口路径,在 EMQX 5 里面路径为:`/api/v5/prometheus/stats`。`selector.matchLabels` 表示匹配 Pod 的 label。
每个集群的 Monitor 配置中都需要为当前集群打上特定的标签,其中`targetLabel`为`cluster`的值表示当前集群的名字,需确保每个集群的名字唯一。
apiVersion : monitoring.coreos.com/v1
kind : PodMonitor
metadata :
name : emqx
labels :
app.kubernetes.io/name : emqx
spec :
podMetricsEndpoints :
- basicAuth :
username :
key : username
name : ${ paste_your_new_username_here}
password :
key : password
name : ${ paste_your_new_password_here}
interval : 5s
params :
type :
- prometheus
path : /api/v4/emqx_prometheus
port : dashboard
relabelings :
- action : replace
replacement : emqx4
targetLabel : cluster
- action : replace
replacement : emqx
targetLabel : from
- action : replace
sourceLabels : [ 'pod' ]
targetLabel : "instance"
selector :
matchLabels :
apps.emqx.io/instance : emqx
apps.emqx.io/managed-by : emqx- operator
namespaceSelector :
matchNames :
---
apiVersion : monitoring.coreos.com/v1
kind : ServiceMonitor
metadata :
name : emqx- exporter
labels :
app : emqx- exporter
spec :
selector :
matchLabels :
app : emqx- exporter
endpoints :
- port : metrics
interval : 5s
path : /metrics
relabelings :
- action : replace
replacement : emqx4
targetLabel : cluster
- action : replace
replacement : exporter
targetLabel : from
- action : replace
sourceLabels : [ 'pod' ]
regex : '(.*)-.*-.*'
replacement : $1
targetLabel : "instance"
- action : labeldrop
regex : 'pod'
namespaceSelector :
matchNames :
1 2 3 4 5 6 7 8 9 10 11 12 13 14 15 16 17 18 19 20 21 22 23 24 25 26 27 28 29 30 31 32 33 34 35 36 37 38 39 40 41 42 43 44 45 46 47 48 49 50 51 52 53 54 55 56 57 58 59 60 61 62 63 64 65 66 67 68 69 70 71 72 73 74 75 76 77 78 79 80 81 82
path 表示指标采集接口路径,在 EMQX 4.4 里面路径为:/api/v4/emqx_prometheus。selector.matchLabels 表示匹配 Pod 的 label: apps.emqx.io/instance: emqx-ee。 每个集群的 Monitor 配置中都需要为当前集群打上特定的标签,其中targetLabel为cluster的值表示当前集群的名字,需确保每个集群的名字唯一。
将上述内容保存为monitor.yaml,如果是 EMQX 4.4,则还需修改其中的username和password,并执行如下命令:
kubectl apply -f monitor.yaml
1
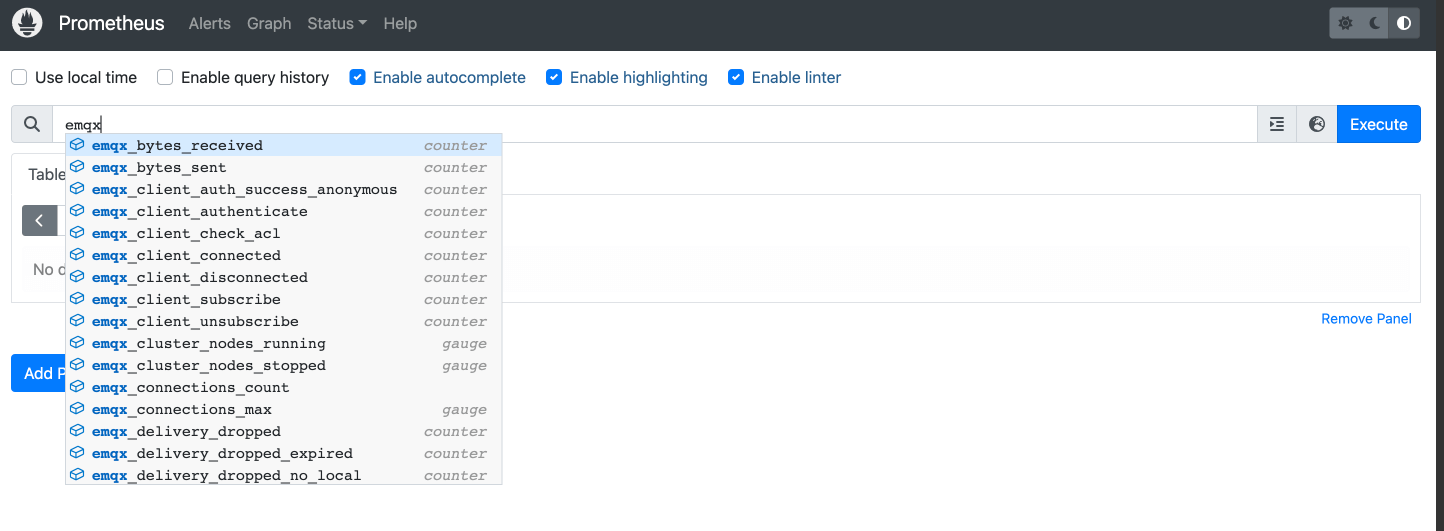
访问 Prometheus 查看 EMQX 集群的指标 打开 Prometheus 的界面,切换到 Graph 页面,输入 emqx 显示如下图所示:
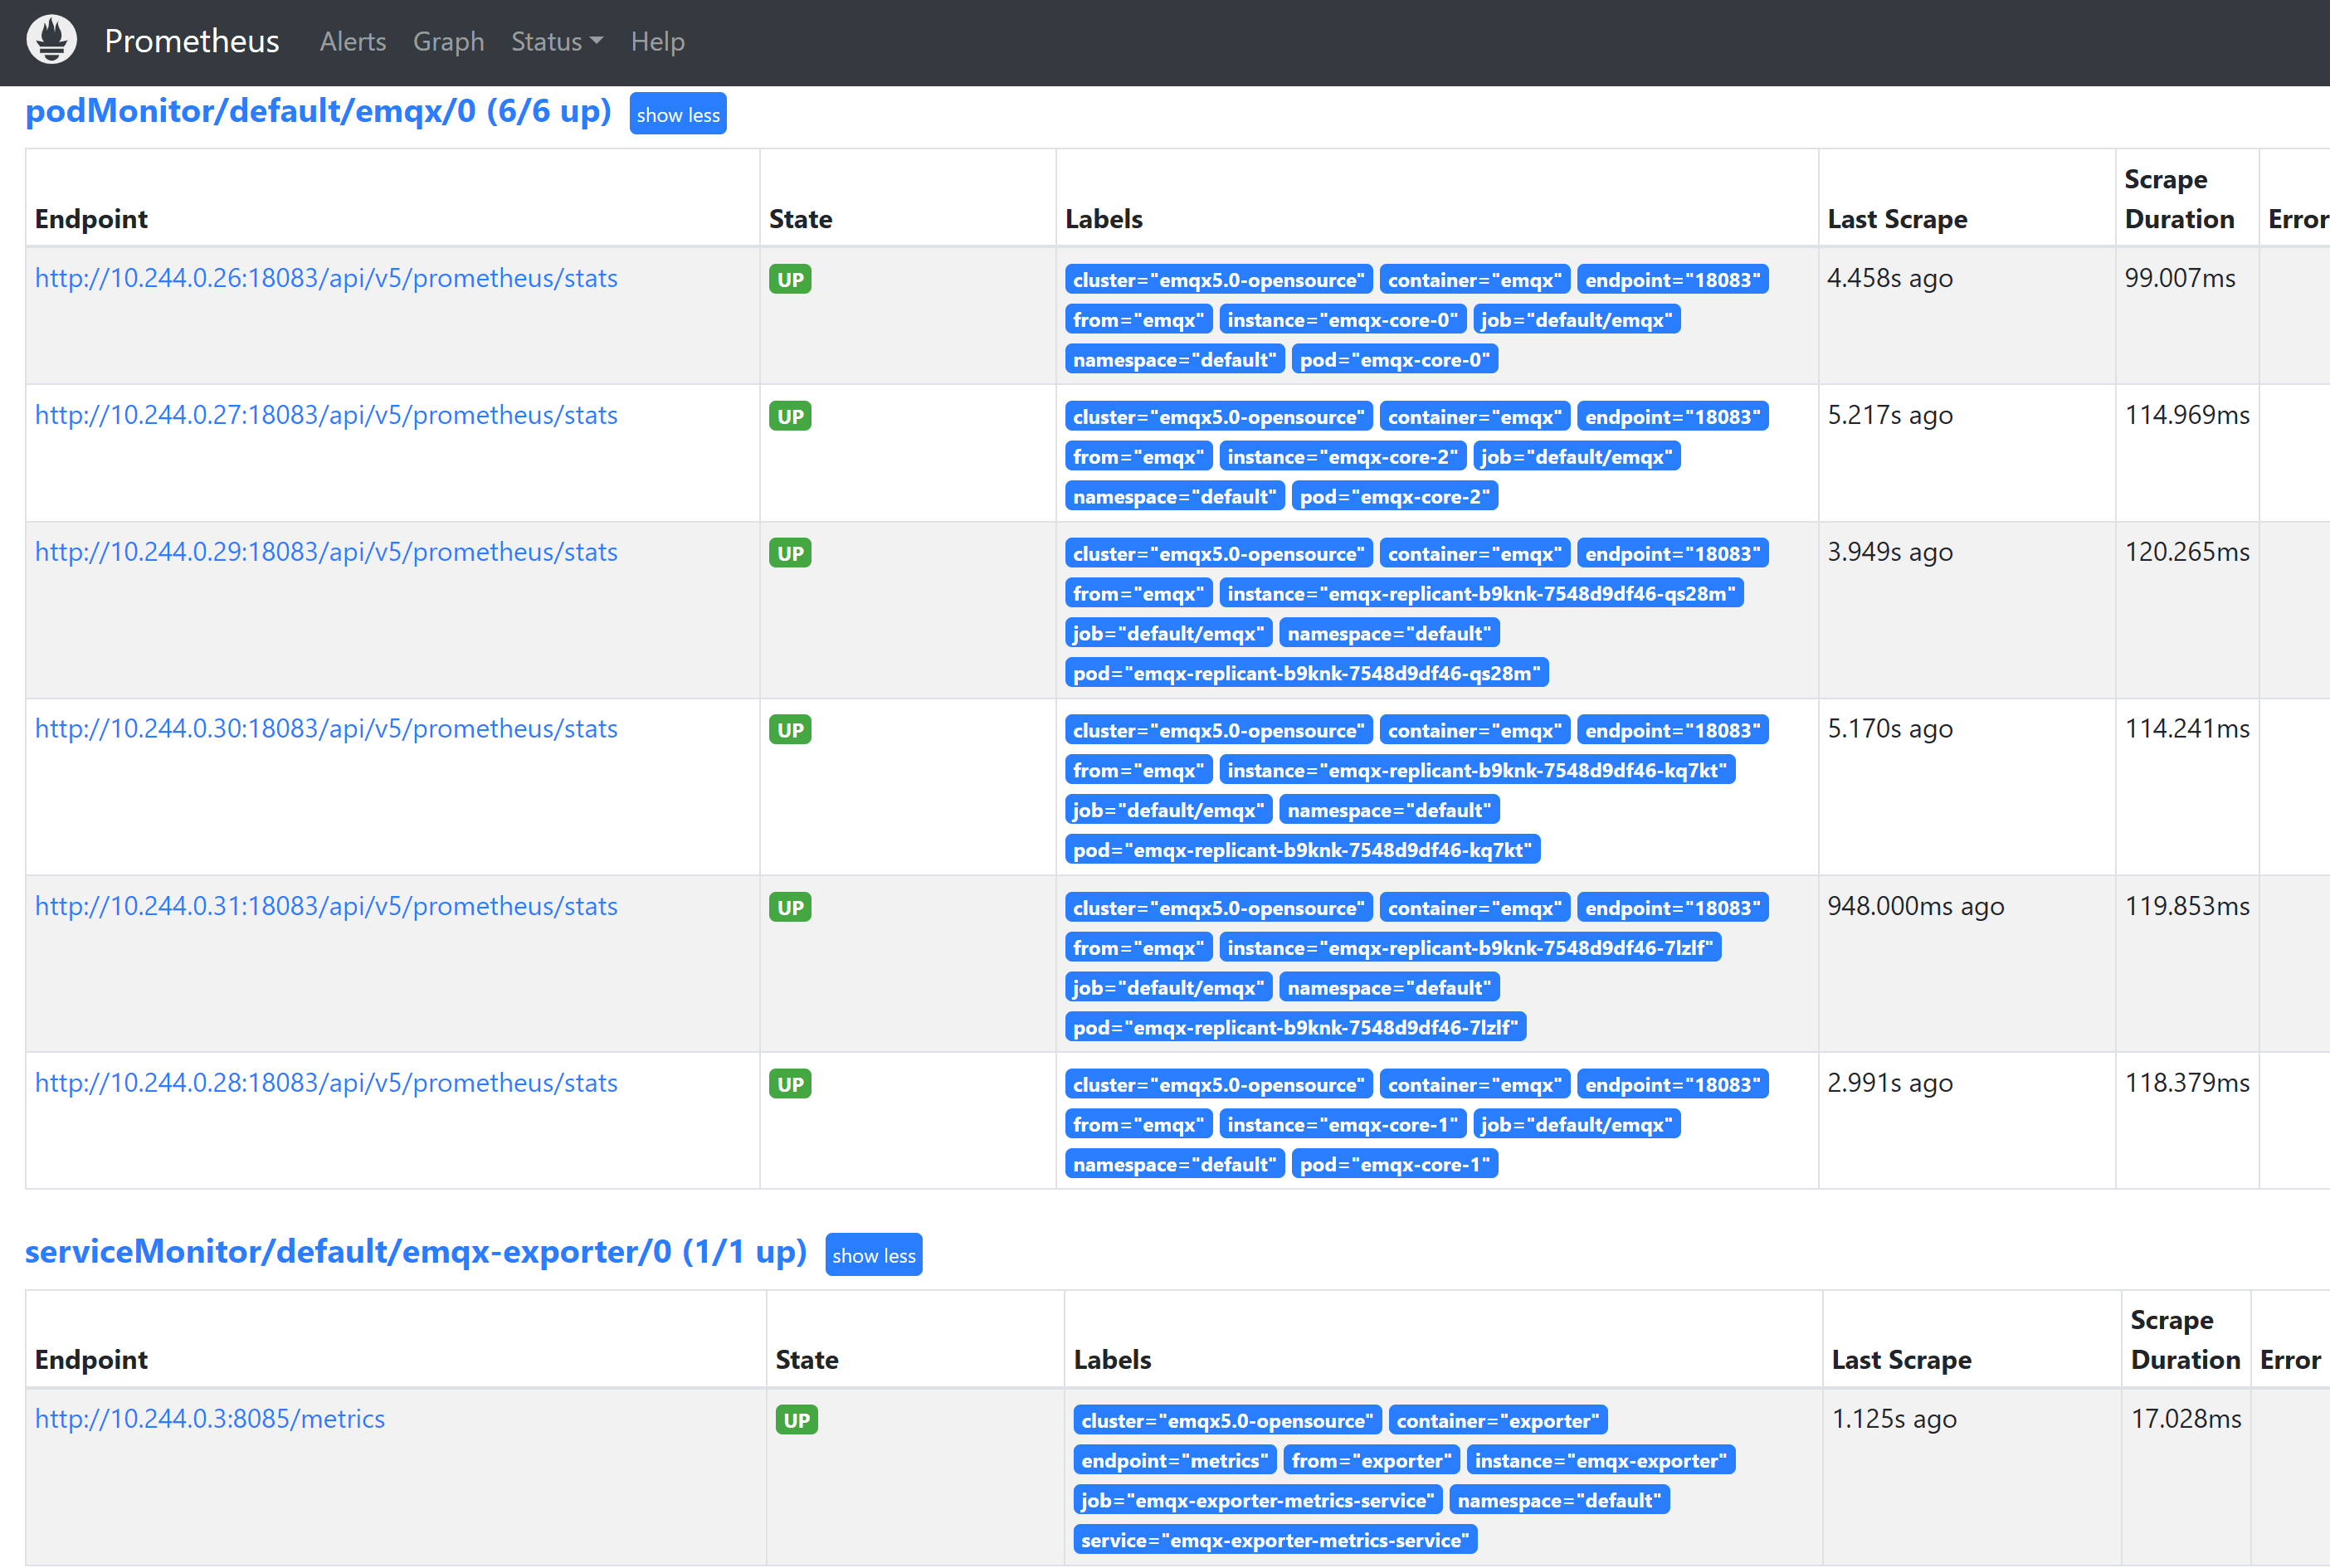
切换到 Status → Targets 页面,显示如下图,可以看到集群中所有被监控的 EMQX Pod 信息:
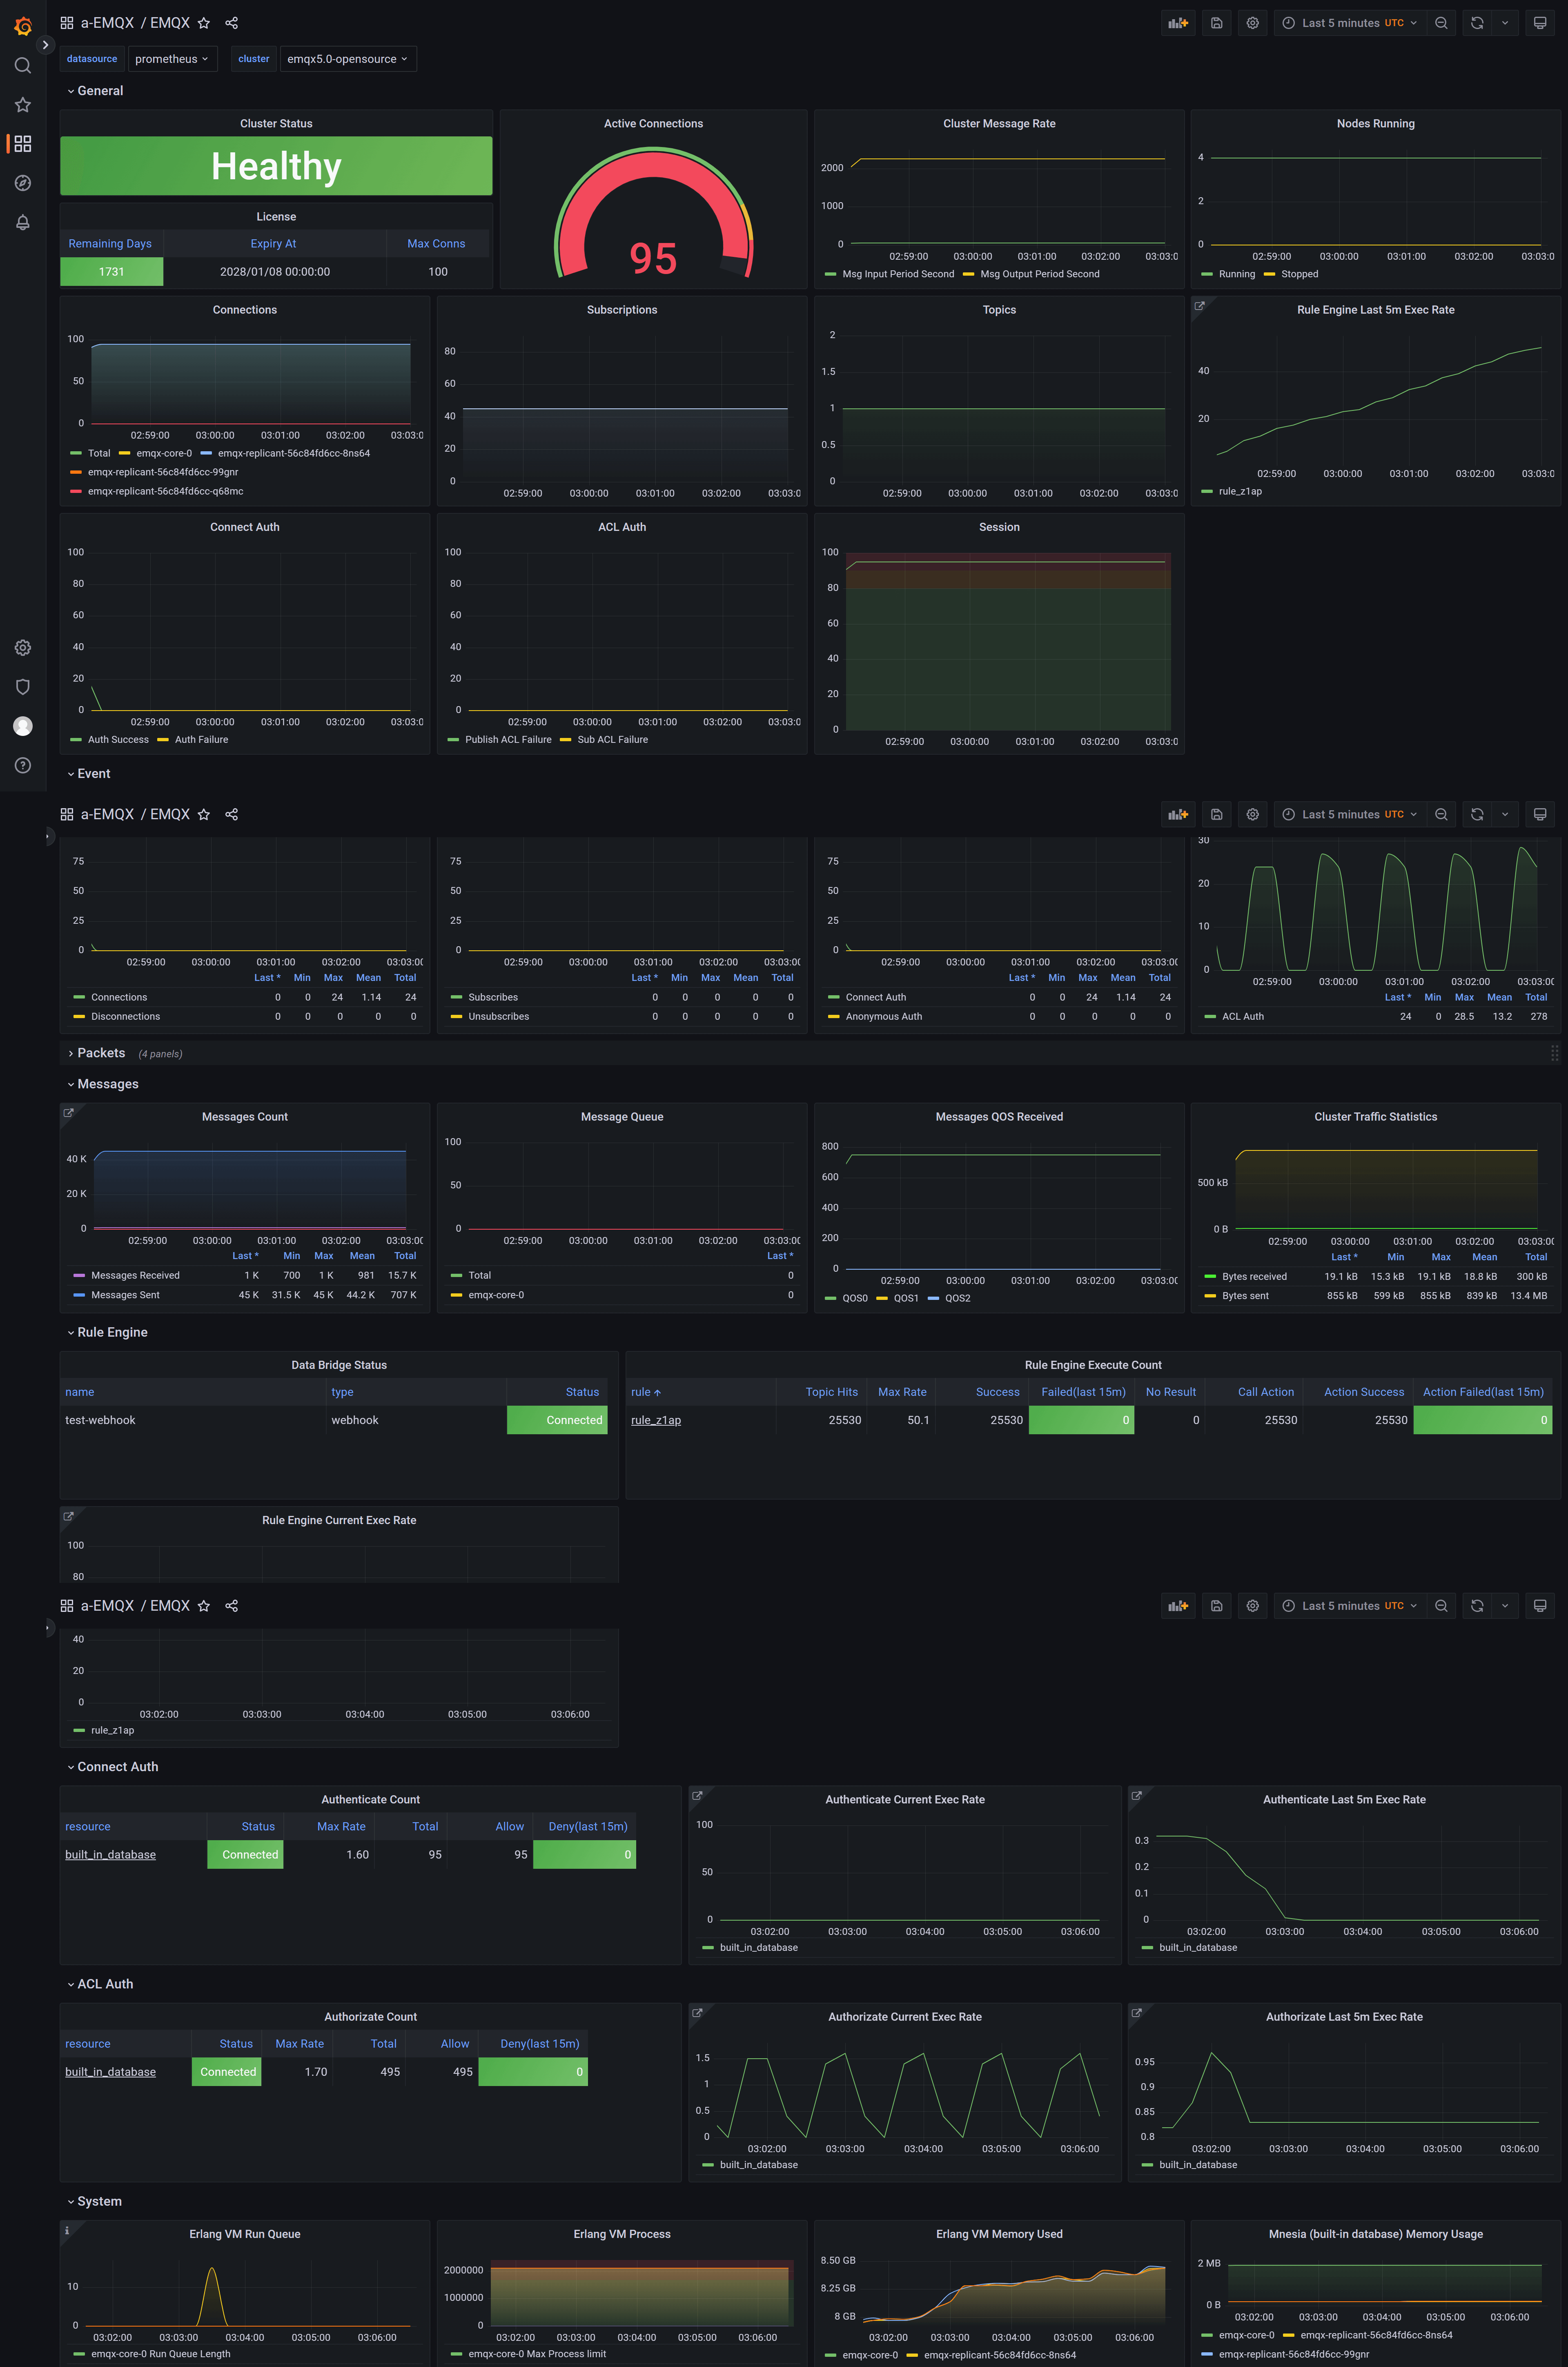
导入 Grafana 模板 导入所有 dashboard 模板(opens new window) 。
集群的整体监控状态位于 EMQX 看板中。


