Quick Start
EMQX Edge is a lightweight and blazing-fast MQTT broker designed for IoT edge environments. This guide walks you through how to quickly install EMQX Edge and explore its core messaging capabilities, including client connections, publishing/subscribing messages, and using the built-in Dashboard for monitoring and management.
Install and Start EMQX Edge
Install and start the EMQX Edge by following the instructions in Installation. With EMQX Edge now running, it exposes the following ports by default:
- 1883 for standard MQTT traffic
- 8083 for MQTT over WebSocket
- 8883 for secure MQTT over SSL/TLS
- 8081 for the Web-based Dashboard UI
Experience the EMQX Edge Messaging Services
This section walks you through how to use the MQTTX client tool to connect to EMQX Edge and interact with its messaging services. MQTTX can be used to simulate one or more MQTT clients, enabling you to test publishing, subscribing, and receiving messages via EMQX Edge.
Set Up MQTTX
You can download and install MQTTX from the official website. Once installed, launch the MQTTX application.
Connect to EMQX Edge
On the MQTTX home screen, click New Connection. In the General pane, configure the following settings:
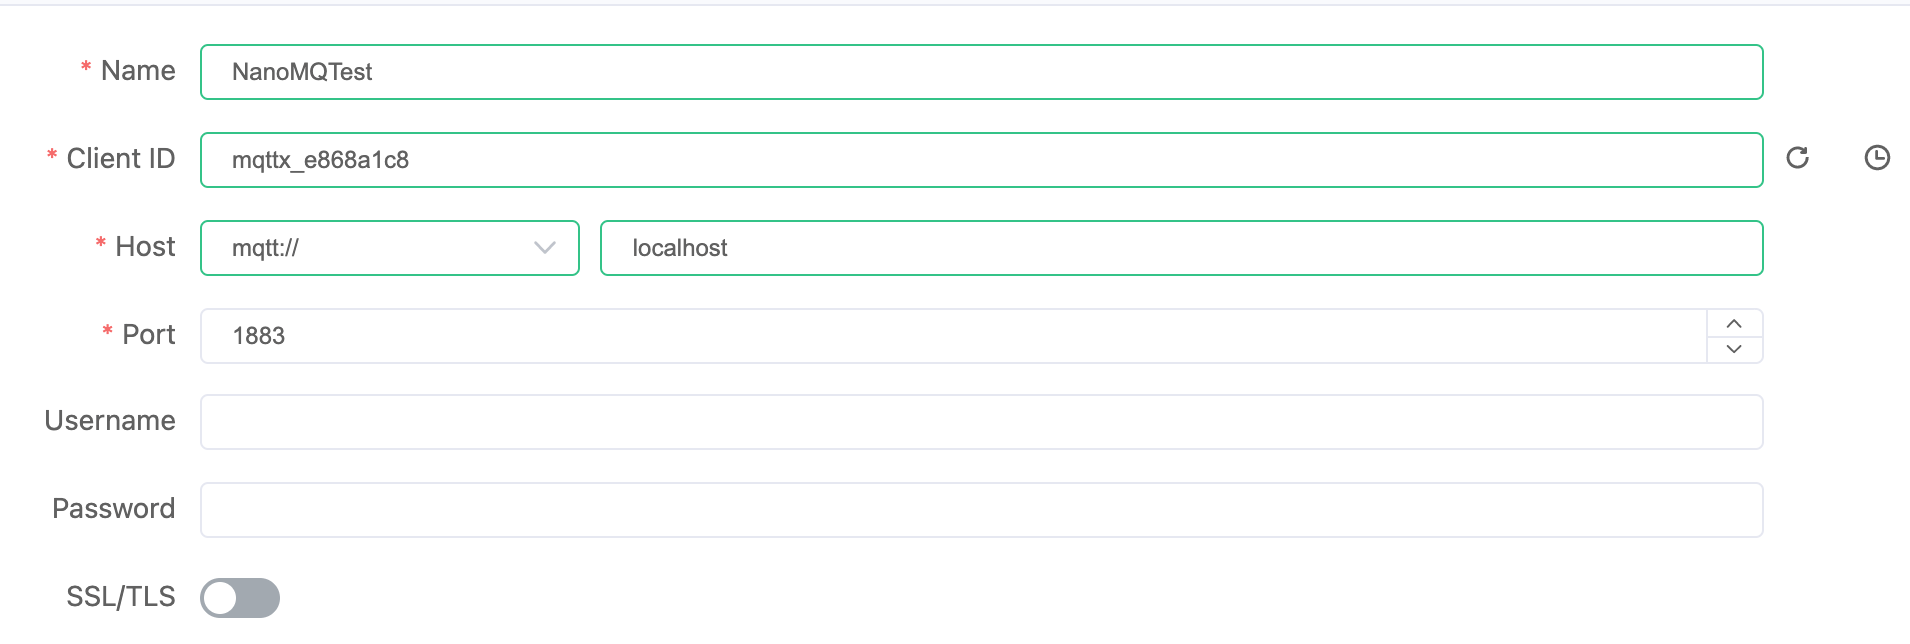
- Name: Enter a name for your connection.
- Client ID: Automatically generated by MQTTX (you can leave it as-is).
- Host: Use
mqtt://localhost(or replacelocalhostwith your actual IP address). - Port: Enter
1883(or another port based on your setup).
Click Connect in the top-right corner. Upon a successful connection, a confirmation indicator will appear.
Subscribe to a Topic
- Click + New Subscription.
- Specify the topic to subscribe to (e.g.,
test/topic). Default settings can be left unchanged. - Click Confirm to subscribe.
Publish a Message
- In the publish section of MQTTX, enter the topic you want to publish to (e.g.,
test/topic). - Type your message payload (e.g.,
"Hello EMQX"). - Click the Send icon to publish the message.
The message will appear in the dialog area, confirming it was successfully published and received by the subscriber through EMQX Edge.

View Client Information in Dashboard
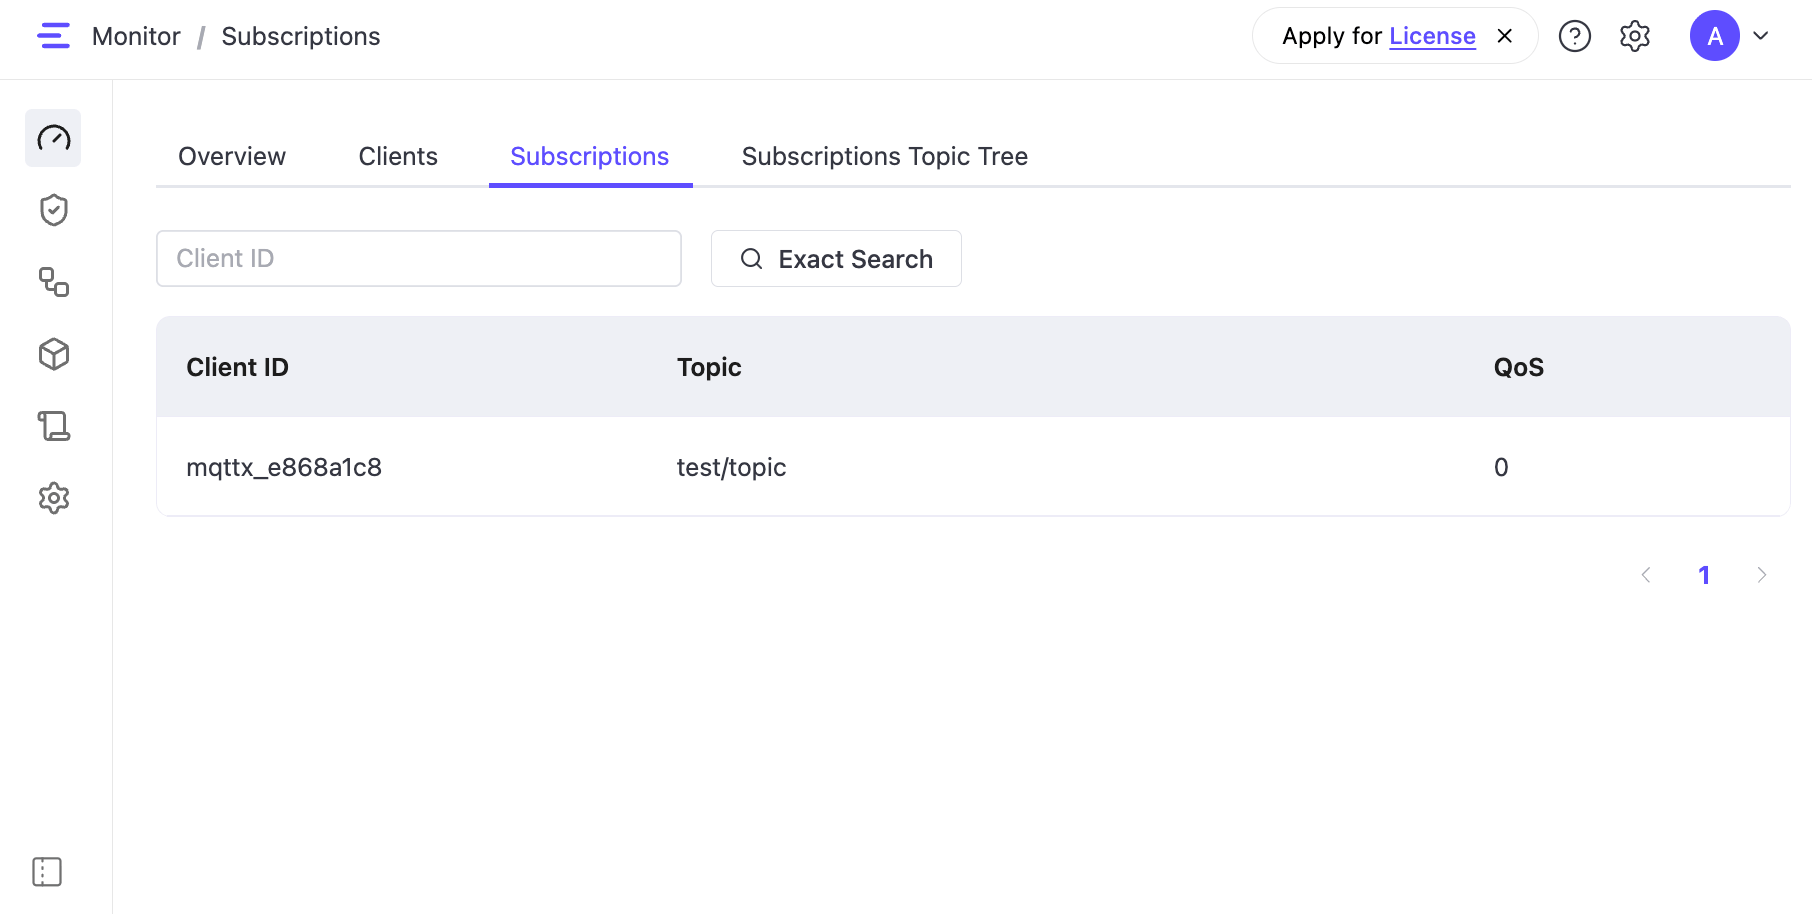
Access the EMQX Edge Dashboard by opening a web browser and visiting http://localhost:8081 (localhost can be substituted with your IP address).
On the Monitor page in the Edge Dashboard, click the Clients tab, and you can see the client connection information. Switch to the Subscription tab, and you can see the subscribed topic and QoS.
What's Next
After testing basic publish/subscribe, explore more core features of EMQX Edge:
- Secure Client Access Learn how to configure Authentication and Authorization to control client access and enforce security policies.
- Bridge Messages to a Remote MQTT Broker Create an MQTT over TCP Bridge to forward and receive messages between EMQX Edge and a remote MQTT broker, enabling edge-to-cloud integration.