Built-in File Authorization
The built-in file method lets you define ACL rules directly in a configuration file. EMQX Edge evaluates these rules whenever a client attempts to publish or subscribe, and allows or denies the action based on the first matching rule.
This method requires no external service and is well-suited for simple, static permission setups.
Note
Changes to ACL rules in the built-in file do not take effect immediately after saving. The rules take effect only after EMQX Edge restarts.
How It Works
ACL rules are written in HOCON (a JSON-superset) syntax and evaluated from top to bottom. Once a rule matches, its permission is applied, and the remaining rules are ignored. Each rule can specify the following fields:
| Field | Required | Description |
|---|---|---|
permit | Yes | Permission: allow or deny. |
action | No | Operation to control: publish, subscribe, or pubsub. |
topics | No | List of topic filters to match. |
username | No | Username to match. Use "#" to match all users. |
clientid | No | Client ID to match. Use "#" to match all clients. |
and | No | List of rules combined with AND logic. |
or | No | List of rules combined with OR logic. |
A minimal ruleset with the defaults looks like this:
rules = [
  {"permit": "allow", "username": "dashboard", "action": "subscribe", "topics": ["$SYS/#"]},
  {"permit": "deny",  "username": "#",          "action": "subscribe", "topics": ["$SYS/#", "#"]},
  {"permit": "allow"}
]
Rule breakdown:
- Allows clients with username
dashboardto subscribe to$SYS/#. - Denies all other clients from subscribing to
$SYS/#or#. - Allows all other publish and subscribe operations.
For advanced rule syntax including topic placeholders (${clientid}, ${username}) and exact topic matching with @, see Access Control Configuration.
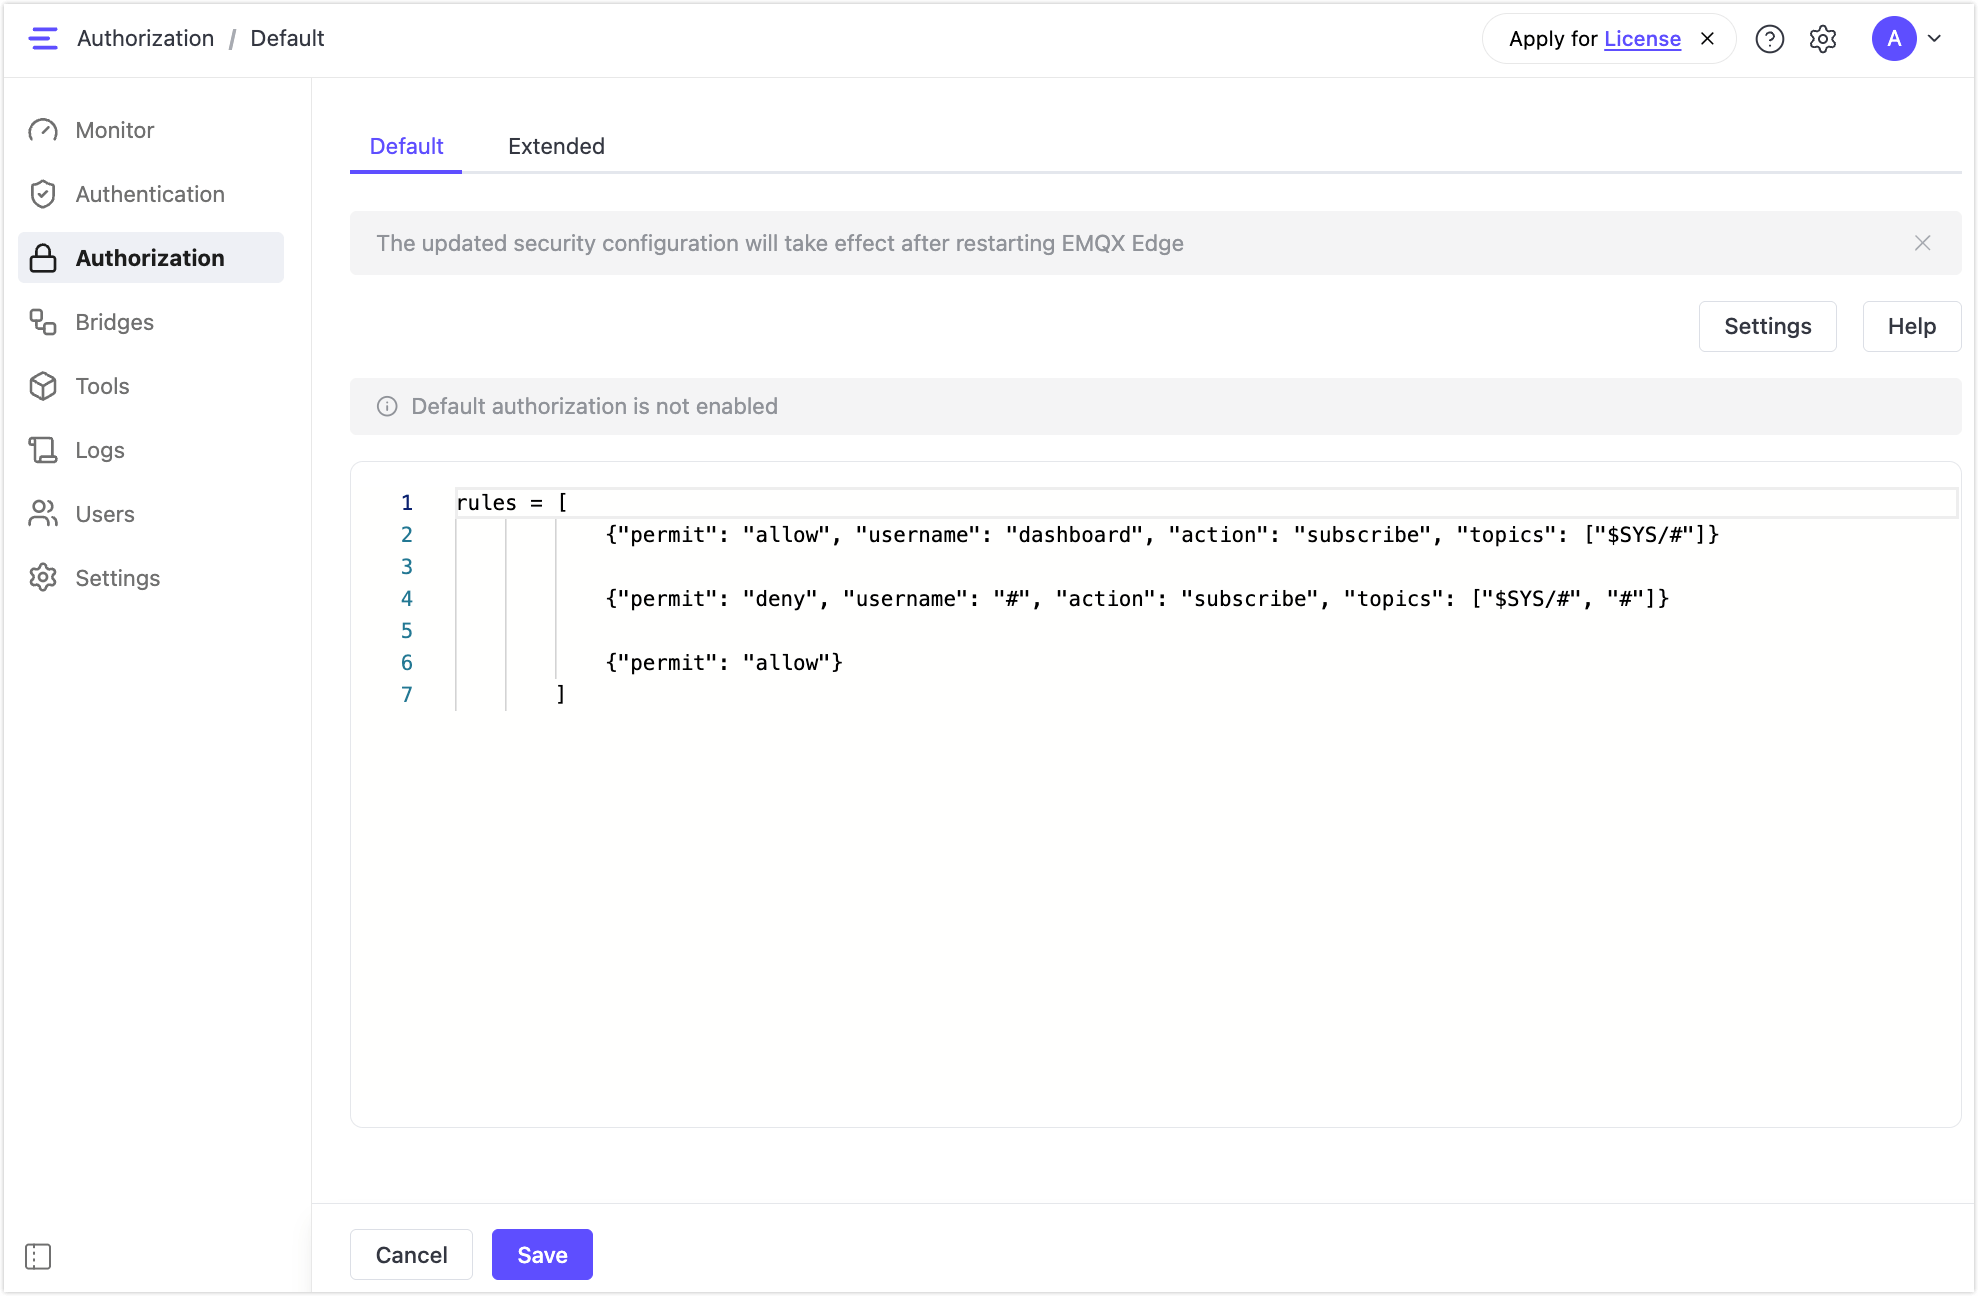
Configure via Dashboard
- In the EMQX Edge Dashboard, go to Authorization > Default.
- Click Settings and enable Enable Default Authorization. This is disabled by default.
- Edit the ACL rules in the editor panel.
- Click Save.
- Restart EMQX Edge for the changes to take effect.
Configure via Configuration File
Write your ACL rules in nanomq_acl.conf:
rules = [
  {"permit": "allow", "username": "dashboard", "action": "subscribe", "topics": ["$SYS/#"]},
  {"permit": "deny",  "username": "#",          "action": "subscribe", "topics": ["$SYS/#", "#"]},
  {"permit": "allow"}
]
Then reference the file in nanomq.conf:
auth {
  acl = {include "/etc/nanomq_acl.conf"}
}