Deploy with Kubernetes
This section introduces how to deploy ECP with Kubernetes.
Prerequisites
| Port | Protocal |
|---|---|
| 31900 | TCP+UDP |
Get Helm Chart
You can obtain the Helm chart for ECP by running the command below:
helm repo add emqx https://repos.emqx.io/charts
helm repo update
helm pull emqx/kube-ecp-stack --untar
Install or Upgrade ECP with Helm Chart
If necessary, this can be done by modifying
values.yaml- For example, specify the use of a specific
StorageClass, the default isstandard:
shellglobal: image: registry: "" repository: "" pullPolicy: IfNotPresent ## ## Optionally specify an array of imagePullSecrets. ## # pullSecrets: &global-image-pullSecrets # - name: "ecp-registry" pullSecrets: &global-image-pullSecrets [] storage: className: &global-storage-className "standard" accessModes: &global-storage-accessModes - ReadWriteOnce- For example, the current environment has the
ElasticSearchservice, which can modify the connection information by doing the following:
shelltelegraf: replicas: 1 image: repository: "docker.io/library/telegraf" tag: "1.27" imagePullSecrets: *global-image-pullSecrets service: type: NodePort port: 10514 targetPort: 10514 nodePort: 31514 outputs: elasticsearch: url: "https://elasticsearch:9200" username: "elastic" password: "elastic"- For example, specify the use of a specific
If you can access the Internet, run the command below:
shellcd kube-ecp-stack helm upgrade --install kube-ecp-stack . --namespace emqx-ecp --create-namespaceIf you cannot access the Internet, you need to store the images in a private image repository first, and then run the following script command:
- Create a secret for pulling images from your repository
shellkubectl create ns ${YOUR_NAMESPACE} kubectl create -n ${YOUR_NAMESPACE} secret docker-registry ${YOUR_SECRET_NAME} --docker-username=${YOUR_USERNAME} --docker-password=${YOUR_PASSWORD} --docker-server=${$YOUR_REGISTRY}- Modify the secret name in the
values.yamlfile
shellglobal: image: registry: "${YOUR_REGISTRY}" repository: "${YOUR_REPOSITORY}" pullSecrets: &global-image-pullSecrets - name: "${YOUR_SECRET_NAME}- Run the command below
shellcd kube-ecp-stack chmod +x priv_deploy.sh kubectl apply -f crds helm template ${YOUR_RELEASE_NAME} . --namespace ${YOUR_NAMESPACE} | ./priv_deploy.sh
Delete ECP
If you installed ECP with the
helm upgrade --installcommand, run the command below to delete ECP:shellhelm delete ${YOUR_RELEASE_NAME} --namespace ${YOUR_NAMESPACE}If you installed ECP with a private image repository and the script command, run the command below to delete ECP:
shellcd kube-ecp-stack helm template ${YOUR_RELEASE_NAME} . --namespace ${YOUR_NAMESPACE} | kubectl delete -f -Delete the persistent volume claim (PVC) of ECP.
Deleting the PVC will clear all data in ECP, so please proceed with caution.
shellkubectl delete pvc -l "app.kubernetes.io/instance=${YOUR_RELEASE_NAME}" -n ${YOUR_NAMESPACE}
Create a Superuser
Execute the command below to create a superuser. You will need this superuser account and password to log into ECP later, so please ensure they are stored securely.
$ kubectl -n emqx-ecp exec $(kubectl -n emqx-ecp get pod -l 'app=emqx-ecp-main' -o jsonpath='{.items[0].metadata.name}') \
    -c emqx-ecp-main -it -- create-init-admin.sh
Please input username:          # should be emails
Please input password:
Please input password again:
Please input your name:         # Set a display name for your account, for example, ECPAdmin
Log in to ECP
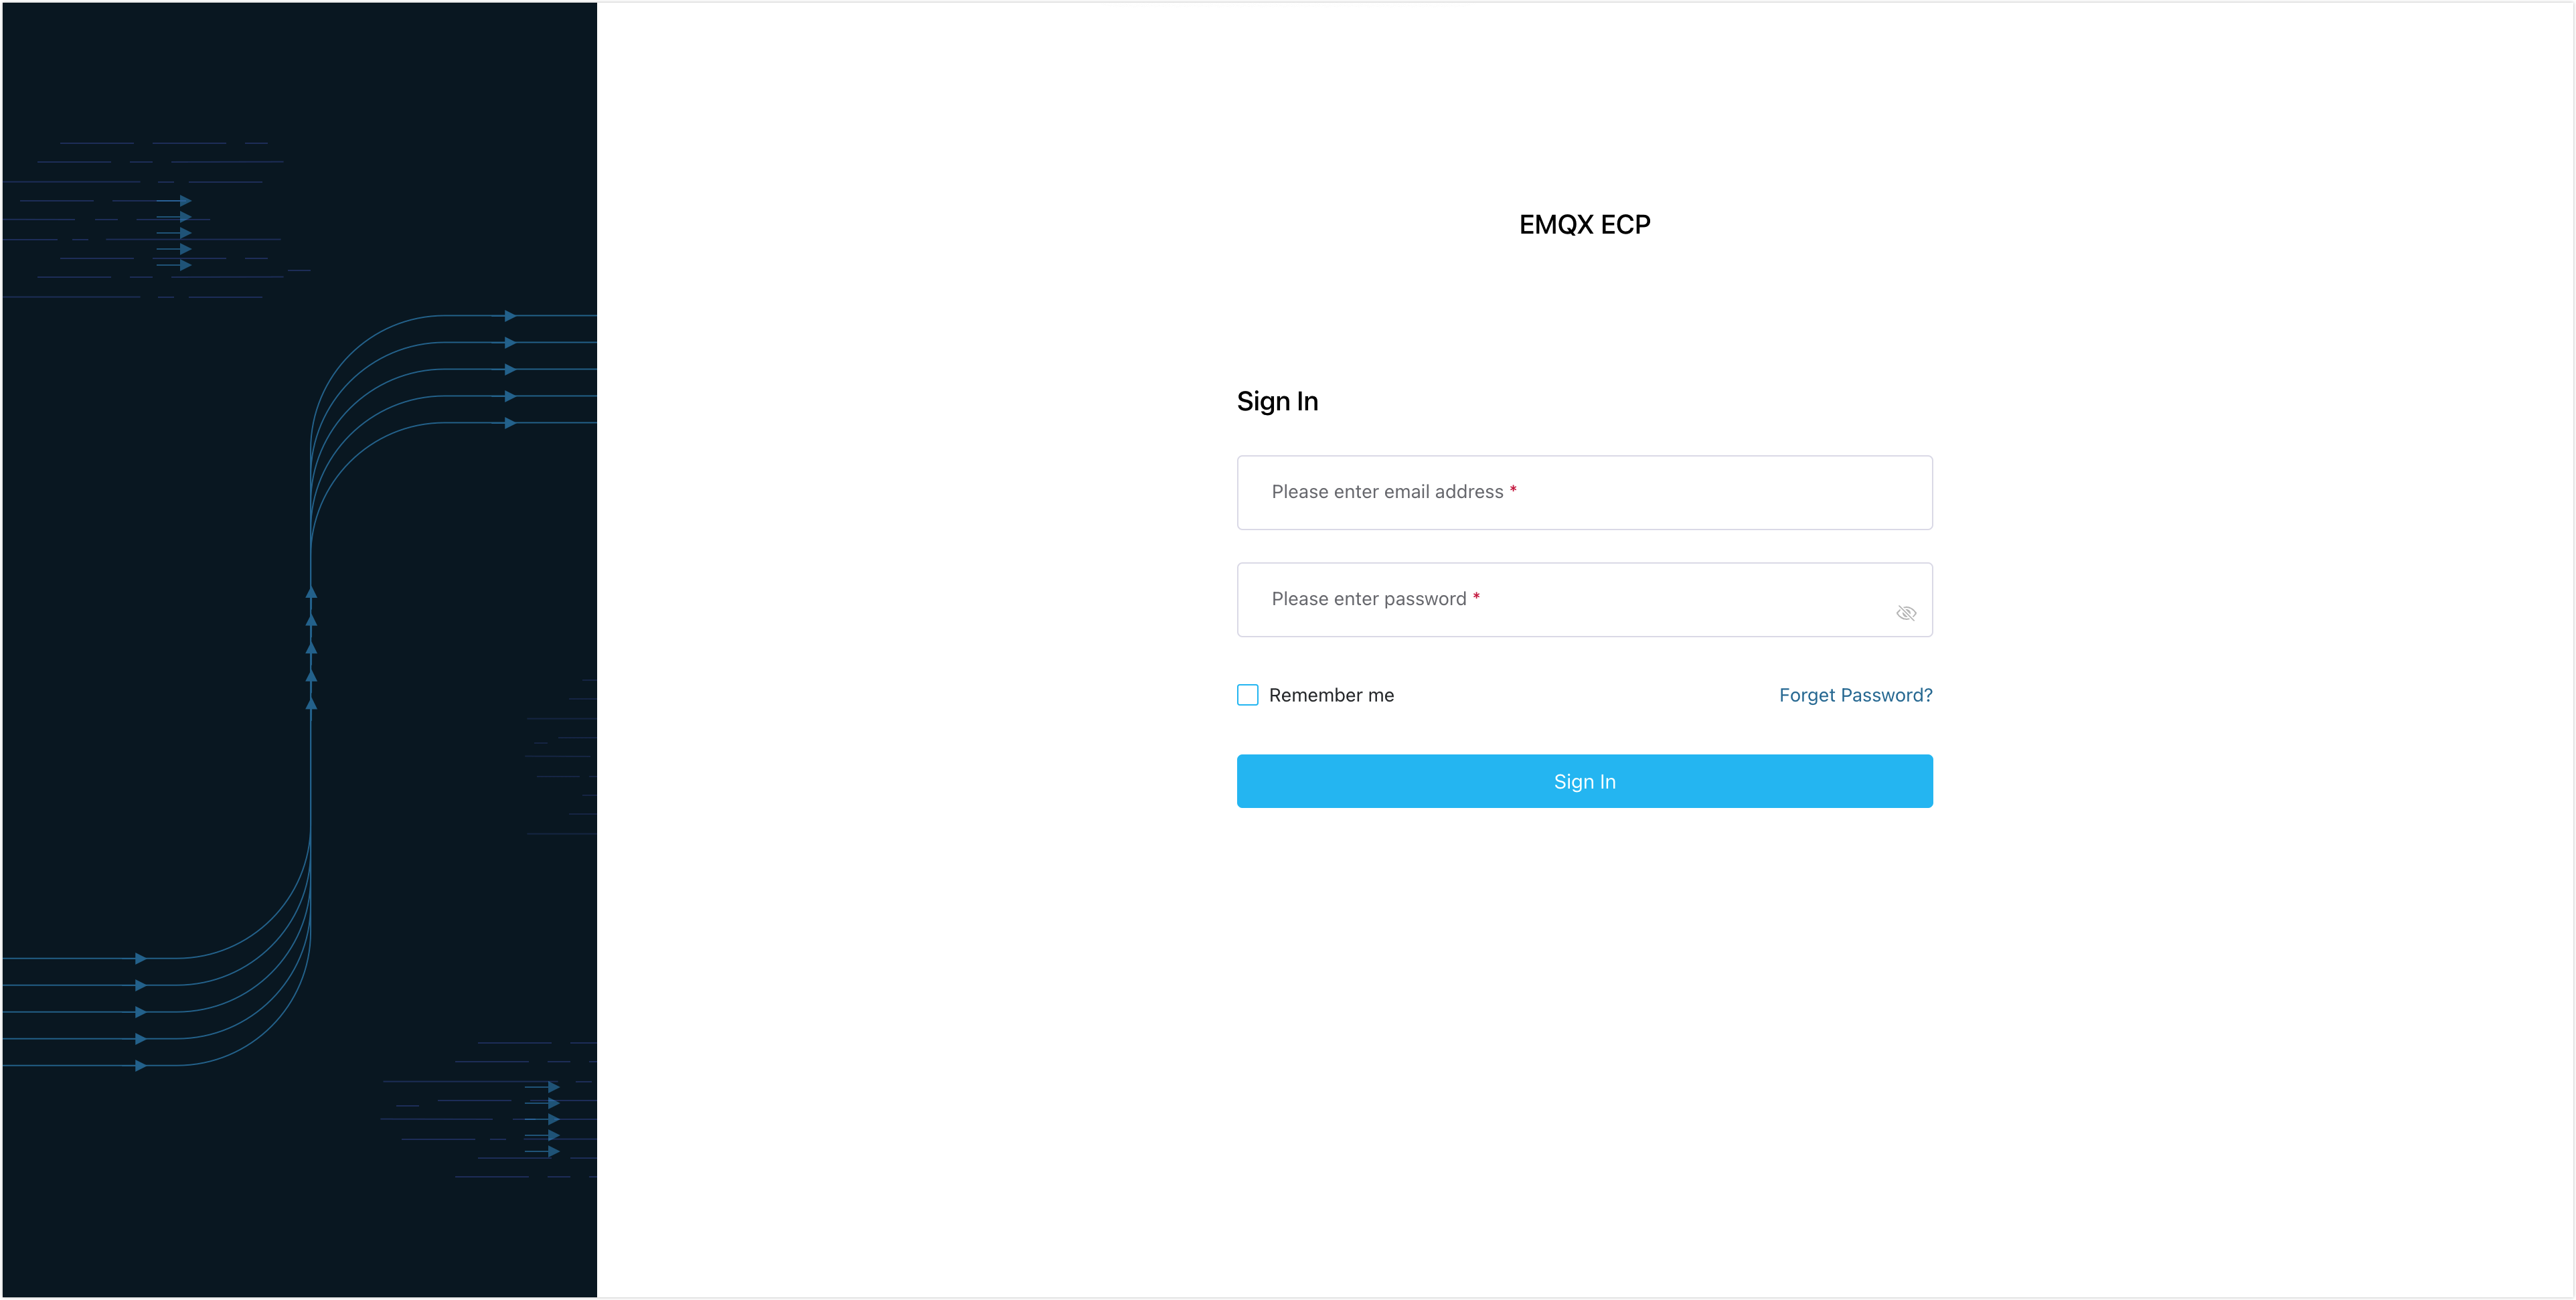
Now that you have successfully deployed ECP, the default access address of ECP is http://{kubernetes-node-ip}:31900. Log in to ECP with your superuser account to start the system initialization.

Log in with your superuser account, and you can now start to create users, configure access control rules, and begin to set up organizations and projects.
Offline Installation
Download the Docker image package. If you are unable to download it, you can also contact us to obtain an offline installation package.
Decompress
mkdir image & tar -zxvf emqx-ecp-dependency-images-2.4.1-alpha.4.tar.gz -C ./imageImport Docker image
In Kubernetes, the main difference between Docker and containerd lies in their implementation as container runtimes: Docker manages the lifecycle of containers through its own runtime, while containerd is a lighter-weight runtime that interacts directly with containers, typically offering a more streamlined interface and better performance. The methods for importing Docker images also differ between the two.
Note
You can determine whether your Kubernetes cluster is using Docker or containerd by running the following command:
bashkubectl get nodes -o jsonpath='{.items[*].status.nodeInfo.containerRuntimeVersion}'This command will return the container runtime version information for each node. If the returned information includes "docker," it indicates Docker; if it includes "containerd," it indicates containerd.
docker
cd image
for t in *.image; do docker load -i "$t"; done
containerd
shell#!/bin/bash # Loop through all files in the current directory that end with .image for image_file in *.image; do # Get the filename without the .image extension base_name="${image_file%.image}" # Rename the file, changing the .image extension to .tar.gz mv "$image_file" "${base_name}.tar.gz" # Decompress the .tar.gz file gunzip "${base_name}.tar.gz" # Import the decompressed .tar file into containerd ctr -n k8s.io image import "${base_name}.tar" # Optional: Delete the decompressed .tar file to save space # rm "${base_name}.tar" doneSave the above script as a file, for example,
import_images.sh.Execute the script:
chmod +x import_images.sh
./import_images.sh
Check if the images have been imported successfully:
crictl images
Install and start ECP using the above method
helm pull emqx/kube-ecp-stack --version ${version} --untar
cd kube-ecp-stack
helm upgrade --install ${YOUR_RELEASE_NAME} . --namespace ${YOUR_NAMESPACE} --create-namespace