Paho Go を使ってデプロイメントに接続する
この記事では、Go プロジェクトで paho.mqtt.golang ライブラリを使用し、MQTT クライアントと MQTT ブローカー間の接続、サブスクライブ、メッセージの送受信を実現する方法を解説します。
Go は Google が開発したプログラミング言語で、強力な静的型付け、コンパイル型、並行処理スタイル、ガベージコレクション機能を備えています。paho.mqtt.golang は Go プロジェクトで MQTT サーバーに接続し、メッセージの送受信を簡単に行うための API を提供する MQTT ライブラリです。
前提条件
Paho Go クライアントを使って EMQX Cloud に接続する前に、MQTT ブローカーをデプロイしていることを確認してください。
MQTT ブローカーのデプロイ
アプリケーションをEMQX Cloudに接続するには、デプロイメントを作成して設定する必要があります。
サーバレスデプロイメント
EMQX Cloudコンソールでサーバレスデプロイメントを作成します。
デプロイメントが作成されて稼働したら、デプロイメントの概要ページに移動し、以下を含むMQTT接続情報を確認します。
ブローカーアドレス
ポート番号(サーバレスではTLSポートのみ対応)
サーバレスデプロイメントはTLS接続が必須です。概要ページからCA証明書をダウンロードし、TLS用のポート
8883を使用してください。デプロイメントのアクセス制御 -> クライアント認証で、デフォルト認証(ユーザー名/パスワード)を設定します。
詳細はサーバレスポートガイドを参照してください。
Dedicated Flex または BYOC デプロイメント
EMQX CloudコンソールでDedicated FlexまたはBYOCのデプロイメントを作成できます。
作成後、デプロイメントの概要ページに移動し、以下を含むMQTT接続情報を取得します。
ブローカーアドレス
MQTTおよびWebSocket用のTCPおよびTLSポート番号(TCPおよびTLS接続の両方に対応)
デプロイメントのアクセス制御 -> クライアント認証で、デフォルト認証(ユーザー名/パスワード)を設定します。
詳細なポート設定については、Dedicated & BYOCポートガイドをご覧ください。
インストール依存関係
本プロジェクトは開発およびテストに go バージョン 1.15.13 を使用しています。以下のコマンドで go のバージョンを確認できます。
➜ ~ go version
go version go1.15.13 darwin/amd64
新しいフォルダ
go-mqttを作成し、その中に入り、以下のコマンドを実行します。bash➜ ~ go mod init go-mqtt go: creating new go.mod: module go-mqttgo get <Library>コマンドを使ってpaho.mqtt.golangをインストールします。bash➜ ~ go get github.com/eclipse/paho.mqtt.golang go: downloading github.com/eclipse/paho.mqtt.golang v1.3.5 go: github.com/eclipse/paho.mqtt.golang upgrade => v1.3.5main.goファイルを作成し、paho.mqtt.golangクライアントをインポートします。gopackage main import ( mqtt "github.com/eclipse/paho.mqtt.golang" ) func main(){ }
TCP プロトコルで接続する
このセクションでは、TCP プロトコルを使用して MQTT ブローカーに接続する方法を紹介します。
接続設定
例ではパブリックな MQTT サーバーに接続します。
ご自身でデプロイメントを作成している場合は、デプロイメントコンソールで対応する接続アドレスを確認し、ユーザー名とパスワードを適切に設定してください。goconst protocol = "tcp" const broker = "broker.emqx.io" // MQTT ブローカーのアドレス const port = 1883 const topic = "t/1" const username = "emqx" const password = "******"接続の主要コード
MQTT クライアントを作成して返す関数を記述します。
func createMqttClient() mqtt.Client {
    connectAddress := fmt.Sprintf("%s://%s:%d", protocol,broker, port)
    rand.Seed(time.Now().UnixNano())
    clientID := fmt.Sprintf("go-client-%d", rand.Int())

    fmt.Println("connect address: ", connectAddress)
    opts := mqtt.NewClientOptions()
    opts.AddBroker(connectAddress)
    opts.SetUsername(username)
    opts.SetPassword(password)
    opts.SetClientID(clientID)
    opts.SetKeepAlive(time.Second * 60)
    client := mqtt.NewClient(opts)
    token := client.Connect()
    // 接続に失敗した場合は終了
    if token.WaitTimeout(3*time.Second) && token.Error() != nil {
        log.Fatal(token.Error())
    }
    return client
}
SSL/TLS プロトコルで接続する
このセクションでは、SSL/TLS プロトコルを使用して MQTT ブローカーに接続する方法を紹介します。
接続設定
ポートを 8883 に、プロトコルタイプを "ssl" に設定します。
goconst protocol = "ssl" const port = 8883接続の主要コード
サーバー証明書を設定する必要がある場合は、
loadTLSConfig()関数で証明書を読み込みます。
証明書が不要な場合は、TCP プロトコルの接続コードと同じです。
func createMqttClient() mqtt.Client {
    connectAddress := fmt.Sprintf("%s://%s:%d", protocol, broker, port)
    rand.Seed(time.Now().UnixNano())
    clientID := fmt.Sprintf("go-client-%d", rand.Int())

    fmt.Println("connect address: ", connectAddress)
    opts := mqtt.NewClientOptions()
    opts.AddBroker(connectAddress)
    opts.SetUsername(username)
    opts.SetPassword(password)
    opts.SetClientID(clientID)
    opts.SetKeepAlive(time.Second * 60)

    // 任意: サーバー CA 証明書を設定
    // opts.SetTLSConfig(loadTLSConfig("caFilePath"))

    client := mqtt.NewClient(opts)
    token := client.Connect()
    if token.WaitTimeout(3*time.Second) && token.Error() != nil {
        log.Fatal(token.Error())
    }
    return client
}

func loadTLSConfig(caFile string) *tls.Config {
    // TLS 設定を読み込む
    var tlsConfig tls.Config
    tlsConfig.InsecureSkipVerify = false
    if caFile != "" {
        certpool := x509.NewCertPool()
        ca, err := ioutil.ReadFile(caFile)
        if err != nil {
            log.Fatal(err.Error())
        }
        certpool.AppendCertsFromPEM(ca)
        tlsConfig.RootCAs = certpool
    }
    return &tlsConfig
}
パブリッシュとサブスクライブ
このセクションでは、MQTT ブローカーに正常に接続した後、トピックをサブスクライブし、メッセージをパブリッシュする方法を紹介します。
メッセージのパブリッシュ
メッセージをパブリッシュする関数を定義します。
この関数では、無条件ループで 1 秒ごとにメッセージをパブリッシュします。msgCount でパブリッシュしたメッセージ数をカウントしています。
func publish(client mqtt.Client) {
    qos := 0
    msgCount := 0
    for {
        payload := fmt.Sprintf("message: %d!", msgCount)
        if token := client.Publish(topic, byte(qos), false, payload); token.Wait() && token.Error() != nil {
            fmt.Printf("publish failed, topic: %s, payload: %s\n", topic, payload)
        } else {
            fmt.Printf("publish success, topic: %s, payload: %s\n", topic, payload)
        }
        msgCount++
        time.Sleep(time.Second * 1)
    }
}
トピックのサブスクライブ
メッセージをサブスクライブする関数を定義します。
この関数は、受信したメッセージのトピックとペイロードをコンソールに出力します。
func subscribe(client mqtt.Client) {
    qos := 0
    client.Subscribe(topic, byte(qos), func(client mqtt.Client, msg mqtt.Message) {
        fmt.Printf("Received `%s` from `%s` topic\n", msg.Payload(), msg.Topic())
    })
}
トピックのサブスクライブ解除
以下のコードでサブスクライブを解除できます。
解除したいトピックを指定してください。
client.Unsubscribe(topic)切断
クライアントが積極的に切断したい場合は、以下のコードで行えます。
// パラメータは切断前の待機時間(ミリ秒)
client.Disconnect(250)
完全なコード例
package main

import (
	"crypto/tls"
	"crypto/x509"
	"fmt"
	"io/ioutil"
	"log"
	"math/rand"
	"time"

	mqtt "github.com/eclipse/paho.mqtt.golang"
)

const protocol = "tcp"
const broker = ""
const port = 1883
const topic = "t/1"
const username = ""
const password = ""

func main() {
	client := createMqttClient()
	go subscribe(client)        // goroutine でサブスクライブ関数を実行
	time.Sleep(time.Second * 1) // サブスクライブ関数の準備を待つため 1 秒待機
	publish(client)
}

func createMqttClient() mqtt.Client {
	connectAddress := fmt.Sprintf("%s://%s:%d", protocol, broker, port)
	rand.Seed(time.Now().UnixNano())
	clientID := fmt.Sprintf("go-client-%d", rand.Int())

	fmt.Println("connect address: ", connectAddress)
	opts := mqtt.NewClientOptions()
	opts.AddBroker(connectAddress)
	opts.SetUsername(username)
	opts.SetPassword(password)
	opts.SetClientID(clientID)
	opts.SetKeepAlive(time.Second * 60)

	// 任意: サーバー CA 証明書を設定
	// opts.SetTLSConfig(loadTLSConfig("caFilePath"))

	client := mqtt.NewClient(opts)
	token := client.Connect()
	if token.WaitTimeout(3*time.Second) && token.Error() != nil {
		log.Fatal(token.Error())
	}
	return client
}

func publish(client mqtt.Client) {
	qos := 0
	msgCount := 0
	for {
		payload := fmt.Sprintf("message: %d!", msgCount)
		if token := client.Publish(topic, byte(qos), false, payload); token.Wait() && token.Error() != nil {
			fmt.Printf("publish failed, topic: %s, payload: %s\n", topic, payload)
		} else {
			fmt.Printf("publish success, topic: %s, payload: %s\n", topic, payload)
		}
		msgCount++
		time.Sleep(time.Second * 1)
	}
}

func subscribe(client mqtt.Client) {
	qos := 0
	client.Subscribe(topic, byte(qos), func(client mqtt.Client, msg mqtt.Message) {
		fmt.Printf("Received `%s` from `%s` topic\n", msg.Payload(), msg.Topic())
	})
}

func loadTLSConfig(caFile string) *tls.Config {
	// TLS 設定を読み込む
	var tlsConfig tls.Config
	tlsConfig.InsecureSkipVerify = false
	if caFile != "" {
		certpool := x509.NewCertPool()
		ca, err := ioutil.ReadFile(caFile)
		if err != nil {
			log.Fatal(err.Error())
		}
		certpool.AppendCertsFromPEM(ca)
		tlsConfig.RootCAs = certpool
	}
	return &tlsConfig
}
動作確認
実行手順
➜ ~ go run main.go
connect address:  tcp://***.***.***.***:1883
publish success, topic: t/1, payload: message: 0!
Received `message: 0!` from `t/1` topic
publish success, topic: t/1, payload: message: 1!
Received `message: 1!` from `t/1` topic
publish success, topic: t/1, payload: message: 2!
Received `message: 2!` from `t/1` topic
publish success, topic: t/1, payload: message: 3!
Received `message: 3!` from `t/1` topic
publish success, topic: t/1, payload: message: 4!
Received `message: 4!` from `t/1` topic
publish success, topic: t/1, payload: message: 5!
Received `message: 5!` from `t/1` topic
publish success, topic: t/1, payload: message: 6!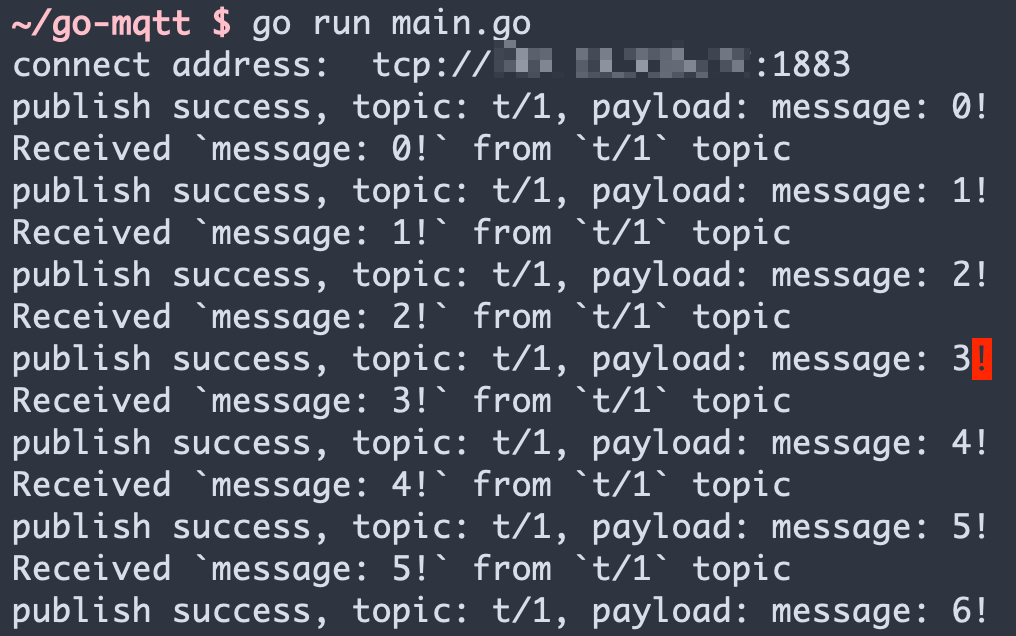
さらに詳しく
まとめると、Go プロジェクトで MQTT 接続の作成、サブスクライブ、メッセージの送受信、サブスクライブ解除、切断を実装しました。
サンプルのソースコードは こちら からダウンロードできます。
また、他の言語のデモ例も GitHub でご覧いただけます。