Banned Clients
EMQX enables users to restrict access from particular clients through its banning feature. Clients can be added to the ban list using their client ID, username, or source IP address.
Banning can also be applied through rules that include:
Regular patterns to match client identifiers and usernames.
TIP
Banning through regular expressions does not apply to clients that are already connected.
CIDR ranges to match source IP addresses.
TIP
Be aware that a high volume of matching rules can adversely affect performance. This is because the system checks all rules for each client attempting to connect, in contrast to direct bans.
This page focuses on managing banned clients via the EMQX Dashboard. The banning functionality can also be accessed through the REST API.
| API | Function |
|---|---|
| DEL /banned | Clear all banned data. |
| GET /banned | List all currently banned client IDs, usernames and IP addresses. |
| POST /banned | Add a client ID, username or IP address to the blacklist. |
| DEL /banned/ {as} /{who} | Remove a client ID, username or IP address from the blacklist. |
TIP
The banned list is only applicable to a small number of client bans. If there are a large number of clients requiring authentication management, use the authentication function.
Create Banned Clients
- Go to EMQX Dashboard, and click Access Control -> Banned Clients on the left navigation menu to enter the Banned Clients page.
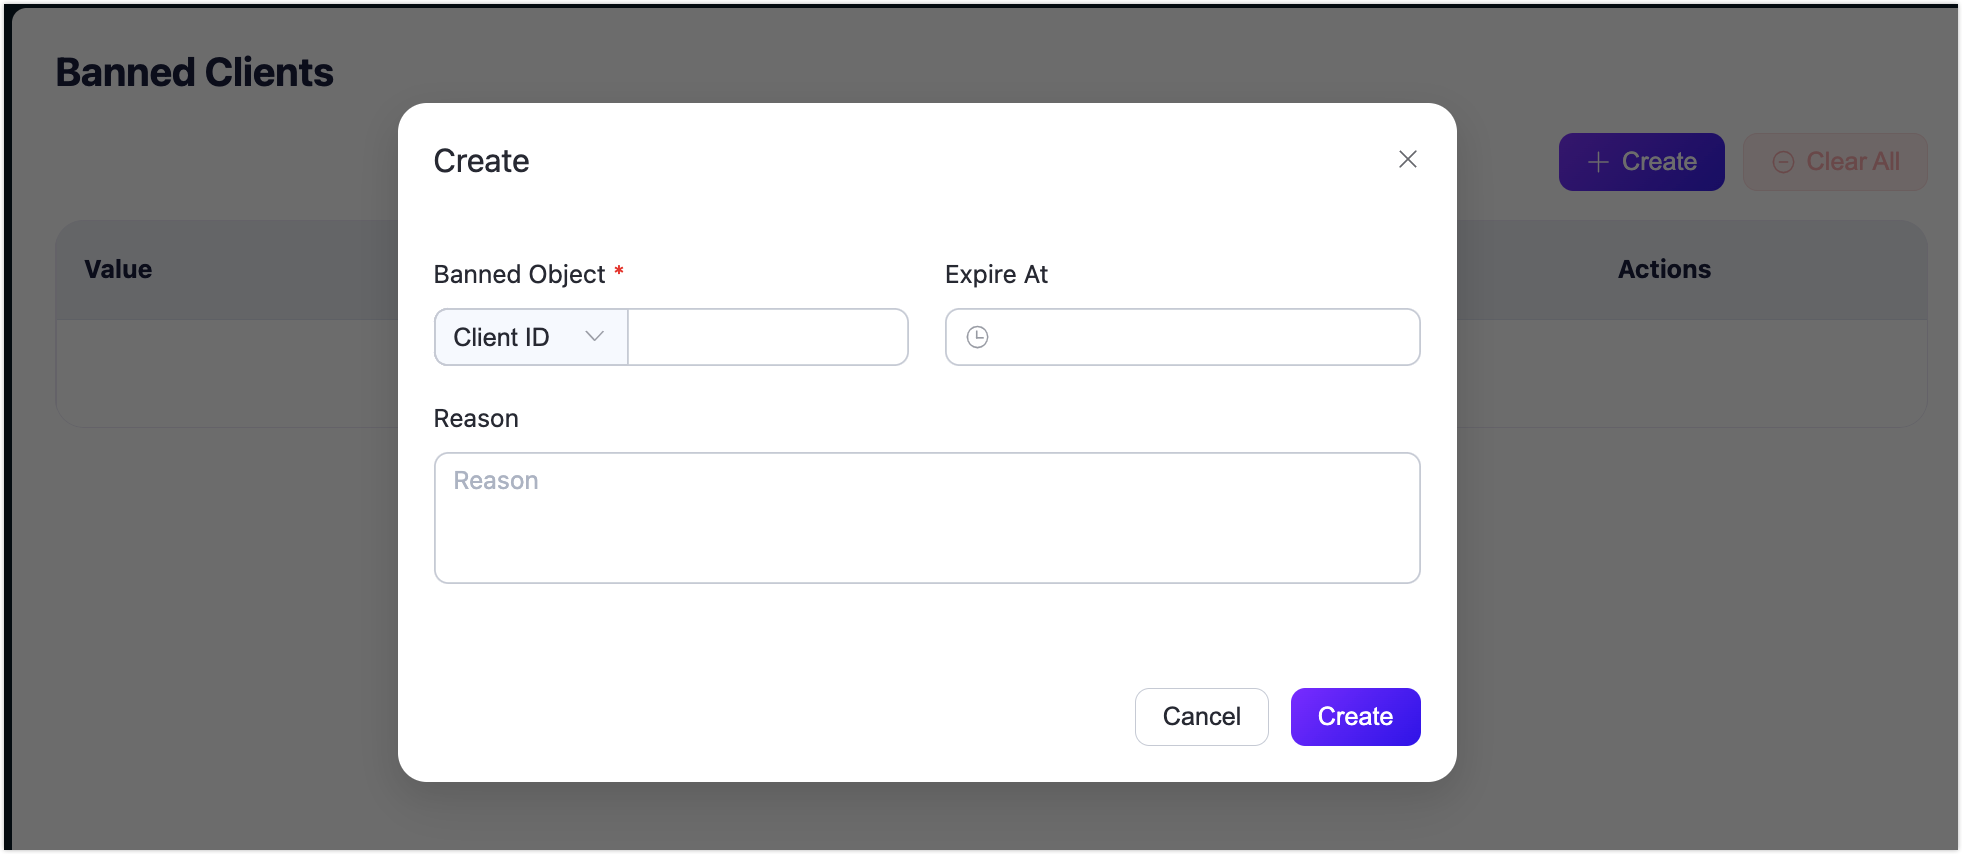
- Click Create at the top right corner. In the Create dialog, specify a client to be banned.
- Banned Object: Choose how to enact a ban on a client by specifying either the Client ID, Username, IP Address, Client ID Pattern, Username Pattern, or IP Address Range from the dropdown list, and then provide the associated value.
- Expire At (optional): Click the clock icon to select the expiration time and date for this banning action.
- Reason (optional): Fill in why you want to ban this client in this text box.
- Click Create to finish the setting.
Clear Banned Clients
You can remove a single banned client record by clicking the Delete button in the Actions column. If you want to clear the records on the page all at once, click the Clear All button.