Ingest MQTT Data into Couchbase
Couchbase is a multipurpose, distributed database that combines the strengths of relational databases, including SQL and ACID transactions, with the versatility of JSON. Built on a foundation that is both highly performant and scalable, Couchbase is widely used across various industries for applications such as user profiles, dynamic product catalogs, generative AI applications, vector search, high-speed caching, and more.
How It Works
Couchbase data integration is an out-of-the-box feature in EMQX designed to combine the MQTT's real-time data capturing and transmission capabilities with Couchbase's powerful data processing functionality. With a built-in rule engine component, the integration simplifies the process of ingesting data from EMQX to Couchbase for storage and analysis, eliminating the need for complex coding.
The diagram below illustrates a typical architecture of data integration between EMQX and Couchbase.
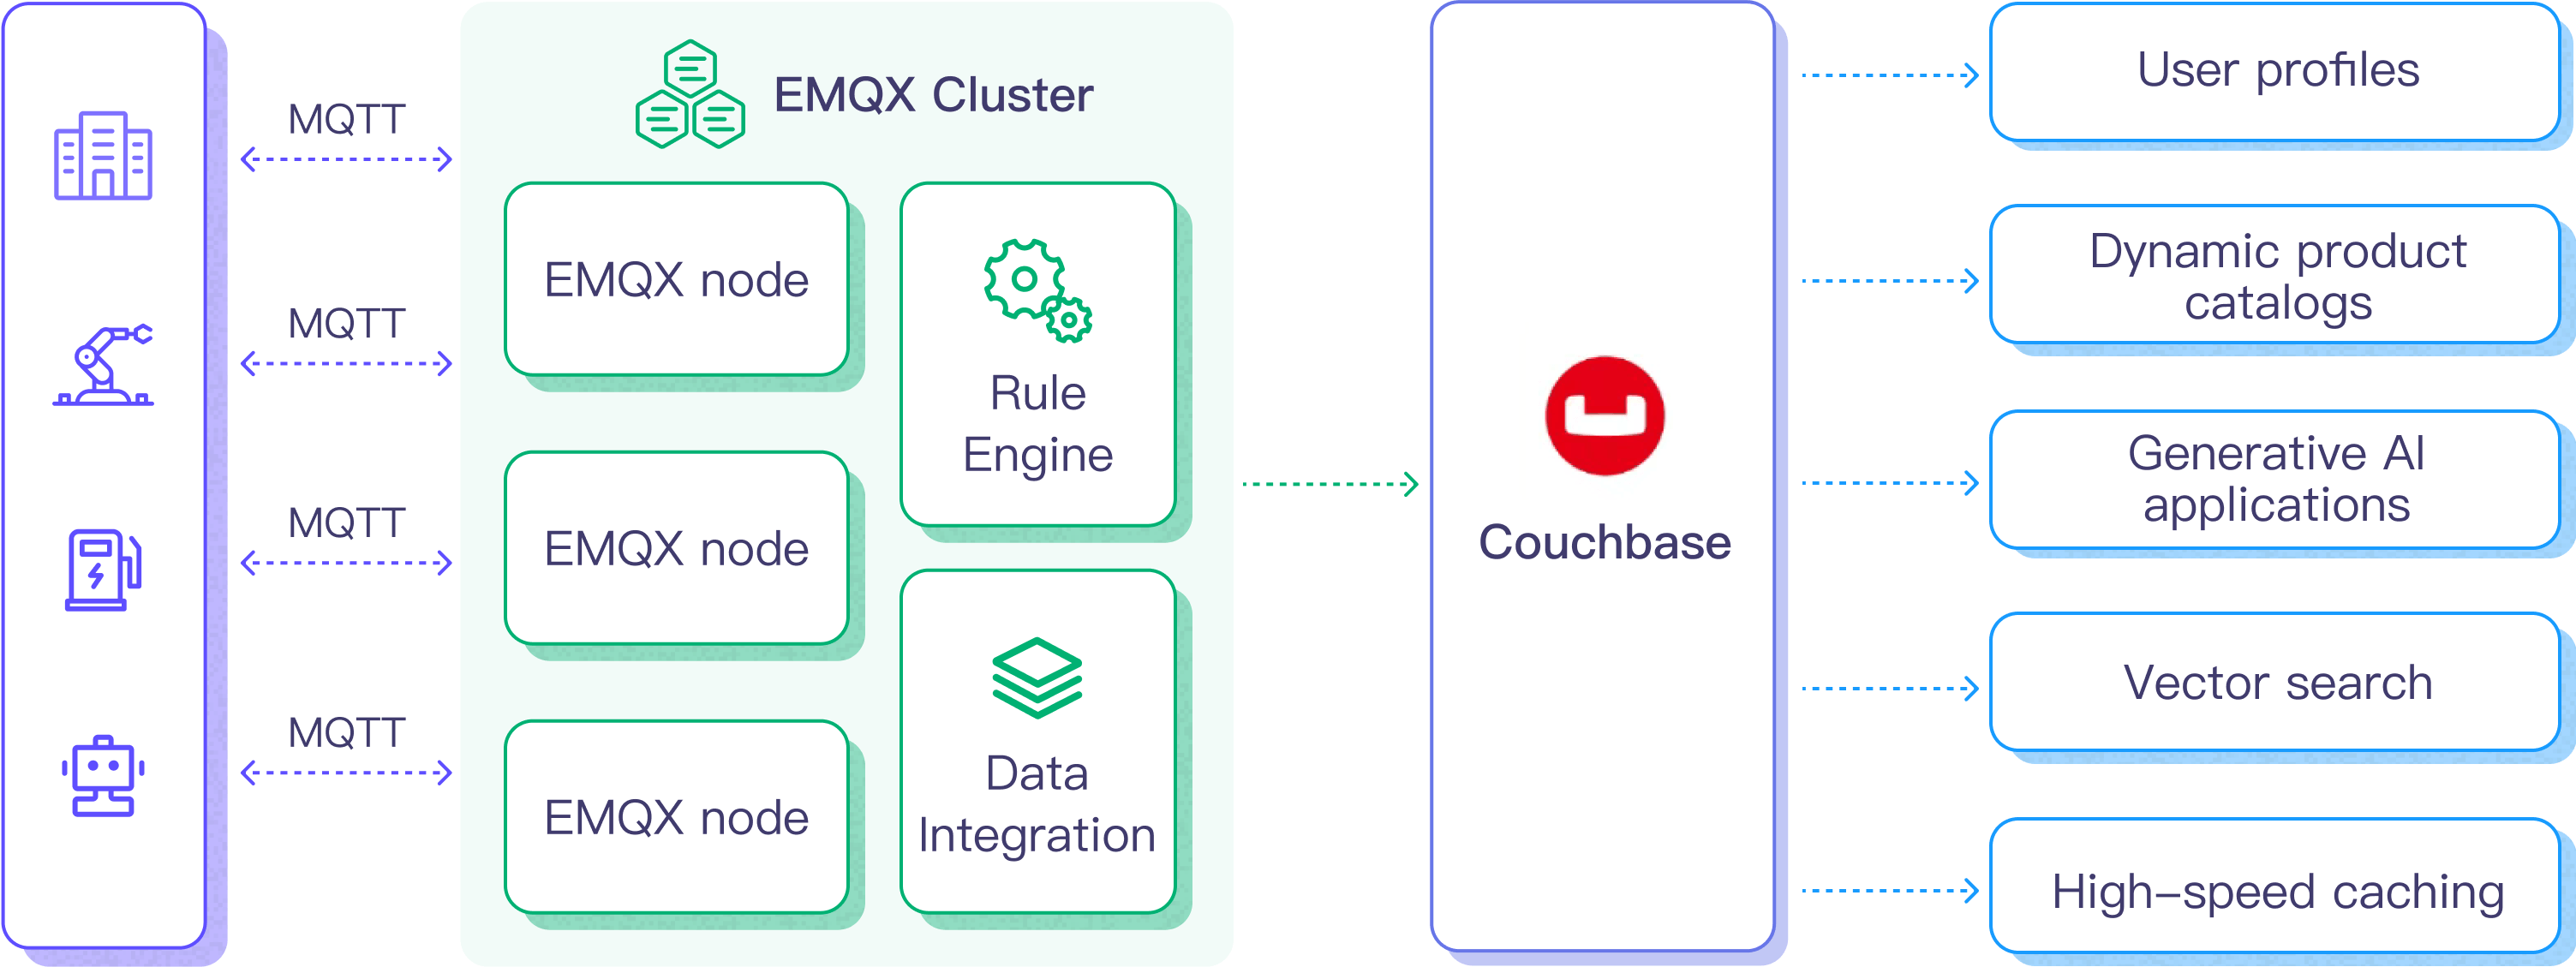
Ingesting MQTT data into Couchbase works as follows:
- Message publication and reception: Industrial IoT devices establish successful connections to EMQX through the MQTT protocol and publish real-time MQTT data from machines, sensors, and product lines based on their operational states, readings, or triggered events to EMQX. When EMQX receives these messages, it initiates the matching process within its rules engine.
- Message data processing: When a message arrives, it passes through the rule engine and is then processed by the rule defined in EMQX. The rules, based on predefined criteria, determine which messages need to be routed to Couchbase. If any rules specify payload transformations, those transformations are applied, such as converting data formats, filtering out specific information, or enriching the payload with additional context.
- Data ingestion into Couchbase: Once the rule engine identifies a message for Couchbase storage, it triggers an action of forwarding the messages to Couchbase. Processed data will be seamlessly written into the dataset of the Couchbase database.
- Data Storage and Utilization: With the data now stored in Couchbase, businesses can harness its querying power for various use cases. For example, in the context of dynamic product catalogs, businesses can use Couchbase to efficiently manage and retrieve product information, support real-time inventory updates, and deliver personalized recommendations to customers, enhancing the shopping experience and increasing sales.
Features and Benefits
The data integration with Couchbase offers a range of features and benefits tailored to ensure efficient data transmission, storage, and utilization:
- Real-time Data Streaming: EMQX is built for handling real-time data streams, ensuring efficient and reliable data transmission from source systems to Couchbase. It enables organizations to capture and analyze data in real-time, making it ideal for use cases requiring immediate insights and actions.
- High Performance and Scalability: EMQX's distributed architecture and Couchbase's columnar storage format enable seamless scalability as data volumes increase. This ensures consistent performance and responsiveness, even with large datasets.
- Flexibility in Data Transformation: EMQX provides a powerful SQL-based Rule Engine, allowing organizations to pre-process data before storing it in Couchbase. It supports various data transformation mechanisms, such as filtering, routing, aggregation, and enrichment, enabling organizations to shape the data according to their needs.
- Easy Deployment and Management: EMQX provides a user-friendly interface for configuring data sources, pre-processing data rules, and Couchbase storage settings. This simplifies the setup and ongoing management of the data integration process.
- Advanced Analytics: Couchbase's powerful SQL-based query language and support for complex analytical functions empower users to gain valuable insights from IoT data, enabling predictive analytics, anomaly detection, and more.
Before You Start
This section describes the preparations you need to complete before you start to create the Couchbase data integration in EMQX Dashboard.
Prerequisites
Knowledge about EMQX data integration rules
Knowledge about data integration
Basic knowledge of UNIX terminal and commands
Start a Couchbase Server
This section introduces how to start a Couchbase server using Docker.
Start a Couchbase server using the following command.
bashdocker run -t --name db -p 8091-8096:8091-8096 -p 11210-11211:11210-11211 couchbase/server:enterprise-7.2.0When you run the command, Docker downloads and installs Couchbase Server. You should see the following message once Couchbase Server is started in a Docker virtual environment:
Starting Couchbase Server -- Web UI available at http://<ip>:8091
and logs available in /opt/couchbase/var/lib/couchbase/logs
Open Couchbase Web Console in your browser by visiting
http://localhost:8091.
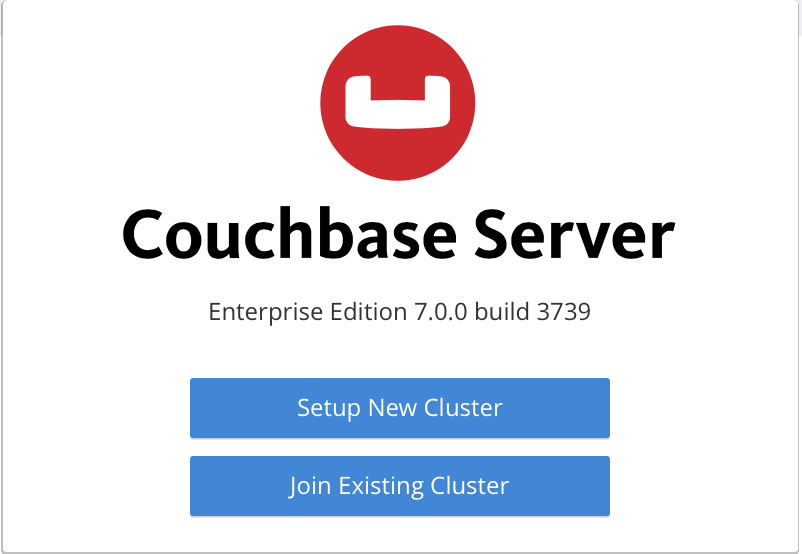
- Click Setup New Cluster and provide a name for your cluster. For the purpose of getting started, set the full administrator credentials to
adminandpassword.
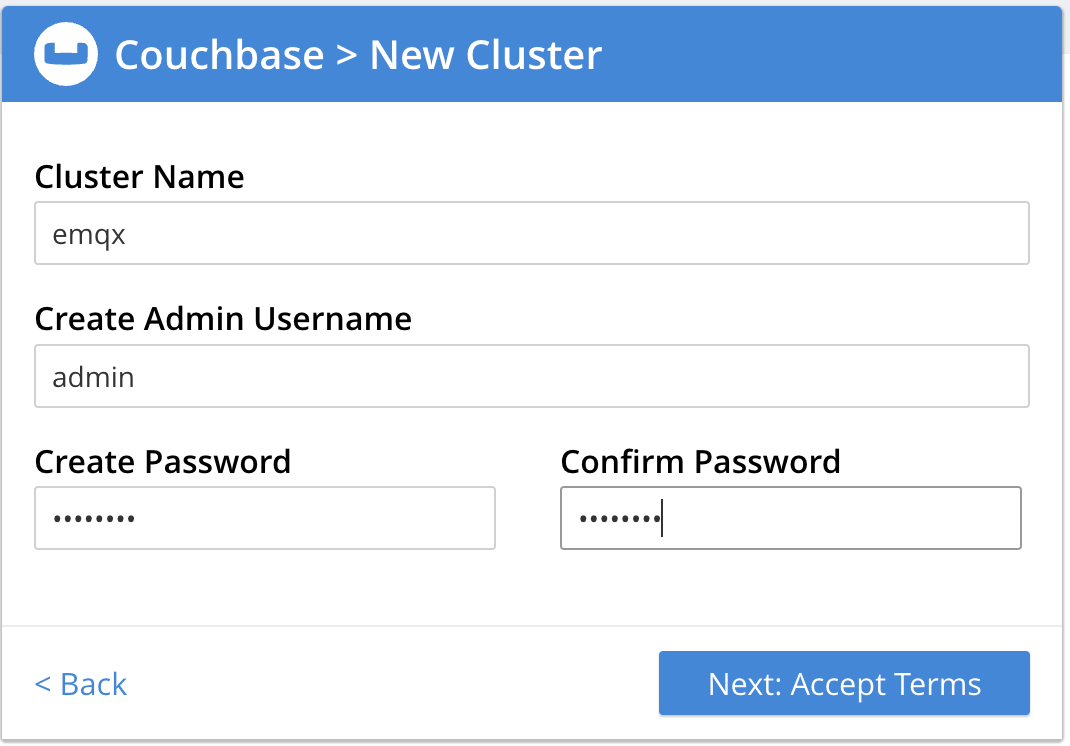
Accept the Terms and Conditions and click Finish with Defaults to complete configuration with default values.
When you have finished entering your configuration details, click the Save & Finish button, at the lower right. This configures the server accordingly, and brings up the Couchbase Web Console Dashboard. Select Buckets in the navigation panel on the left side, and click the ADD BUCKET button.

Enter a name for the bucket, for example,
emqx, and click Create to create the bucket.Create a primary index for the default collection:
docker exec -t db /opt/couchbase/bin/cbq -u admin -p password -engine=http://127.0.0.1:8091/ -script "create primary index on default:emqx_data._default._default;"
You can find more information about running Couchbase in docker on the official documentation page.
Create a Connector
This section demonstrates how to create a Connector to connect the Sink to the Couchbase server.
The following steps assume that you run both EMQX and Couchbase on the local machine. If you have Couchbase and EMQX running remotely, adjust the settings accordingly.
- Enter the EMQX Dashboard and click Integration -> Connectors.
- Click Create in the top right corner of the page.
- On the Create Connector page, select Couchbase and then click Next.
- In the Configuration step, configure the following information:
- Connector name: Enter a name for the connector, which should be a combination of upper and lower-case letters and numbers, for example:
my_couchbase. - Server Host:
127.0.0.1 - Username:
admin - Password:
password
- Connector name: Enter a name for the connector, which should be a combination of upper and lower-case letters and numbers, for example:
- Advanced settings (optional): See Advanced Configurations.
- Before clicking Create, you can click Test Connectivity to test if the connector can connect to the Couchbase server.
- Click the Create button at the bottom to complete the creation of the connector. In the pop-up dialog, you can click Back to Connector List or click Create Rule to continue creating rules and Sink to specify the data to be forwarded to Couchbase. For detailed steps, see Create a Rule with Couchbase Sink.
Create a Rule with Couchbase Sink
This section demonstrates how to create a rule in Dashboard for processing messages from the source MQTT topic t/# and forwarding the processed results to Couchbase via a configured Sink.
Go to EMQX Dashboard, and click Integration -> Rules from the left navigation menu.
Click Create on the top right corner of the page.
Enter the rule ID, for example,
my_rule.Leave the statement in the SQL editor, it will forward the MQTT messages matching the topic pattern
t/#.sqlSELECT * FROM "t/#"Click the + Add Action button to define an action that will be triggered by the rule. With this action, EMQX sends the data processed by the rule to Couchbase.
Select
Couchbasefrom the Type of Action dropdown list. Keep the Action dropdown with the defaultCreate Actionvalue. You can also select a Couchbase Sink if you have created one. This demonstration will create a new Sink.Enter a name for the Sink. The name should combine upper/lower case letters and numbers.
Select the
my_couchbasejust created from the Connector dropdown box. You can also create a new Connector by clicking the button next to the dropdown box. For the configuration parameters, see Create a Connector.Enter the following command in the SQL template:
sqlinsert into emqx_data (key, value) values (${.id}, ${.payload})Here,
${.id}and${.payload}represent the MQTT message id and payload, respectively. EMQX will replace them with the corresponding content before forwarding the message.Fallback Actions (Optional): If you want to improve reliability in case of message delivery failure, you can define one or more fallback actions. These actions will be triggered if the primary Sink fails to process a message. See Fallback Actions for more details.
Advanced settings (optional): See Advanced Configurations.
Before clicking Create, you can click the Test Connectivity button to ensure that you can connect to the Couchbase server.
Click the Create button to complete the Sink configuration. Back on the Create Rule page, you will see the new Sink appear under the Action Outputs tab.
On the Create Rule page, verify the configured information and click the Create button to generate the rule. The rule you created is shown in the rule list and the status should be connected.
Now you have successfully created the rule and you can see the new rule appear on the Rule page. Click the Actions(Sink) tab, you see the new Couchbase Sink.
You can also click Integration -> Flow Designer to view the topology. You can see that the messages under topic t/# are sent and saved to Couchbase after parsing by the rule my_rule.
Test the Rule
You can use the built-in WebSocket client in the EMQX dashboard to test if the rule works as expected.
Click Diagnose -> WebSocket Client in the left navigation menu of the Dashboard to access the WebSocket Client. Follow the steps below to set up a WebSocket client and send a message to the topic t/test:
Fill in the connection information for the current EMQX instance. If you are running EMQX locally, you can use the default values unless you have changed EMQX's default configuration (for example, you might have configured authentication which may require you to type in a username and password).
Click Connect to connect the client to the EMQX instance.
Scroll down to the publish area and type in the following:
- Topic:
t/test - Payload:
Hello World Couchbase from EMQX - QoS: 2
- Topic:
Click Publish to send the message. An item should have been inserted in the
emqx_databucket in the Couchbase server. You can check this by running the following command from a terminal:bashdocker exec -t db /opt/couchbase/bin/cbq -u admin -p password -engine=http://127.0.0.1:8091/ -script "SELECT * FROM emqx_data._default._default LIMIT 5;"If everything is working correctly the command above should print something like this (
requestIDand metrics may vary):{ "requestID": "88be238c-5b63-453d-ac16-c0368a5be2bc", "signature": { "*": "*" }, "results": [ { "_default": "Hello World Couchbase from EMQX" } ], "status": "success", "metrics": { "elapsedTime": "3.189125ms", "executionTime": "3.098709ms", "resultCount": 1, "resultSize": 61, "serviceLoad": 2 } }
Advanced Configurations
This section delves deeper into the advanced configuration options available for the EMQX Couchbase Connector. When configuring the Connector in the Dashboard, navigate to Advanced Settings to tailor the following parameters to meet your specific needs.
| Fields | Descriptions | Recommended Value |
|---|---|---|
| HTTP Pipelining | Specifies the number of HTTP requests that can be sent to the server in a continuous sequence without waiting for individual responses. This option takes a positive integer value that represents the maximum number of HTTP requests that will be pipelined. When set to 1, it indicates a traditional request-response model where each HTTP request will be sent, and then the client will wait for a server response before sending the next request. Higher values enable more efficient use of network resources by allowing multiple requests to be sent in a batch, reducing the round-trip time. | 100 |
| Connection Pool Size | Specifies the number of concurrent connections that can be maintained in the connection pool when interfacing with the Couchbase service. This option helps in managing the application's scalability and performance by limiting or increasing the number of active connections between EMQX and Couchbase. Note: Setting an appropriate connection pool size depends on various factors such as system resources, network latency, and the specific workload of your application. Too large a pool size may lead to resource exhaustion, while too small a size may limit throughput. | 8 |
| Connect Timeout | Specifies the maximum amount of time, in seconds, that the Connector will wait while attempting to establish a connection with the Couchbase server. Note: A carefully chosen timeout setting is crucial for balancing system performance and resource utilization. It is advisable to test the system under various network conditions to find the optimal timeout value for your specific use case. | 15 |
| Start Timeout | Determines the maximum time interval, in seconds, that the Connector will wait for an auto-started resource to reach a healthy state before responding to resource creation requests. This setting helps ensure that the Connector does not proceed with operations until it verifies that the connected resource—such as a database instance in Couchbase—is fully operational and ready to handle data transactions. | 5 |
| Health Check Interval | Specifies the time interval, in seconds, at which the Connector will perform automated health checks on the connection to Couchbase. | 15 |