EMQXクラスターでのパーシステンス有効化
目的
EMQXクラスターのCoreノード群に対して、volumeClaimTemplatesフィールドを通じてパーシステンスを設定します。
EMQXクラスターのパーシステンス設定
EMQX CRD apps.emqx.io/v2beta1 は、各Coreノードのデータのパーシステンスを .spec.coreTemplate.spec.volumeClaimTemplates で設定することをサポートしています。
.spec.coreTemplate.spec.volumeClaimTemplates フィールドの定義と意味は、Kubernetes APIで定義されている PersistentVolumeClaimSpec と一致しています。
.spec.coreTemplate.spec.volumeClaimTemplates フィールドを指定すると、EMQXオペレーターはEMQXコンテナの /opt/emqx/data ボリュームをPersistent Volume Claim(PVC)でバックアップするように設定します。PVCは指定されたStorageClassを利用してPersistent Volume(PV)をプロビジョニングします。その結果、EMQX Podが削除されても、関連付けられたPVおよびPVCは保持され、EMQXのランタイムデータが保存されます。
PVおよびPVCの詳細については、Persistent Volumesのドキュメントを参照してください。
以下の内容をYAMLファイルとして保存し、
kubectl applyでデプロイします。yamlapiVersion: apps.emqx.io/v2beta1 kind: EMQX metadata: name: emqx spec: image: emqx/emqx:6.2.2 config: data: | license { key = "..." } coreTemplate: spec: volumeClaimTemplates: storageClassName: standard resources: requests: storage: 20Mi accessModes: - ReadWriteOnce replicas: 3 listenersServiceTemplate: spec: type: LoadBalancer dashboardServiceTemplate: spec: type: LoadBalancerTIP
storageClassNameフィールドを使って、EMQXデータに適したStorageClassを選択してください。kubectl get storageclassコマンドでKubernetesクラスター内に存在するStorageClassを一覧表示できます。またはニーズに応じてStorageClassを作成してください。EMQXクラスターが準備完了になるまで待機します。
kubectl getコマンドでEMQXクラスターの状態を確認し、STATUSがReadyになっていることを確認してください。準備完了までに時間がかかる場合があります。bash$ kubectl get emqx emqx NAME STATUS AGE emqx Ready 10m
パーシステンスの検証
EMQXダッシュボードでテスト用のルールを作成します。
bashexternal_ip=$(kubectl get svc emqx-dashboard -o json | jq -r '.status.loadBalancer.ingress[0].ip')ブラウザで
http://${external_ip}:18083にアクセスし、EMQXダッシュボードにログインします。Integration -> Rules に移動し、新しいルールを作成します。
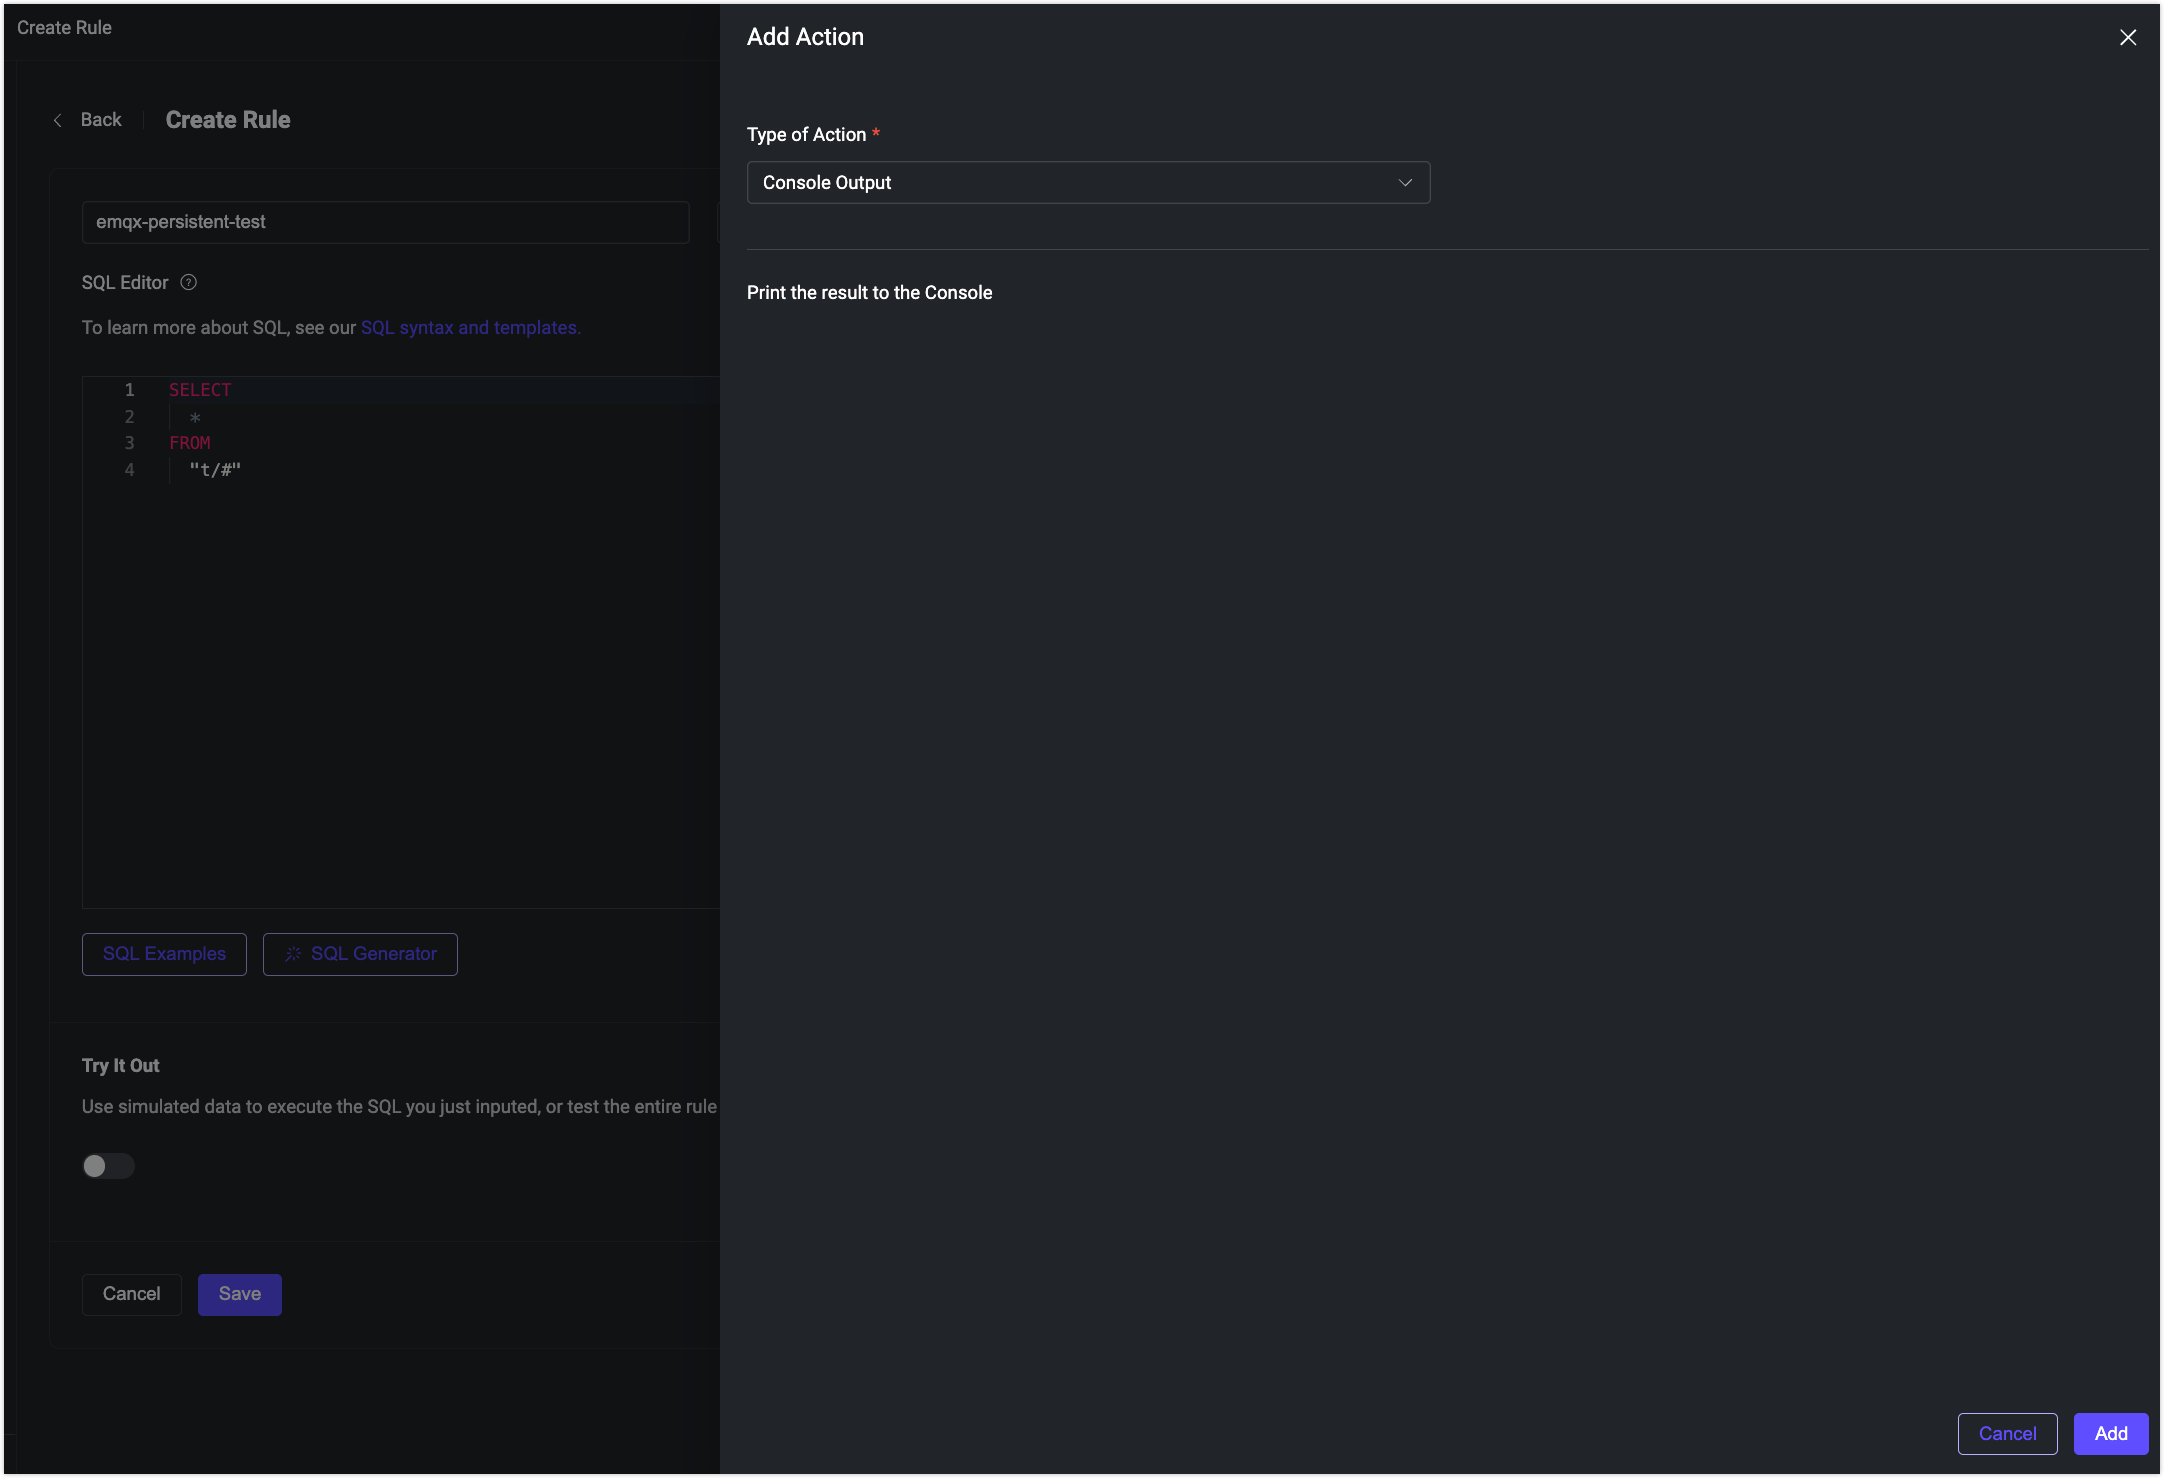
このルールにシンプルなアクションを追加します。
Save をクリックしてルールを生成します。以下の図のように表示されます。
ルールが正常に作成されると、
emqx-persistent-testIDを持つ対応するレコードがページに表示されます。以下の図を参照してください。
既存のEMQXクラスターを削除します。
以前にクラスターをデプロイした際に使用したファイル(ここでは
emqx.yaml)を指定して、以下のコマンドを実行します。bash$ kubectl delete -f emqx.yaml emqx.apps.emqx.io "emqx" deletedEMQXクラスターを再デプロイします。
以下のコマンドでEMQXクラスターを再デプロイしてください。
bash$ kubectl apply -f emqx.yaml emqx.apps.emqx.io/emqx createdEMQXクラスターが準備完了になるまで待機し、ブラウザでEMQXダッシュボードにアクセスして、以前作成したルールが残っていることを確認します。以下の図のように表示されます。
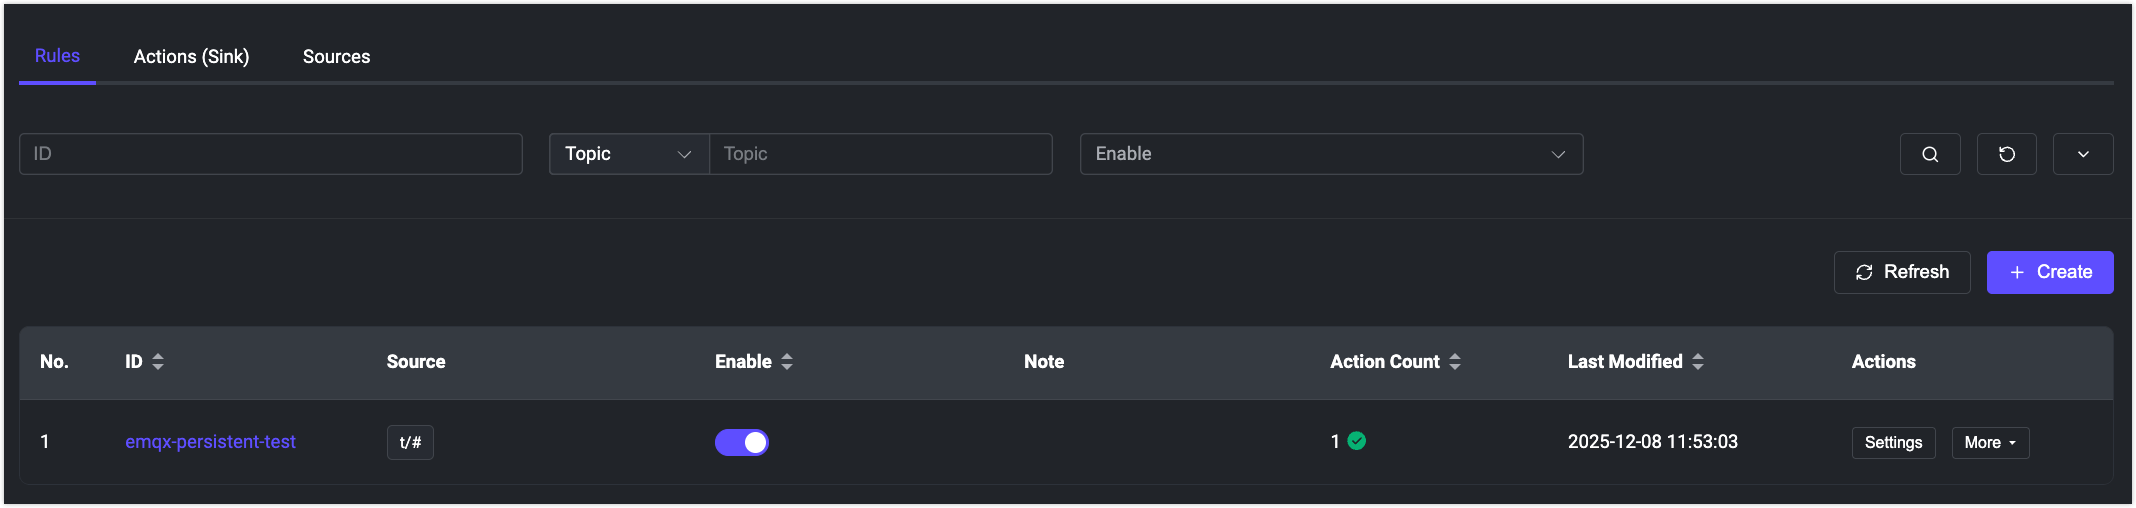
古いクラスターで作成した
emqx-persistent-testルールが新しいクラスターにも存在していることから、パーシステンス設定が正しく機能していることが確認できます。