Auto Subscribe
Auto Subscribe is an extended MQTT feature supported by EMQX. With Auto Subscription enabled, users can set multiple EMQX rules. After a client is successfully connected to EMQX, EMQX will complete the subscription process for the client automatically, and the clients no longer need to send SUBSCRIBE requests.
Before EMQX 5.0, this feature is called Proxy Subscription.
Configure Auto Subscribe via Dashboard
Open EMQX Dashboard. In the left navigation menu, click Management -> Auto Subscribe.
On the Auto Subscribe page, click the + Add button at the upper right corner.
In the pop-up dialog box, type the test topic
a/1in the Topic text box. Leave other settings as default.Topic: Type the topic that is automatically subscribed to for the client. You can dynamically build the topic using placeholders. For details, see Placeholders.
QoS: Specify the quality of service of the topic. Options:
0,1, and2.No local: Options:
FalseorTrue.Retain as Published: Specify if the message sent with the specified topic will be retained. Options:
FalseorTrue.Retained Handling: Options:
0,1, and2.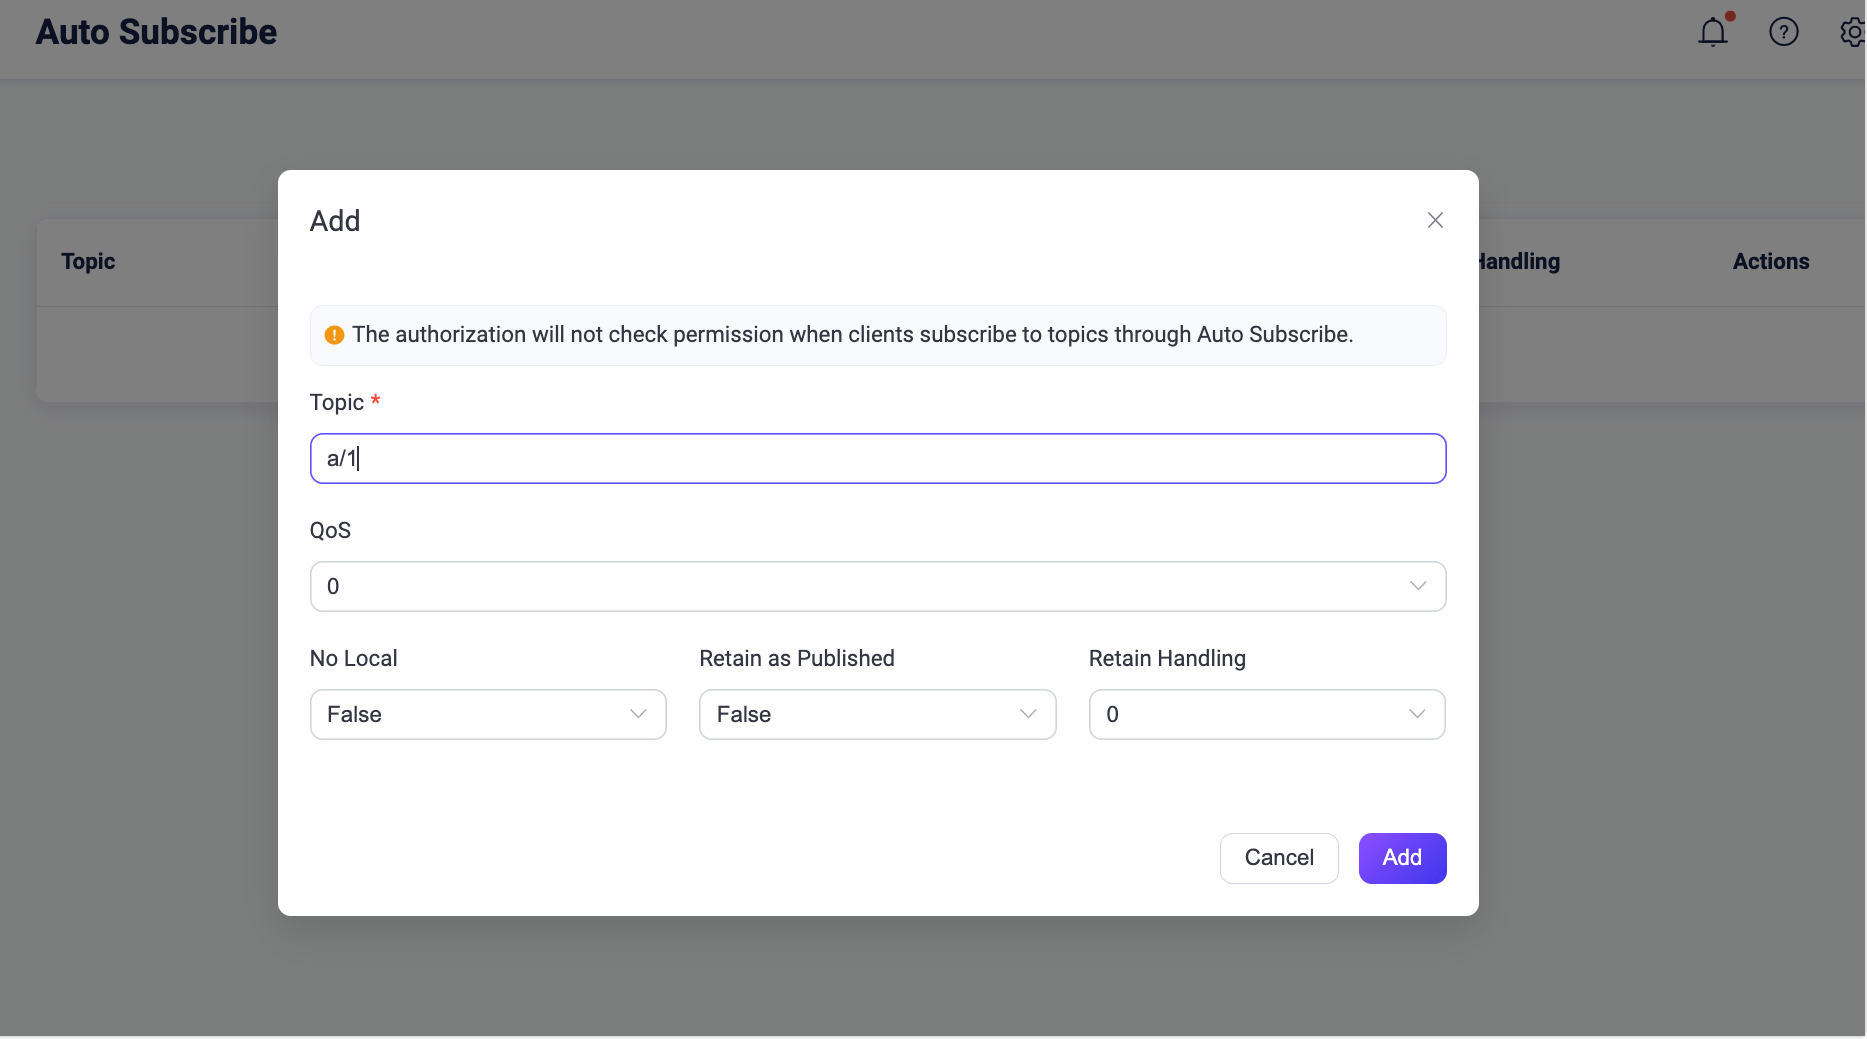
Click the Add button on the dialogue box. The auto subscribe topic
a/1is created successfully.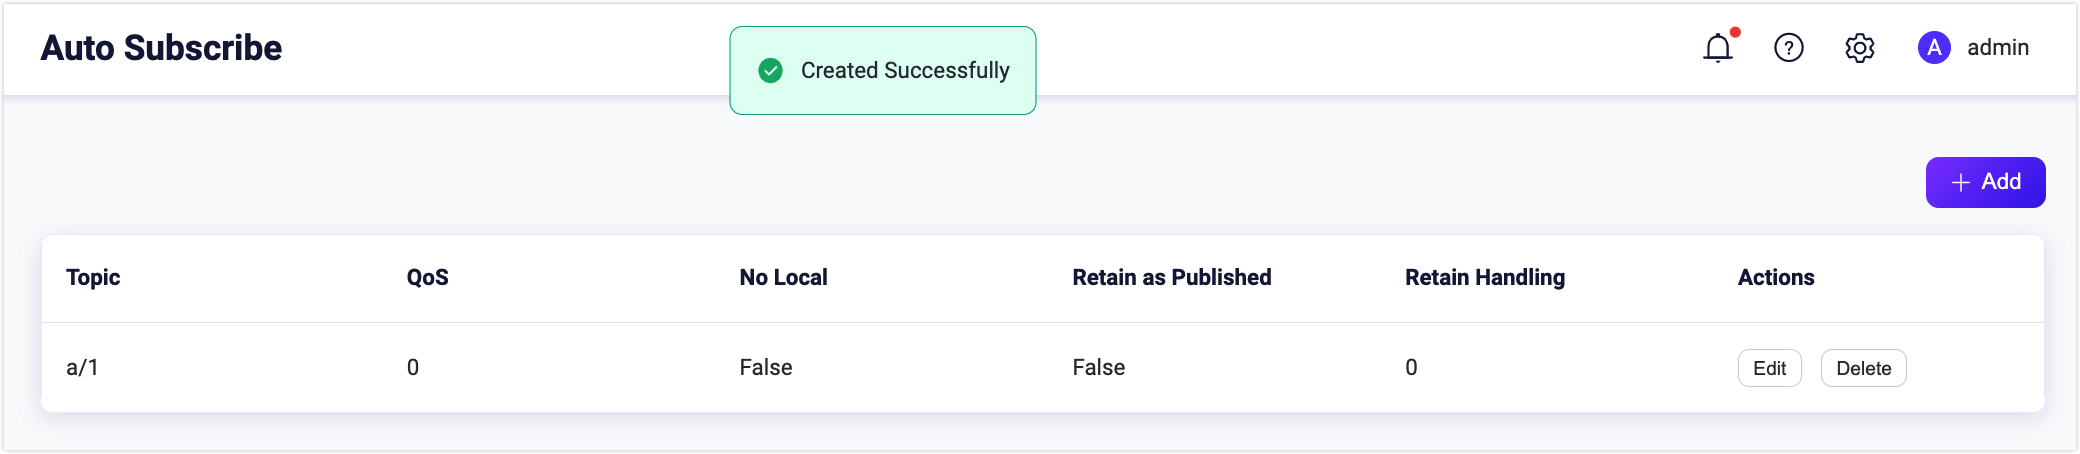
Now the auto subscription function is enabled. New subscribers will subscribe to the topic a/1 automatically once they are connected to the broker.
Try Auto Subscription Using MQTTX Desktop
The topic a/1 is configured as the auto-subscribe topic in Configure Auto Subscribe via Dashboard. The following procedure demonstrates how a client subscribes to the topic a/1 automatically once it is connected to the broker.
Prerequisite
Basic publishing and subscribing operations using MQTTX Desktop.
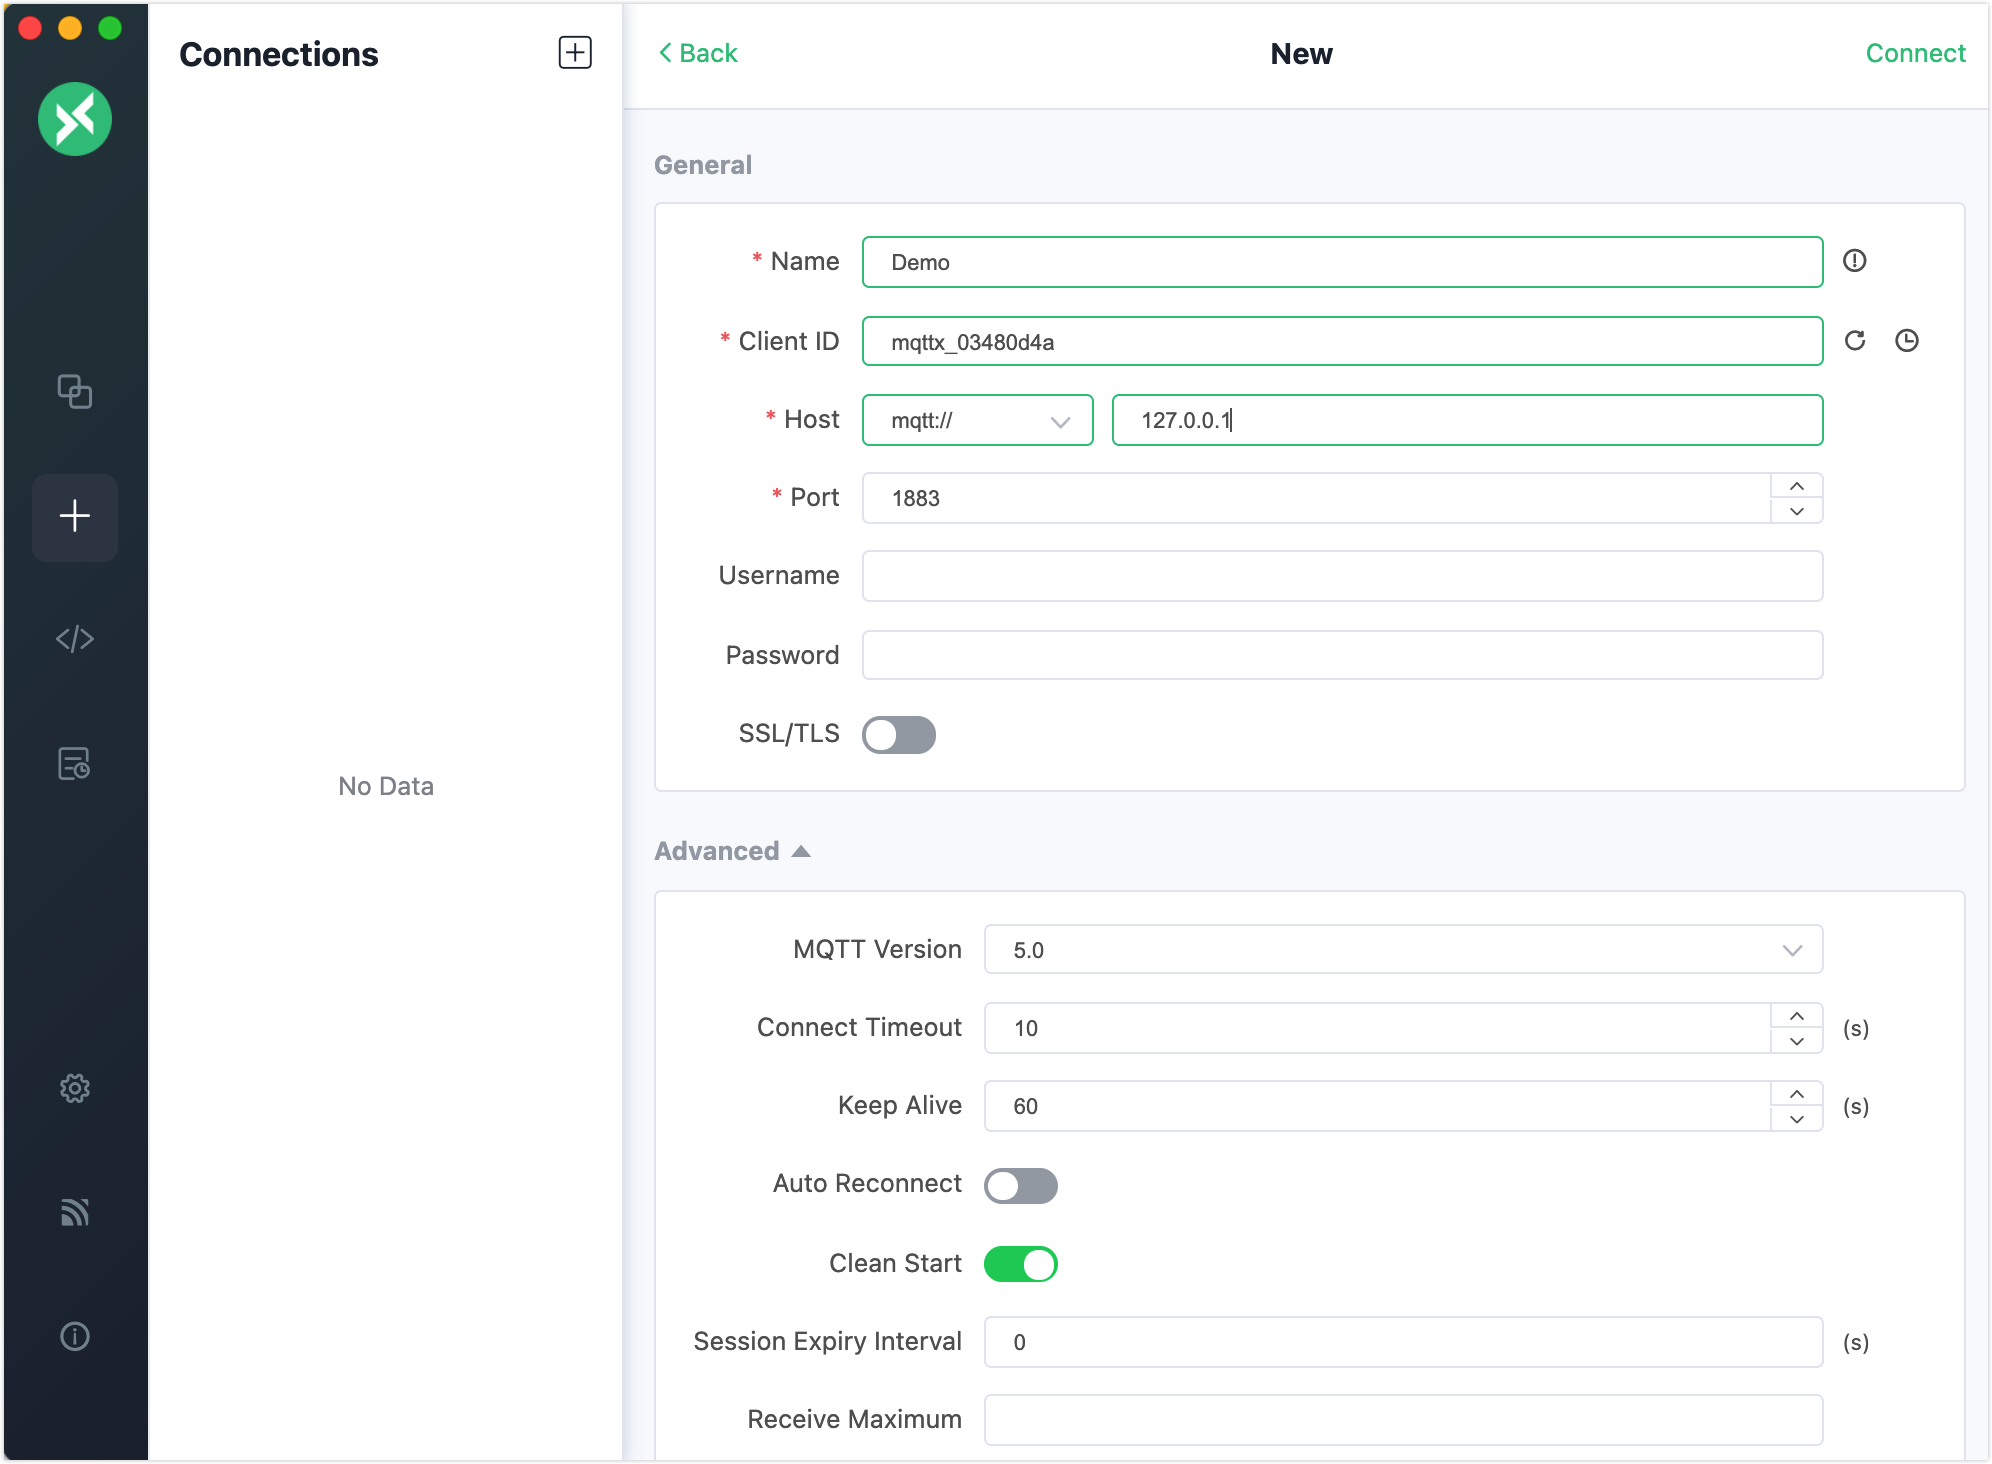
Start EMQX and MQTTX Desktop. Click the New Connection to create a client connection as a publisher.
- Enter
Demoin the Name field. - Enter the localhost
127.0.0.1in Host to use as an example in this demonstration. - Leave other settings as default and click Connect.
TIP
More detailed instructions on creating an MQTT connection are introduced in MQTTX Desktop.
- Enter
Create another MQTT client connection named
Subscriber.Select client
Demoin the Connections pane. Entera/1as the topic. Send a message to this topic.The client
Subscriberreceives the message automatically without creating a new subscription.The client
Demoalso receives the message as it is also a new connection.TIP
In the publish/subscribe pattern, a client can be both sender and subscriber.
Go to EMQX Dashboard. Click Monitoring -> Subscriptions from the left navigation menu. It shows two subscriptions automatically subscribe to the topic
a/1.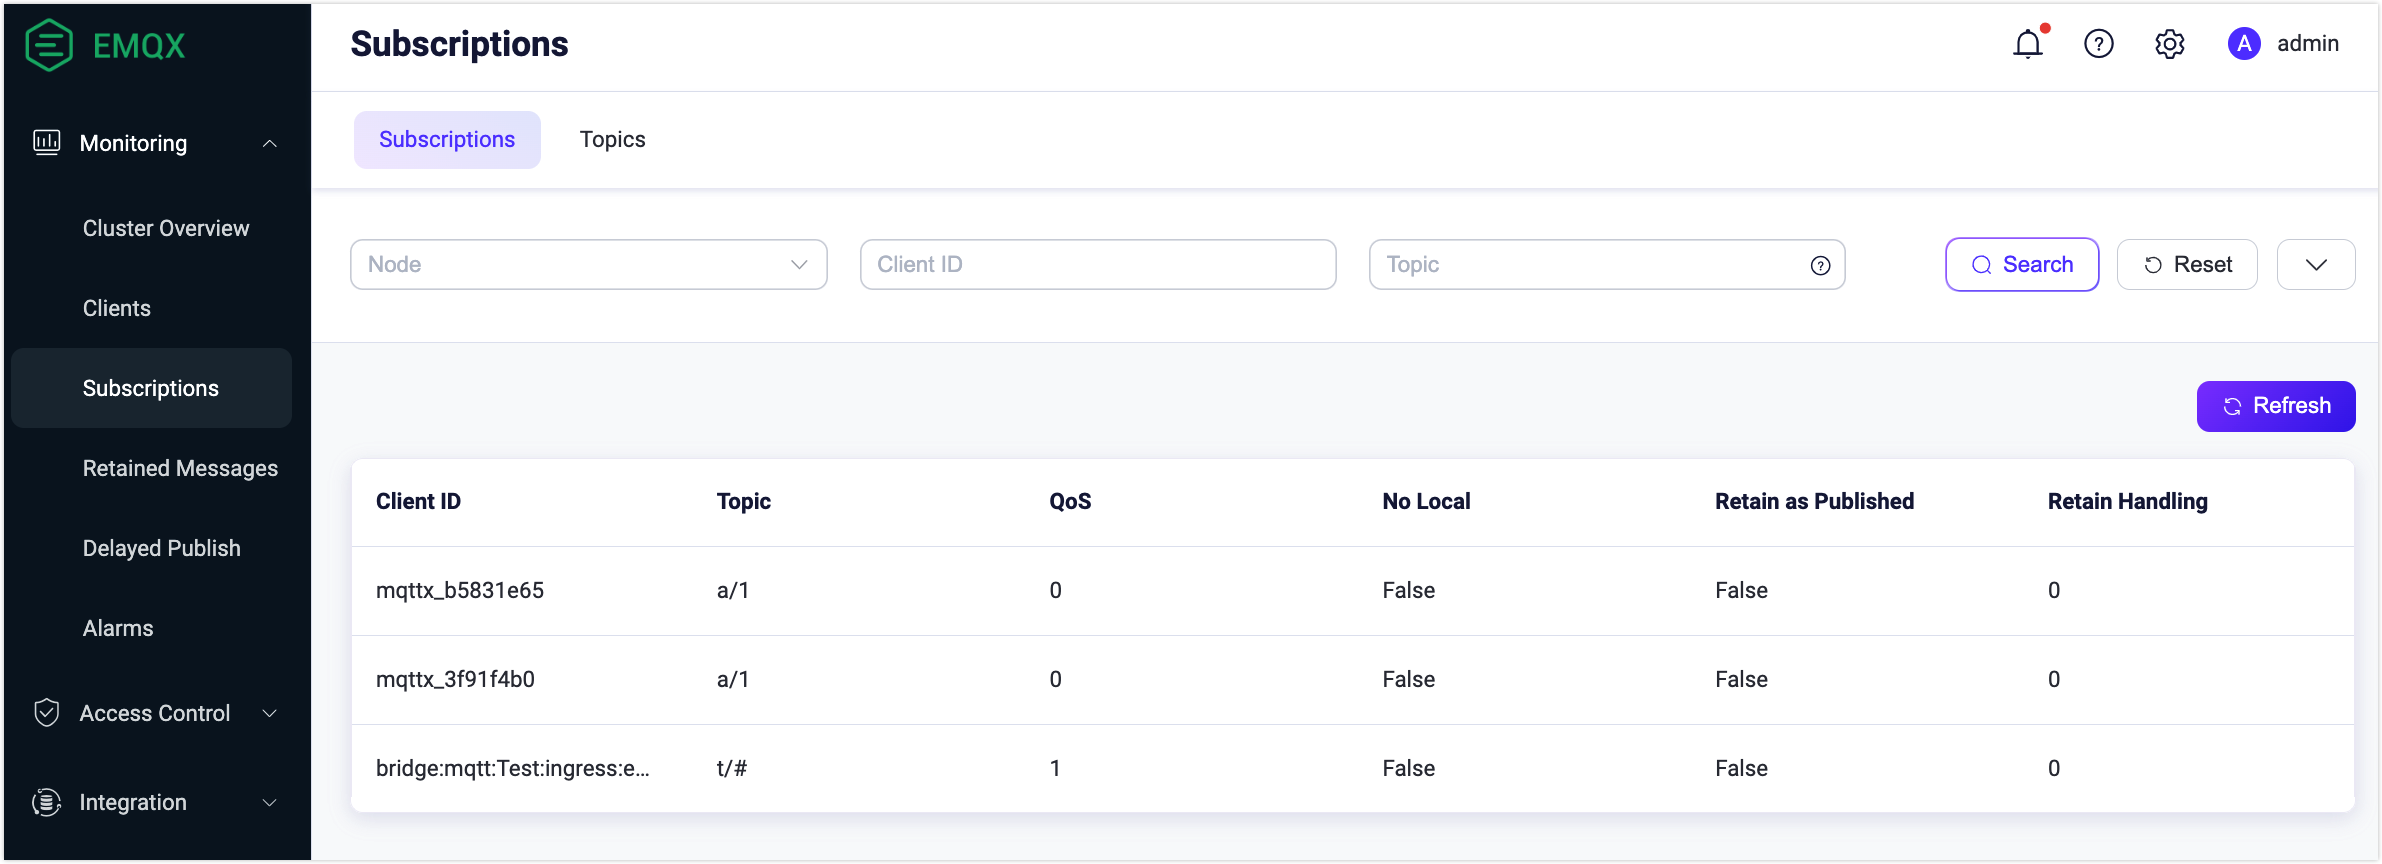
Try Auto Subscription using MQTTX CLI
Prerequisite
Basic publishing and subscribing operations using MQTTX CLI
Create a new connection with client ID as
emqx_c.bashmqttx conn -i emqx_cGo to EMQX Dashboard. Click Monitoring ->Subscriptions in the left navigation menu. It shows the client
emqx_csubscribes to the topica/1.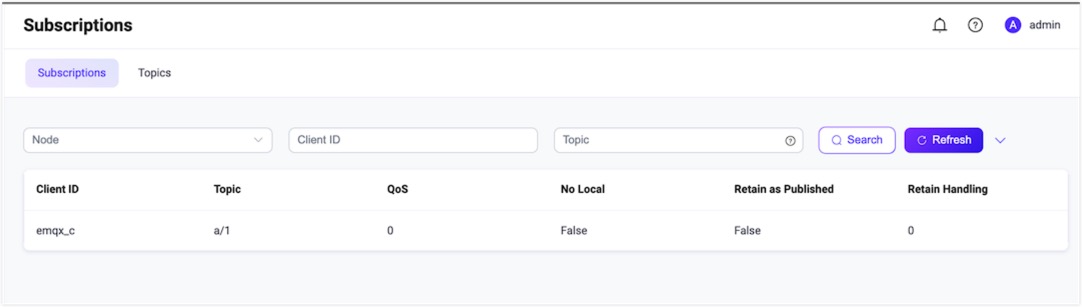
Placeholders
Auto Subscribe supports placeholders to dynamically build topics. The format of the placeholder is ${}. The variables supported by the placeholder are:
${clientid}: Client ID.${username}: Client username.${host}: IP address when the client connects to EMQX.
For example, when the client ID is emqx_c and the configured topic is a/${clientid}, the client will automatically subscribe to the topic a/emqx_c after connecting to EMQX.