EMQX Cloud
EMQX Cloud is the fully managed MQTT service from EMQ. EMQX Neuron has no dedicated EMQX Cloud application — connect with the MQTT application, since what EMQX Cloud exposes is a standard MQTT endpoint.
What differs from a self-hosted broker is the port, the authentication, and TLS, and it depends on the deployment type.
Connection settings
| Setting | Serverless | Dedicated |
|---|---|---|
| Broker address | The deployment's connection address, shown on the Deployments page of the EMQX Cloud console | Same |
| Broker port | 8883; no plaintext port is exposed | 1883 by default; 8883 once TLS is configured |
| SSL | Required | Required when using 8883 |
| CA | One-way TLS — download the CA and upload it | Whatever your certificate setup requires |
| Username, password | Created under Authentication → Built-in Database in the console | Same |
Every other parameter — upload format, offline caching, write topics — is the same as for any MQTT application. See MQTT · Configure Application.
TIP
Serverless deployments require SNI, so Broker address must be the deployment's full domain name. An IP address is rejected.
Steps
- Create a deployment in the EMQX Cloud console and note the connection address and port on the Deployments page.
- Create a username and password under Authentication → Built-in Database.
- Back in EMQX Neuron, add a northbound application of type MQTT — see Create a Northbound Application.
- Fill in the settings from the table above. For Serverless, also turn on SSL and upload the CA certificate.
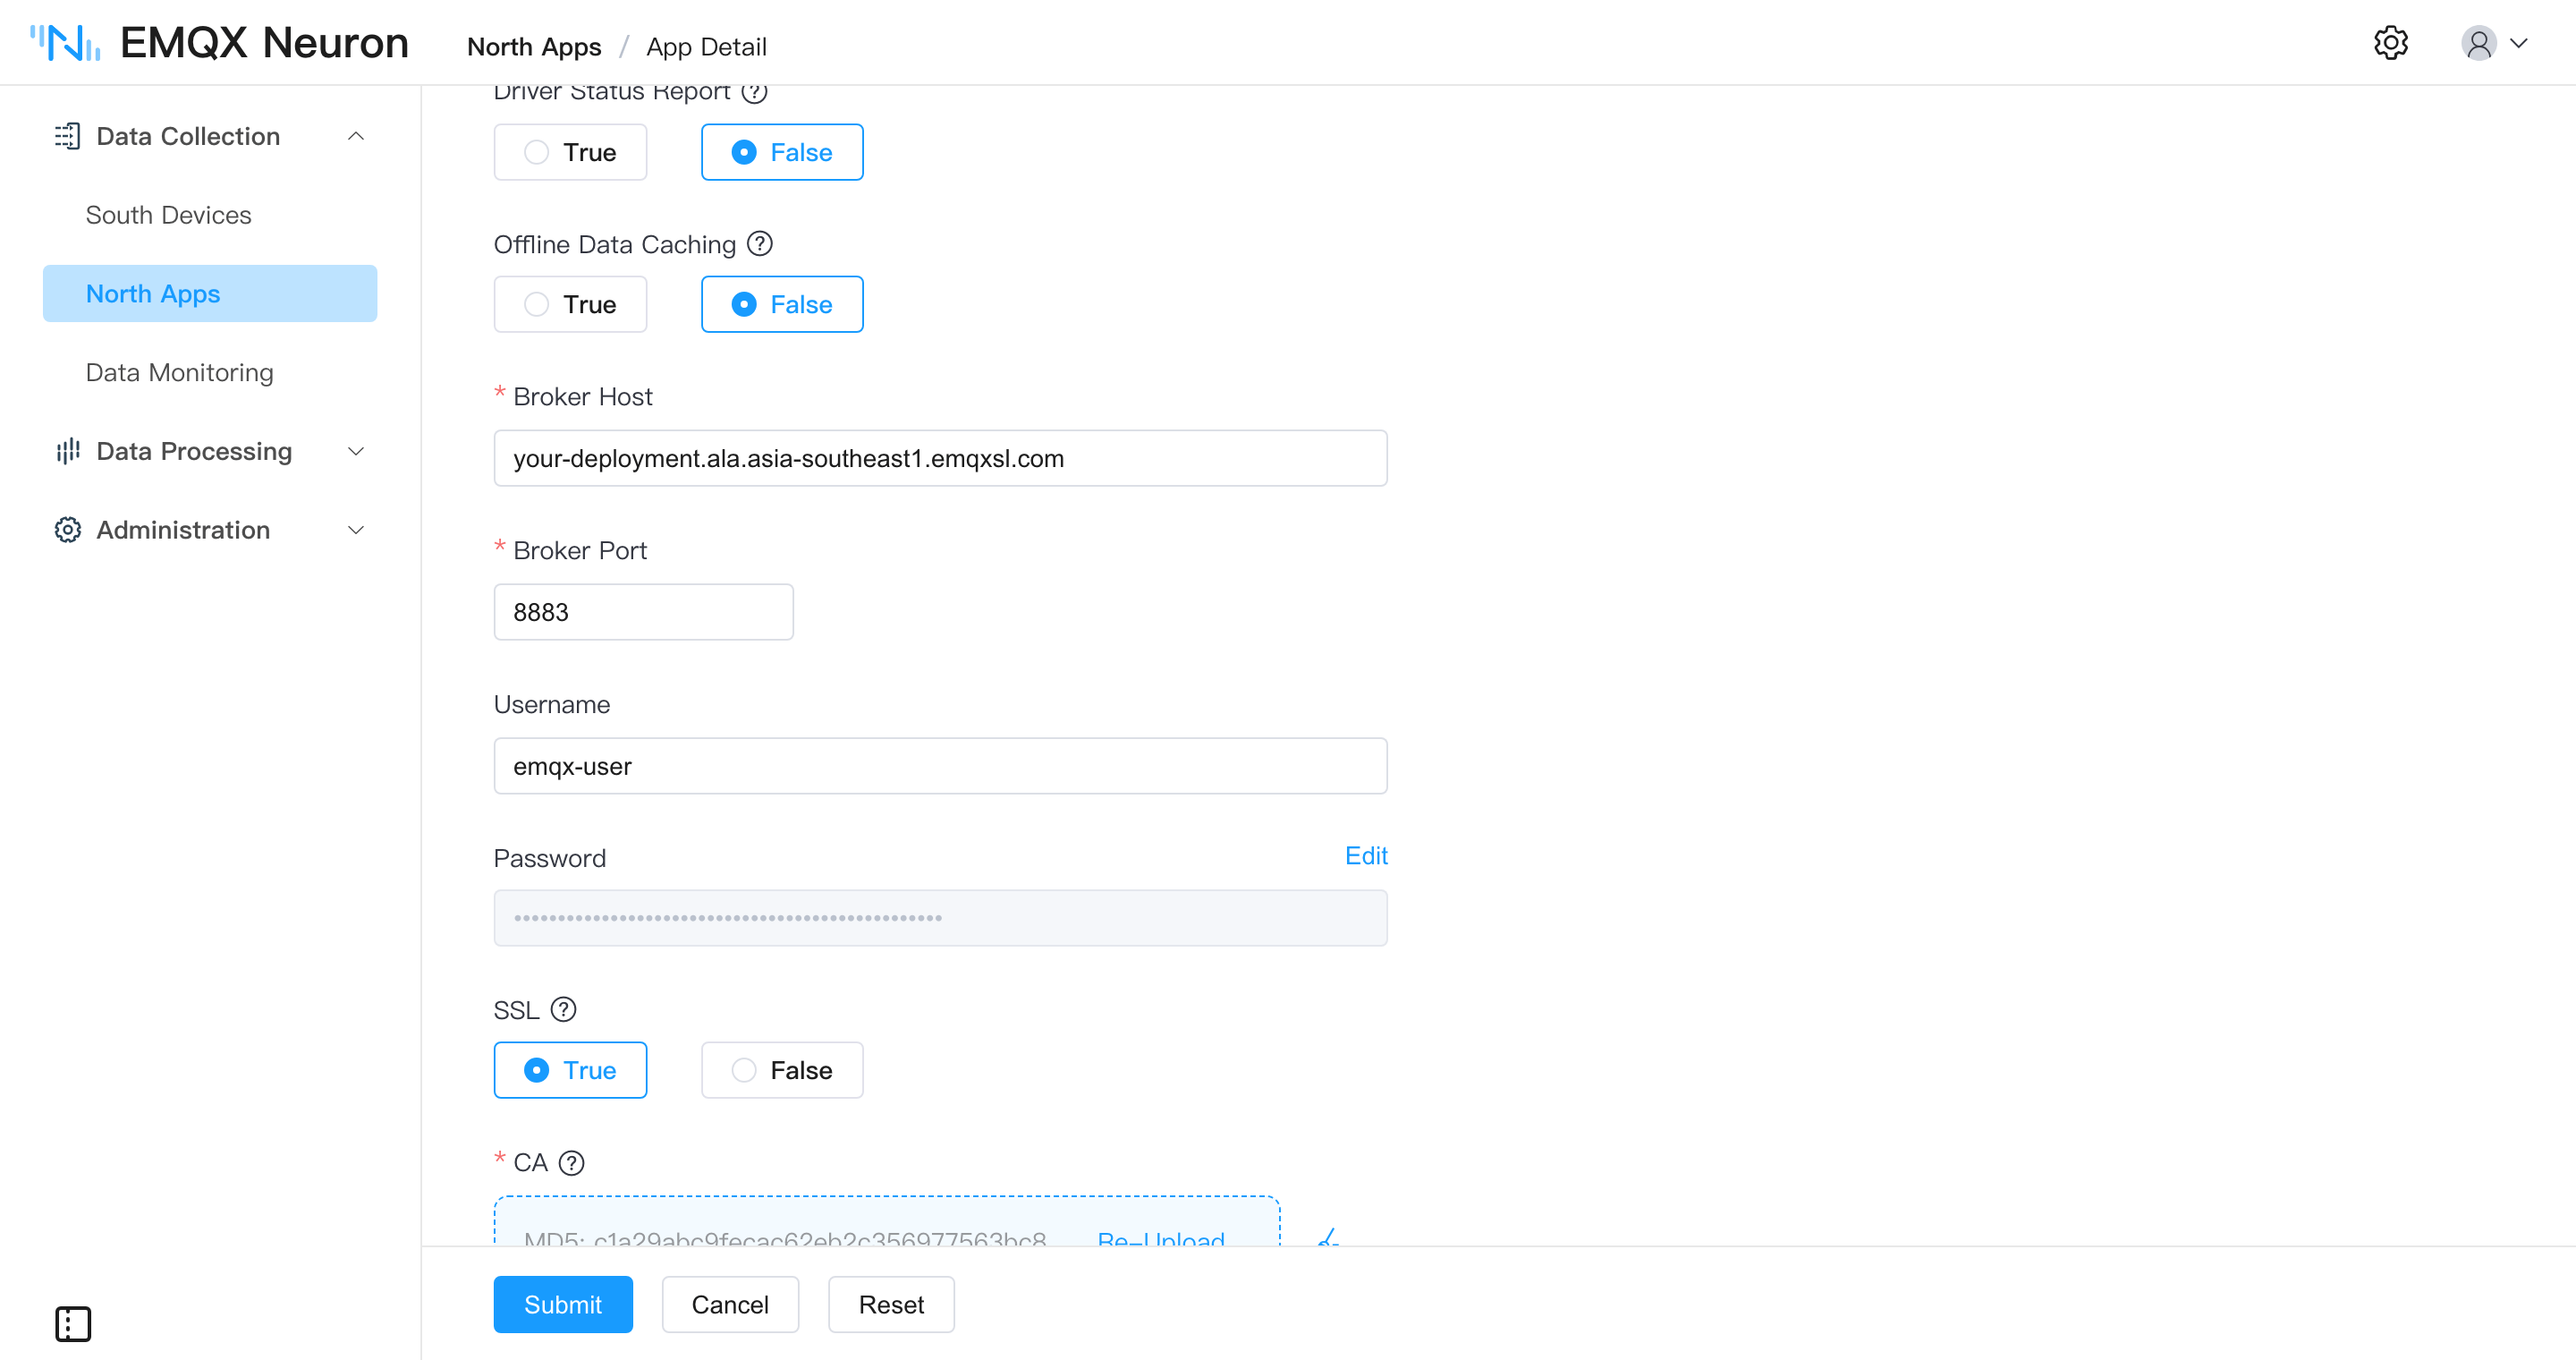
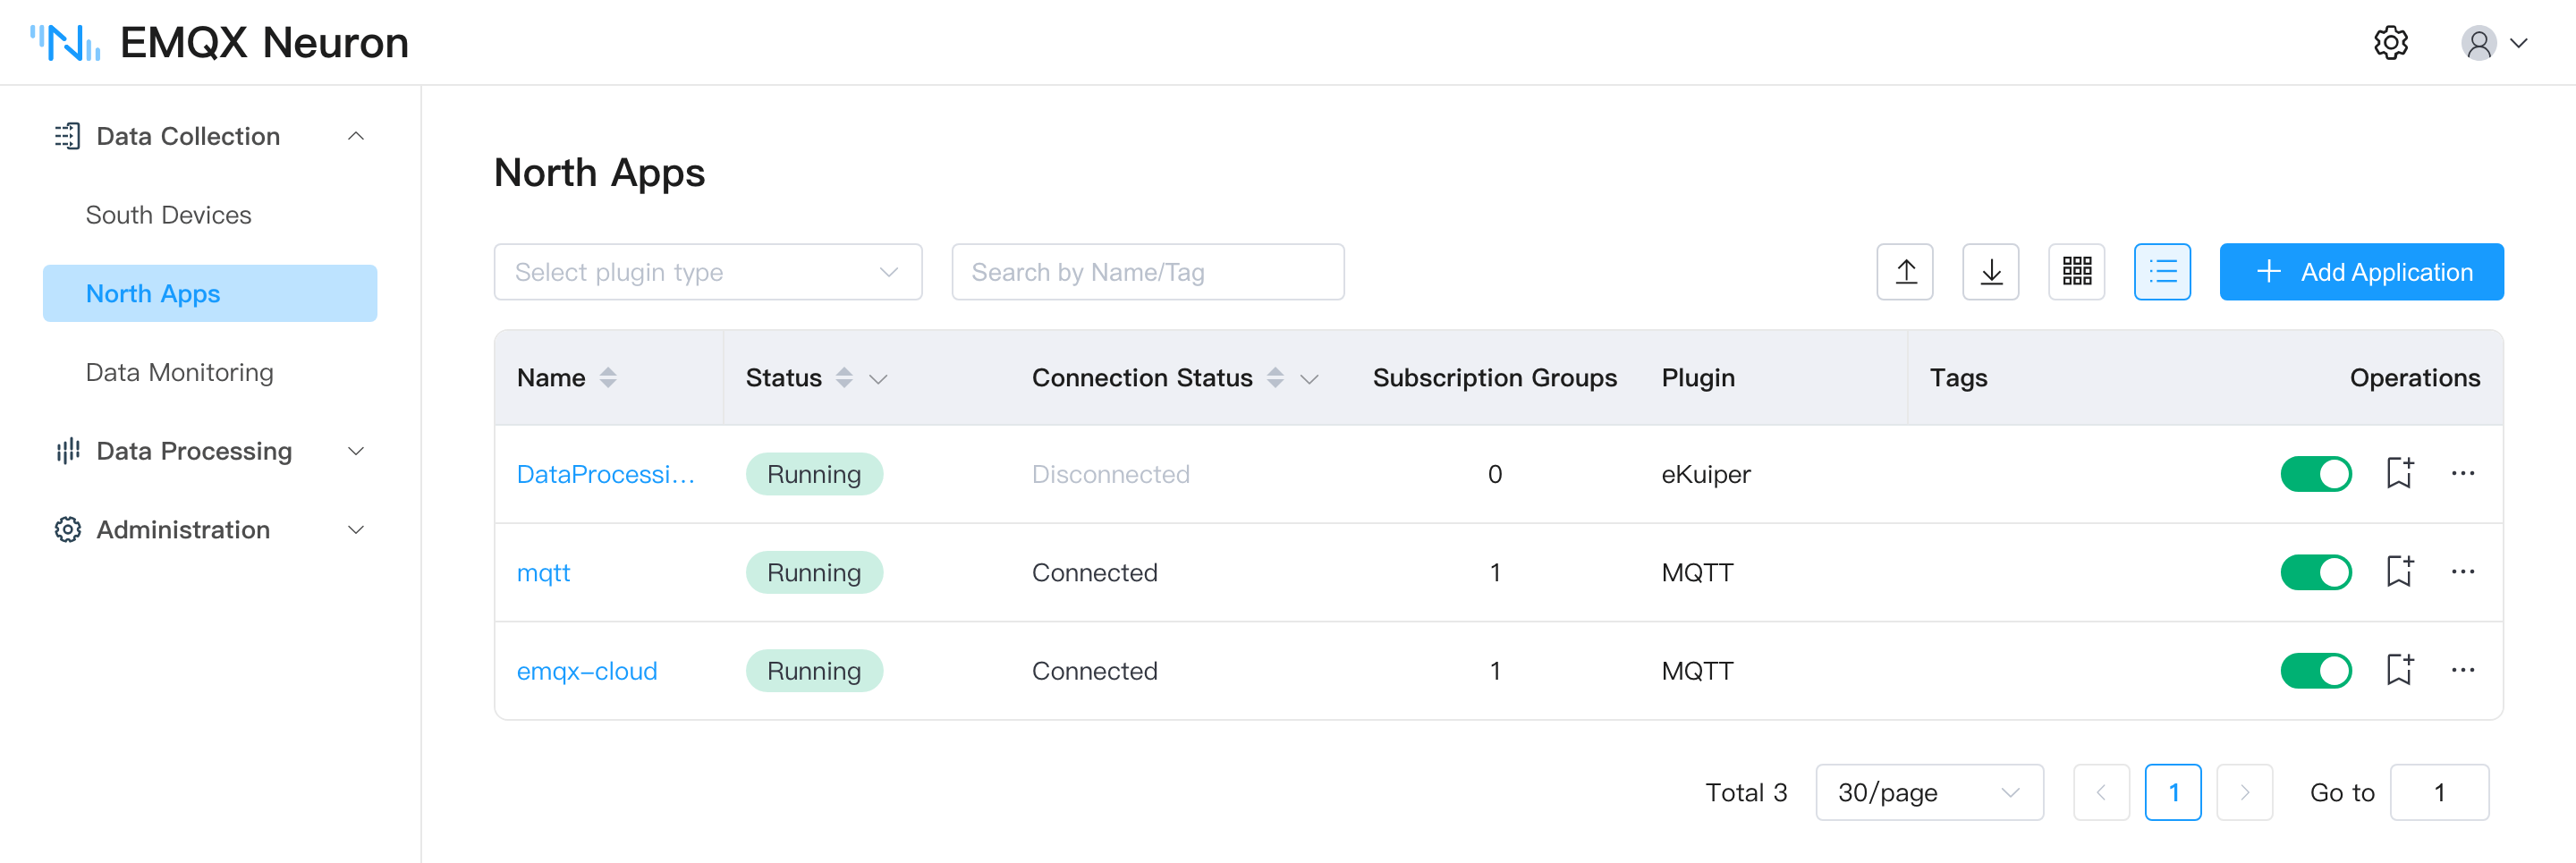
- Submit. The application reaches the running state and the connection status shows as connected.
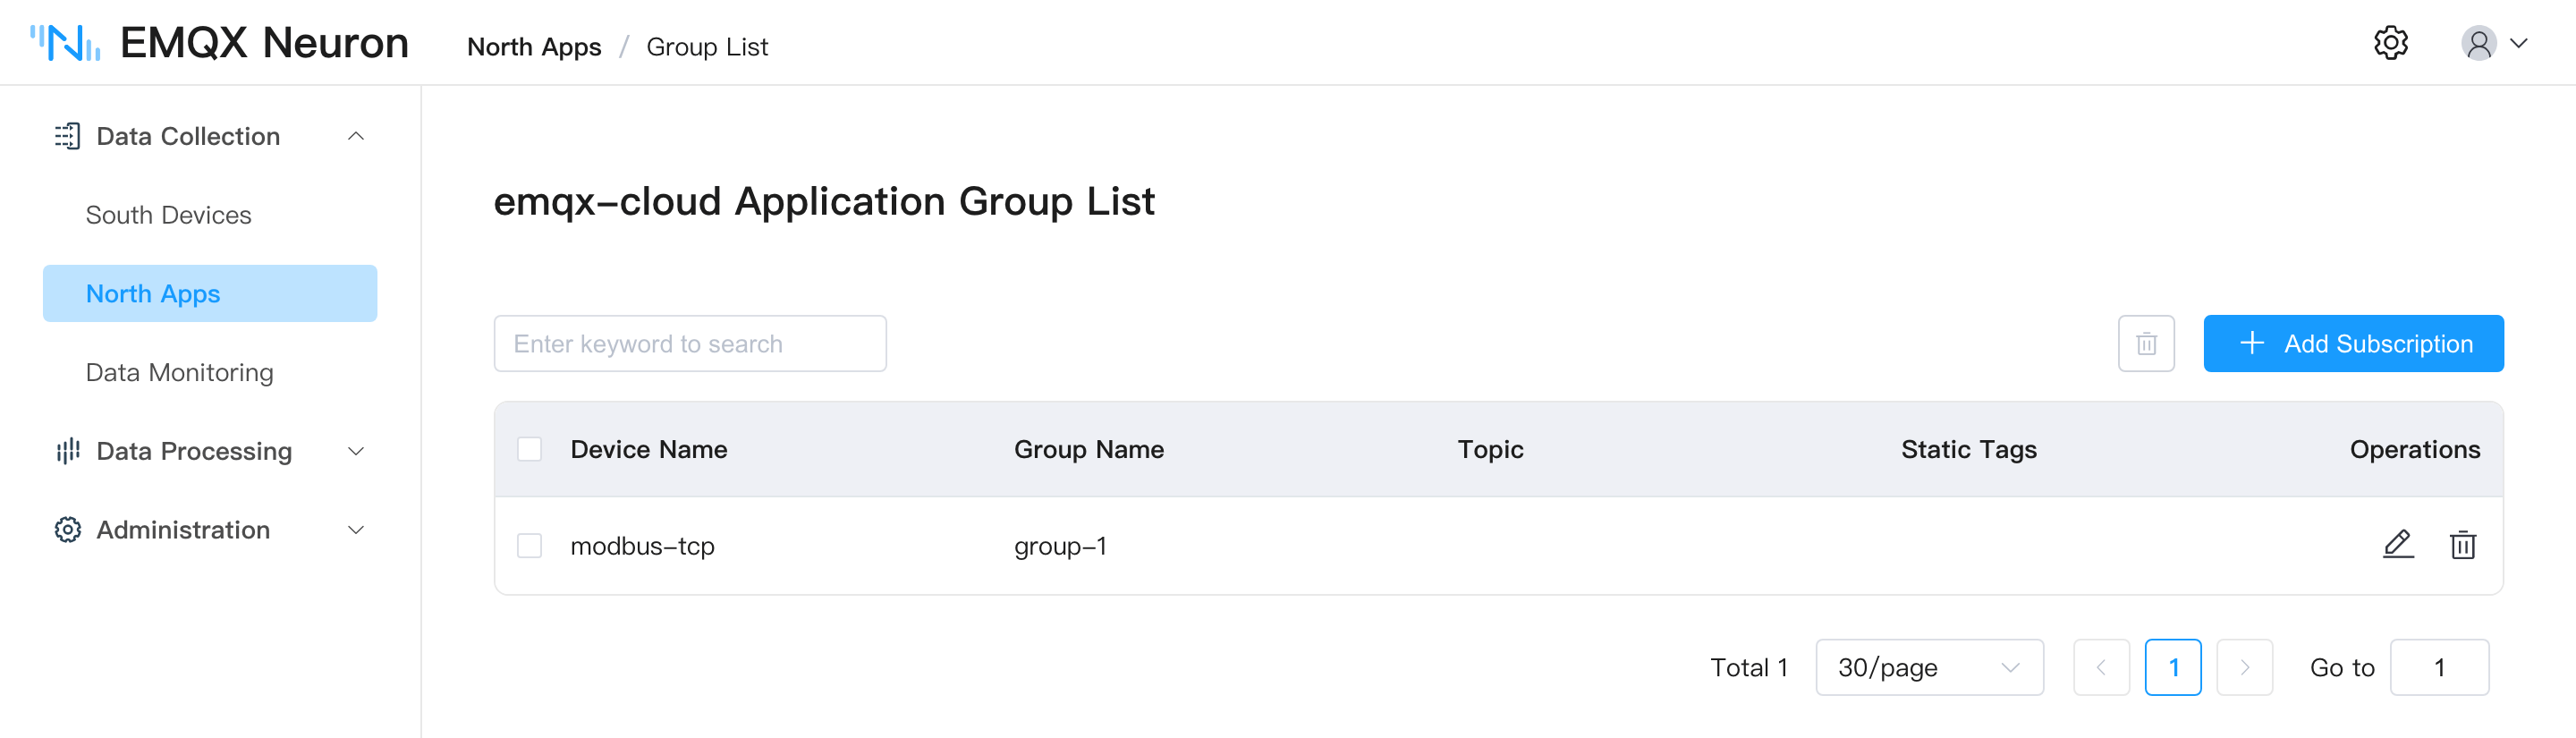
- Subscribe to southbound data to choose the groups to publish.
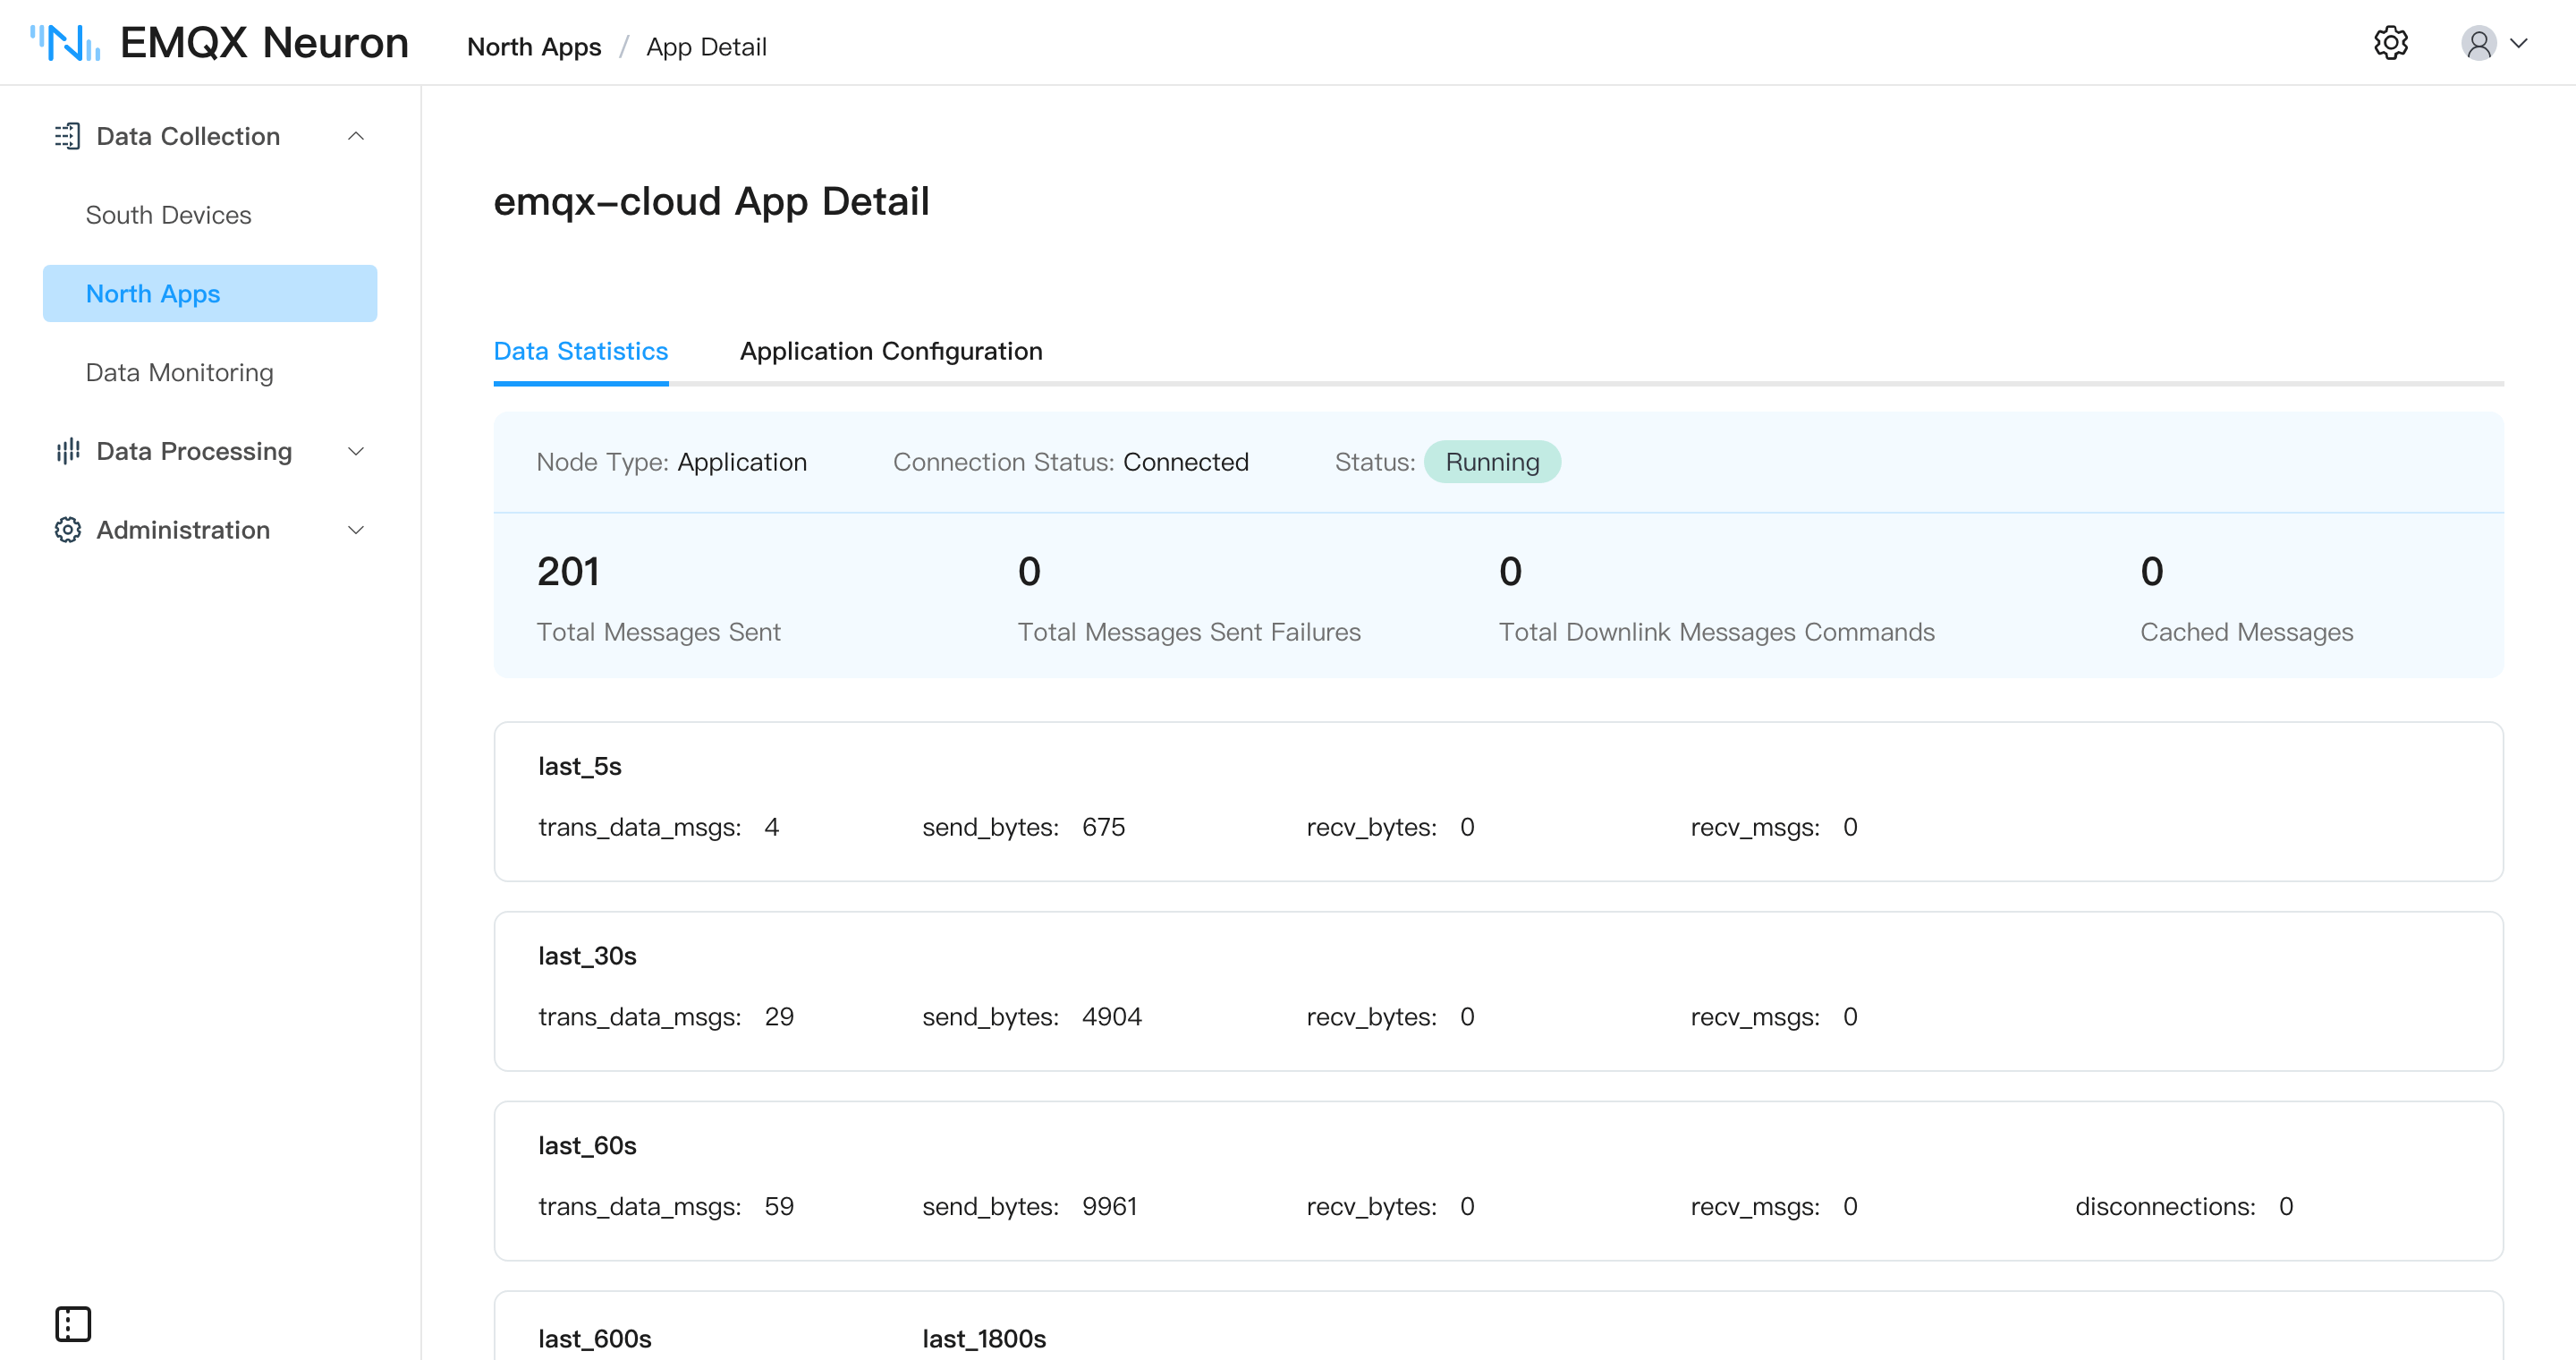
To check that publishing is working, look at the sent message count on the application's Data Statistics tab:
On the cloud side, use the online message viewer in the EMQX Cloud console, or subscribe to the topic with MQTTX — see MQTT · Use MQTTX to View Data. The default topic is /neuron/{application}/{driver}/{group}, and a message looks like this:
{
  "node": "modbus-tcp",
  "group": "group-1",
  "timestamp": 1790219933821,
  "values": { "sine": -15741, "square": -10, "random": 99, "setpoint": 68 },
  "errors": {},
  "metas": {}
}
Onward to the data warehouse
Once the data is in EMQX, EMQX data integration can write it straight into an analytics platform, with no change at the edge.
| Snowflake | Databricks | |
|---|---|---|
| Integration | Native connector | Through Amazon S3 |
| Data shape | Structured table, columns defined in the rule | Raw JSON files, parsed at query time |
| Adding or removing tags | Change the table definition and the rule SQL together | No change; new tags simply appear in the JSON |
| Suits | A stable set of tags feeding reports directly | Tags that change often, landed first and modelled later |
For every available downstream system, see EMQX data integration.
Further reading
For the full port and authentication reference, see the EMQX Cloud documentation: Serverless connection guide and Dedicated connection guide.