EMQXでNode-REDを使う
Node-REDは、ハードウェアデバイス、API、オンラインサービスをブラウザベースのエディターで連携させるフローベースのプログラミングツールです。視覚的なノードベースのインターフェースを使い、あらかじめ用意されたノードを接続してデータフローを作成します。Node-REDは組み込みのmqtt-in(サブスクライブ)およびmqtt-out(パブリッシュ)ノードを通じてMQTTをネイティブにサポートしており、EMQXからのIoTデータ処理に広く利用されています。
本ページでは、Node-REDのインストール方法、EMQXへの接続方法、およびMQTTメッセージの解析、フィルタリング、変換を行うデータ処理パイプラインの構築方法を説明します。
前提条件
- Node.js 18 LTS または 20 LTS(NPMインストール用)
- EMQXのデプロイメント、またはテスト用にEMQXパブリックブローカーを利用
- テストメッセージ送信用のMQTTXなどのMQTTクライアント
Node-REDのインストール
NPM経由の場合:
npm install -g --unsafe-perm node-red続いてNode-REDを起動します:
node-redDocker経由の場合:
docker run -it -p 1880:1880 --name mynodered nodered/node-red起動後、ブラウザでhttp://127.0.0.1:1880にアクセスし、Node-REDエディターを開きます。
Raspberry Piやクラウドへのデプロイなど、その他のインストール方法についてはNode-REDドキュメントをご覧ください。
MQTTブローカーの設定
Node-REDを接続するにはMQTTブローカーが必要です。本ガイドではMQTT 3.1、3.1.1、5.0に対応したEMQXを使用します。
EMQXパブリックブローカー(テスト用)
独自のブローカーをデプロイせずにすぐにテストしたい場合は、EMQXパブリックブローカーを利用できます。
| パラメーター | 値 |
|---|---|
| ブローカーアドレス | broker.emqx.io |
| TCPポート | 1883 |
| SSL/TLSポート | 8883 |
| WebSocketポート | 8083 |
| セキュアWebSocketポート | 8084 |
パブリックブローカーはテストおよびデモ目的のみの利用を想定しています。
EMQX Enterpriseデプロイメント
本番環境では、ご自身のEMQX EnterpriseデプロイメントにNode-REDを接続します。環境に応じたブローカーアドレス、ポート、認証情報を使用してください。
一般的な構成例:
- カスタムブローカーのホスト名またはIPアドレス
- ユーザー名/パスワード認証または相互TLS認証
- トピックに適用されるアクセス制御ルール(ACL)
Node-REDのブローカー接続設定時には、EMQX Enterpriseのリスナーおよび認証設定を参照してください。
自己管理型のEMQX Enterpriseに加え、完全マネージドMQTTサービスであるEMQX Cloud(ServerlessまたはDedicated)への接続も可能です。EMQX Cloudが提供するブローカーアドレス、ポート、認証情報を使用してください。
基本的なMQTTフローの構築
以下の手順では、1つのトピックをサブスクライブし、受信したメッセージを別のトピックに転送する最小限のフローを作成します。
ステップ1:MQTTサブスクライブノードの追加
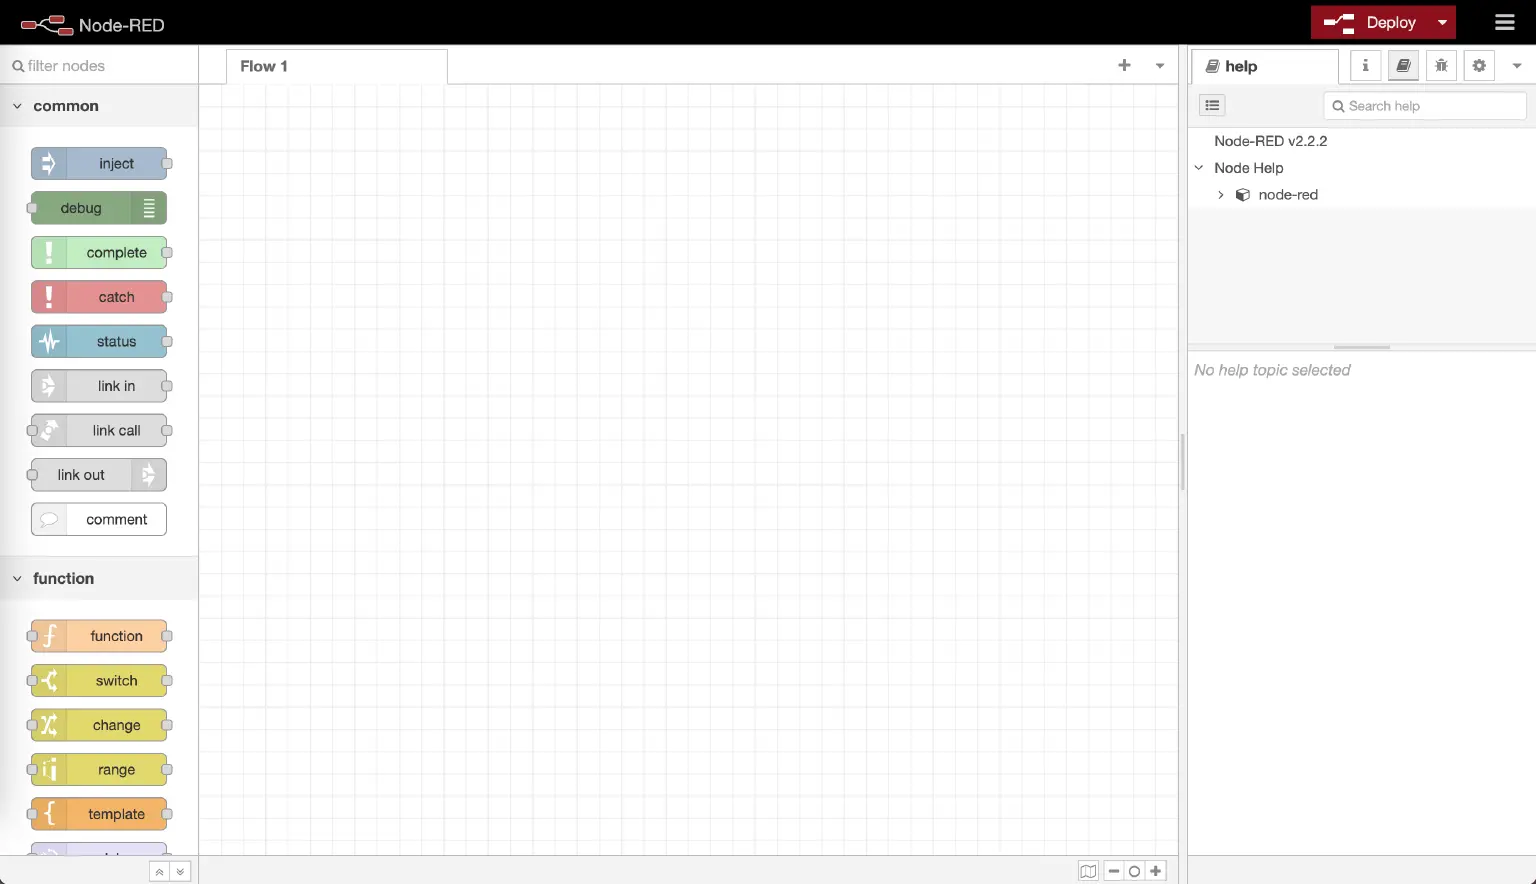
Node-REDエディターで、左側のパレットからmqtt-inノードをキャンバスにドラッグします。
ノードをダブルクリックしてプロパティを開きます。
Serverフィールド横の鉛筆アイコンをクリックし、新しいブローカー接続を作成します。
Serverアドレスに
broker.emqx.ioを入力し、Addをクリックします。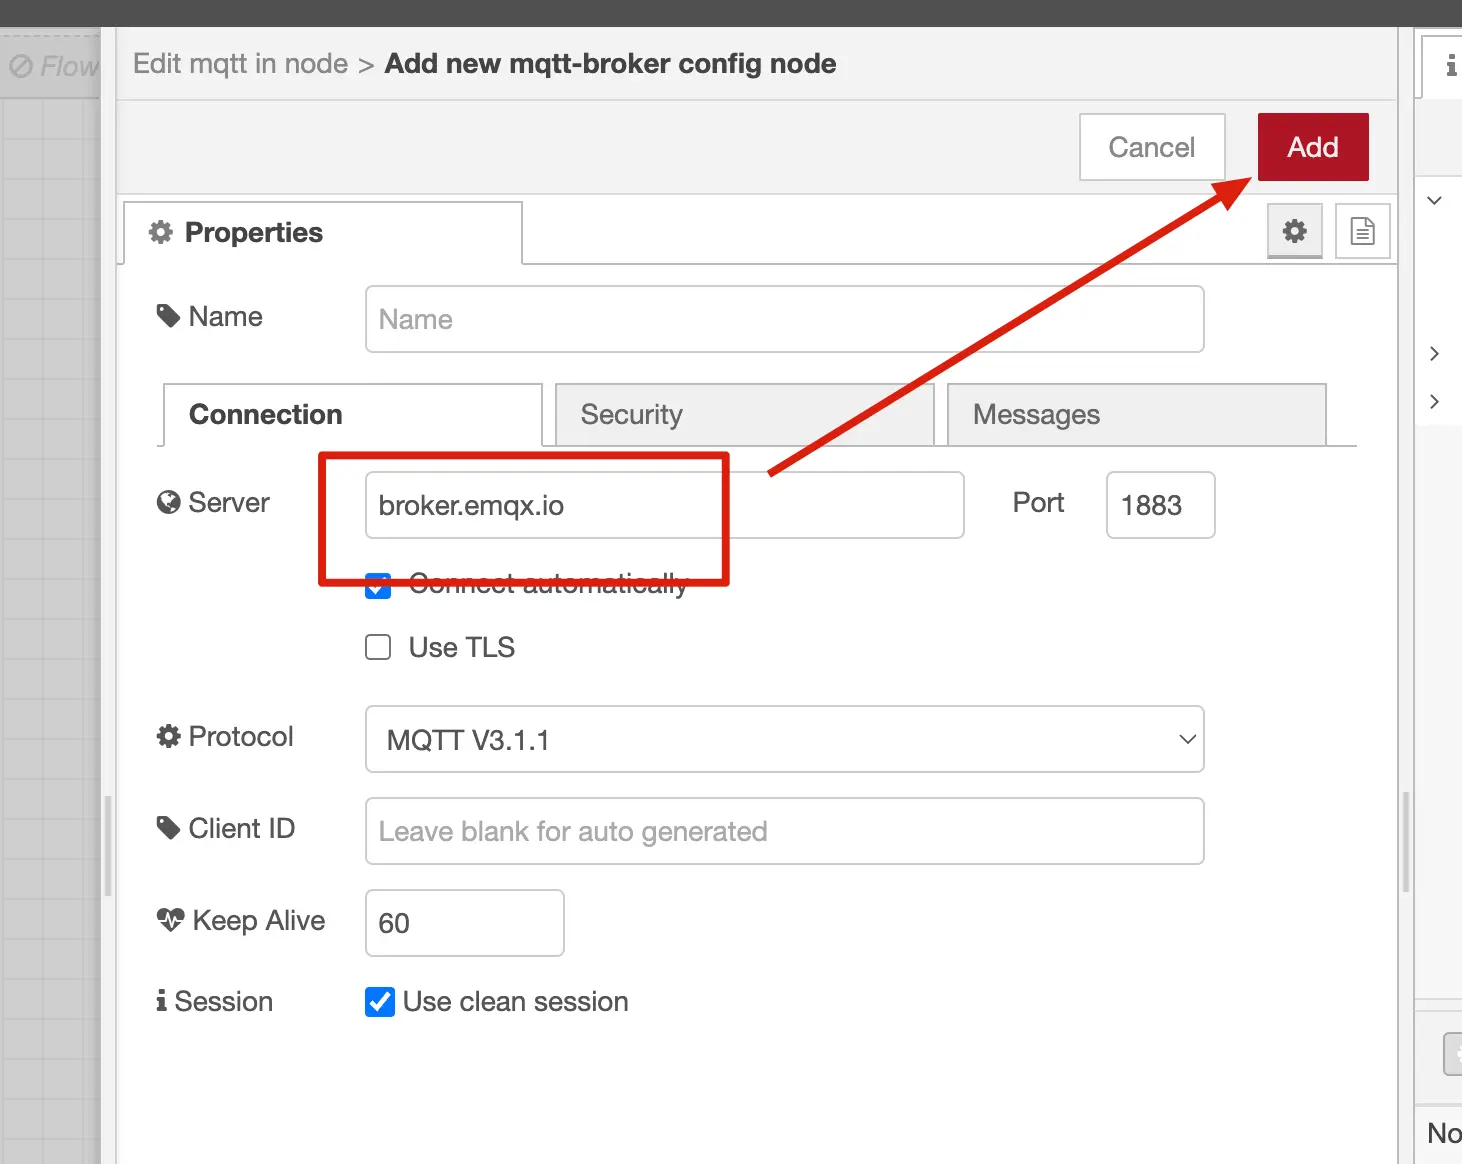
Topicを
test/node_red/inに設定します。必要に応じてQoSレベルを設定し、Doneをクリックします。
ステップ2:MQTTパブリッシュノードの追加
mqtt-outノードをキャンバスにドラッグします。
ノードをダブルクリックしてプロパティを開きます。
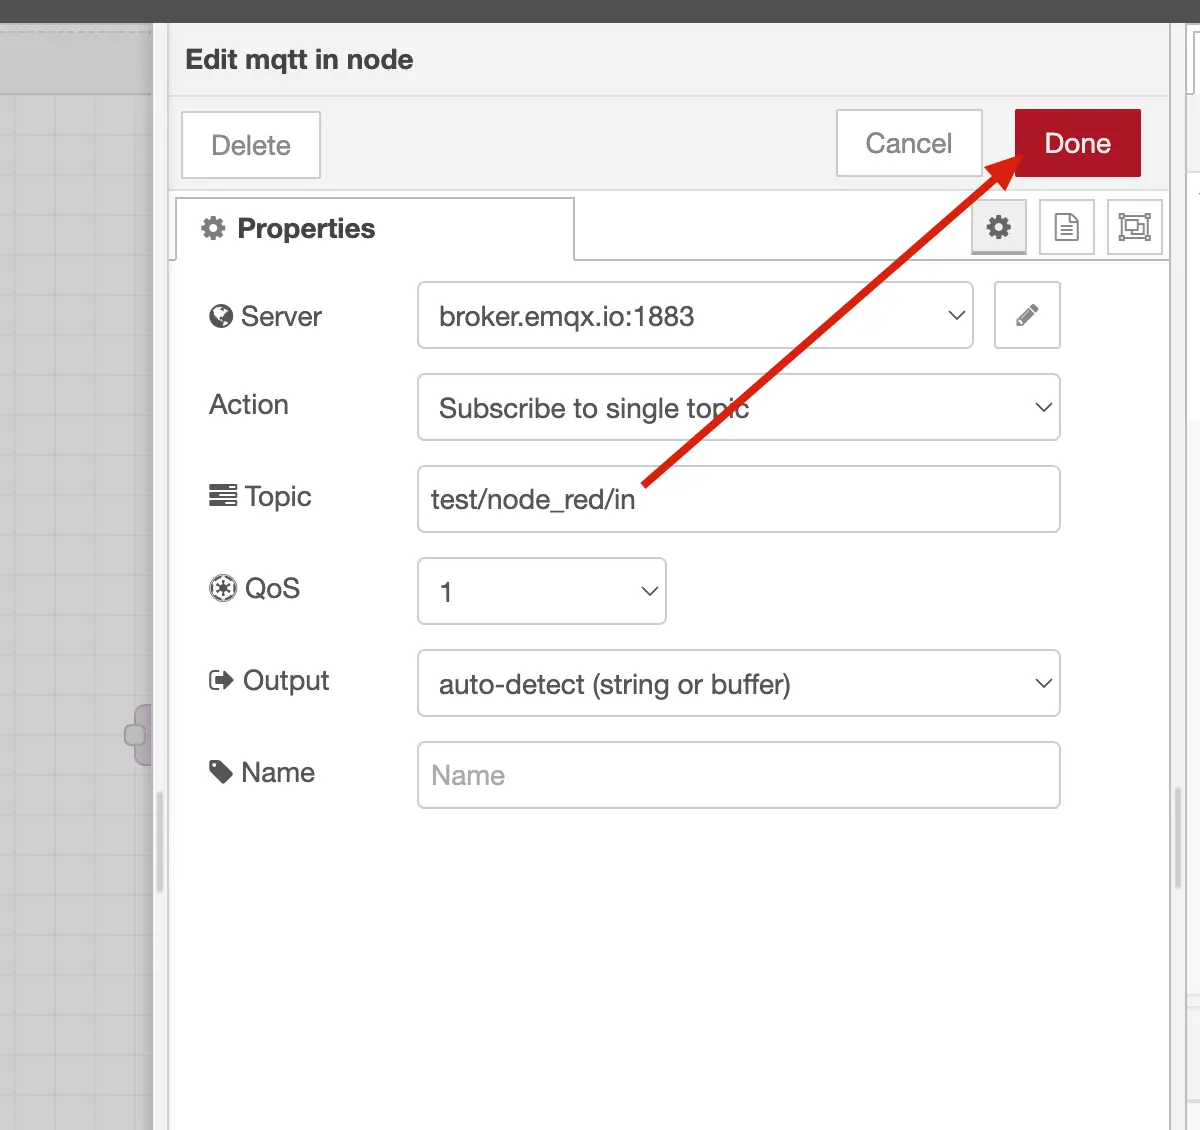
ステップ1で設定したブローカーをServerドロップダウンから選択します。
Topicを
test/node_red/outに設定します。必要に応じてQoSやRetainを設定し、Doneをクリックします。
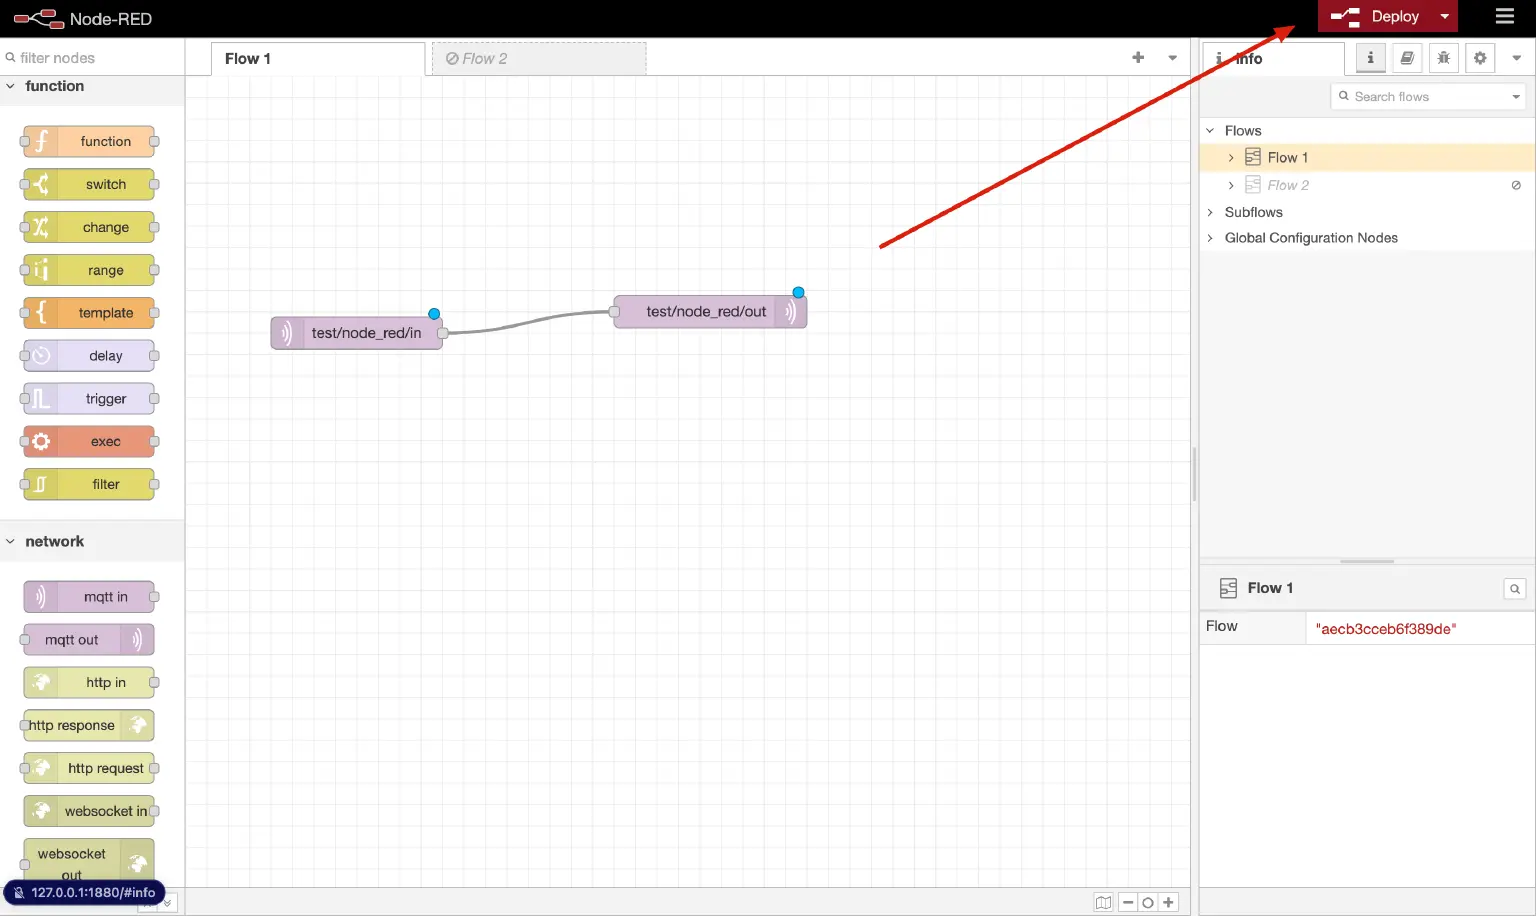
ステップ3:接続とデプロイ
mqtt-inノードの出力ポートからmqtt-outノードの入力ポートへワイヤーを引きます。
右上のDeployボタンをクリックします。
両ノードが緑色のconnectedステータスを表示していることを確認します。
これで、test/node_red/inで受信したすべてのメッセージがtest/node_red/outに転送されるフローが完成しました。
高度なデータ処理パイプラインの構築
Node-REDの真価は、複数のノードを連結してデータをフィルタリングや変換し、再パブリッシュできる点にあります。以下の例では、次の処理を行うパイプラインを構築します。
- MQTT経由でJSON形式のセンサーデータを受信
- 生のペイロードをJavaScriptオブジェクトにパース
- 重複する温度データをフィルタリング
- 結果を整形して再パブリッシュ
フロー全体は次の通りです:mqtt-in -> json -> rbe -> template -> mqtt-out
ステップ1:JSONノードの追加
パレットからjsonノードをキャンバスにドラッグします。
ダブルクリックして設定を開き、ActionをAlways Convert to JavaScript Objectに設定します。
Doneをクリックします。
mqtt-inノードの出力をjsonノードの入力に接続します。
これにより、受信したペイロードがJavaScriptオブジェクトにパースされ、下流のノードでmsg.payload.temperatureなどの個別フィールドにアクセス可能になります。

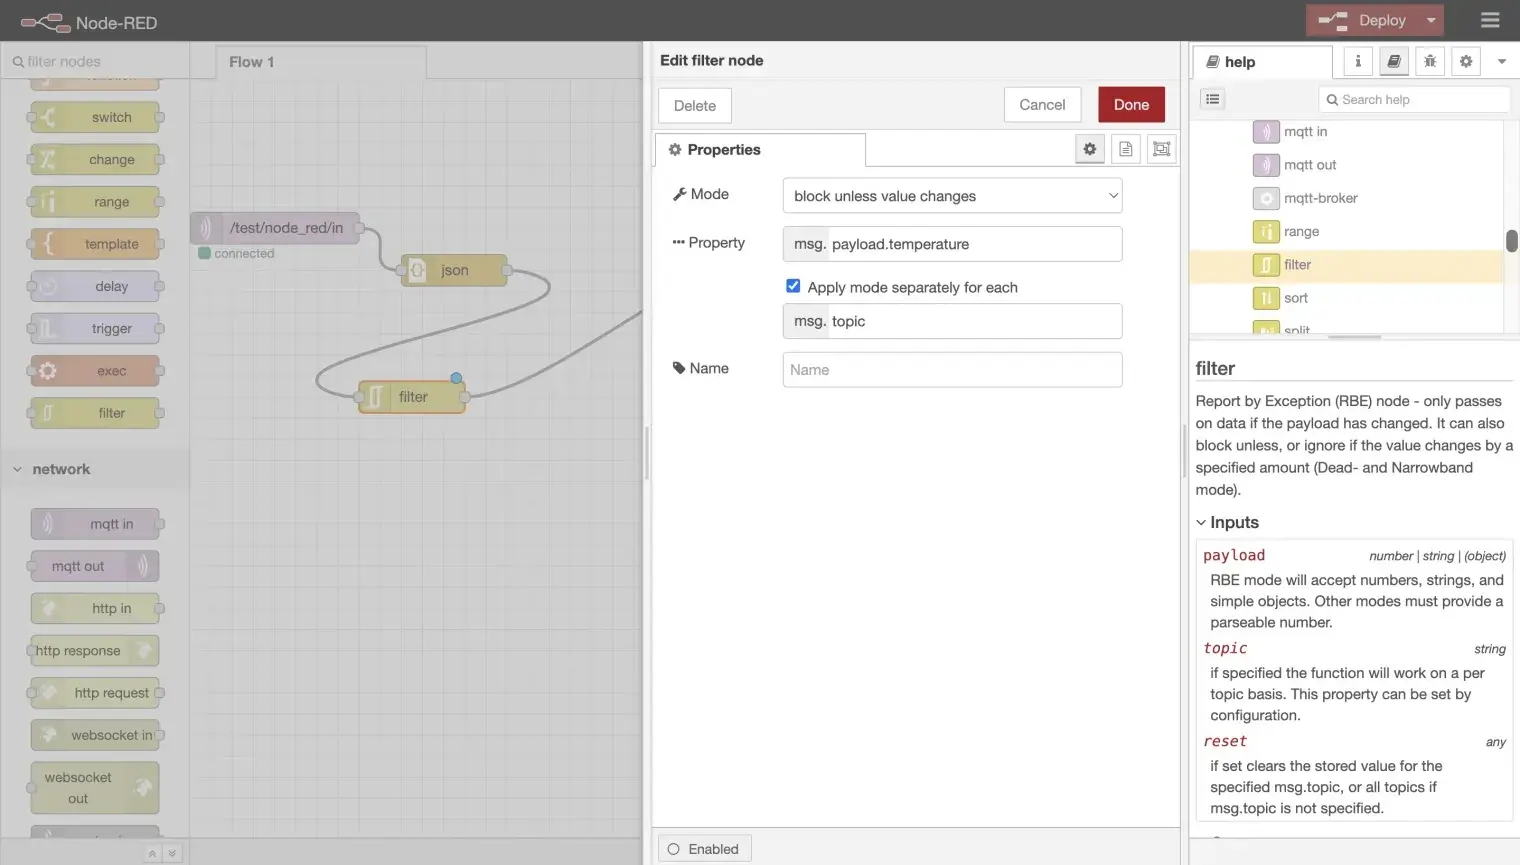
ステップ2:フィルターノードの追加
rbe(report by exception)ノードをキャンバスにドラッグします。
ダブルクリックして設定を開きます。
- Modeをblock unless value changesに設定
- Propertyを
msg.payload.temperatureに設定
Doneをクリックします。
jsonノードの出力をrbeノードの入力に接続します。
このフィルターノードは、前回のメッセージと温度値が変わらない場合にメッセージをブロックし、重複した同一値の送信を抑制します。
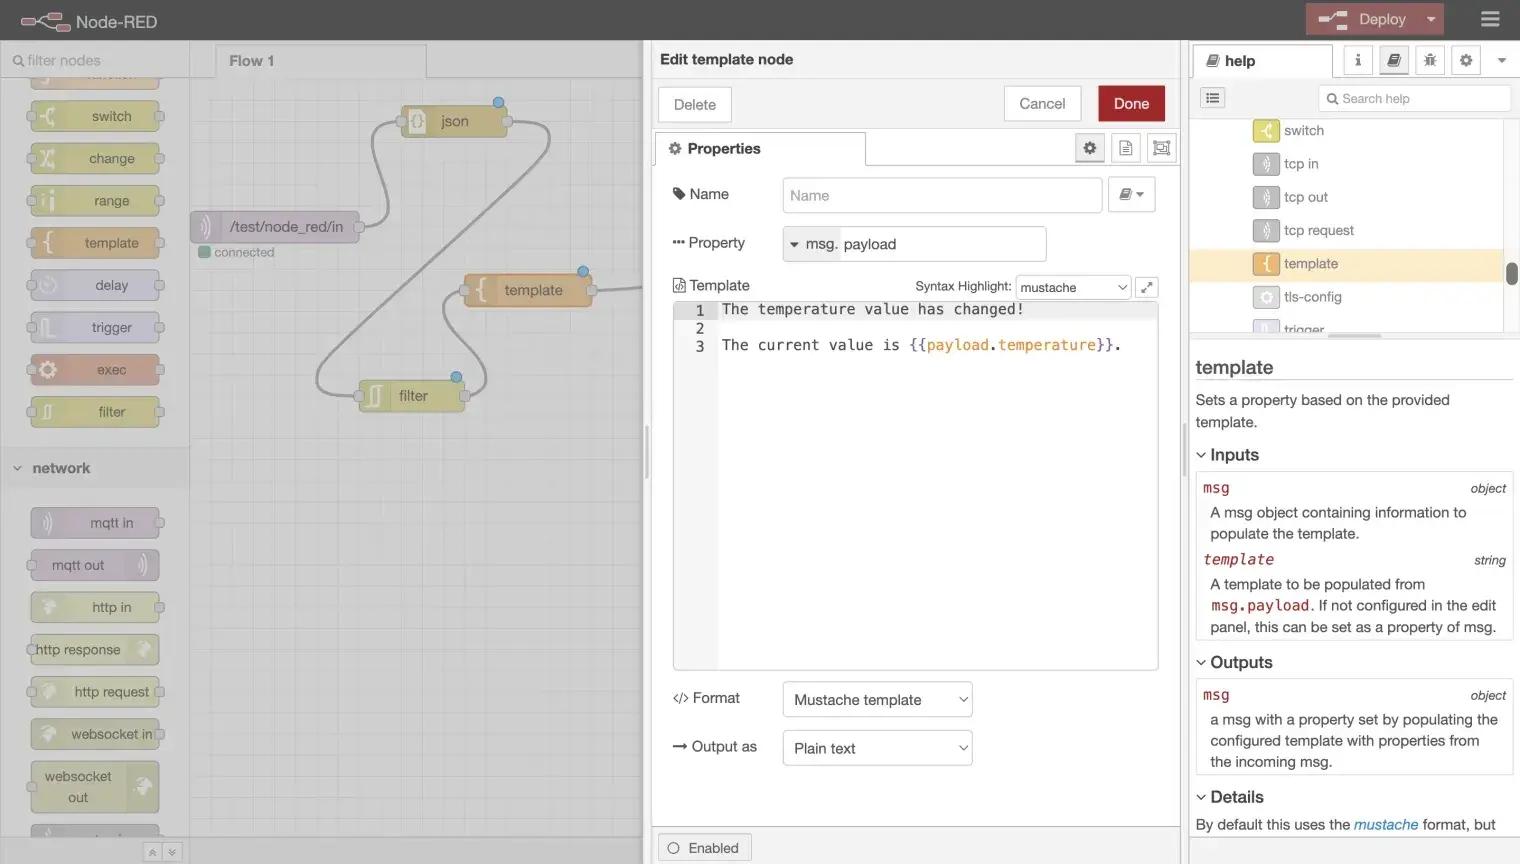
ステップ3:テンプレートノードの追加
templateノードをキャンバスにドラッグします。
ダブルクリックして設定を開き、Mustache構文を使って出力フォーマットを入力します。例:
{"temperature": {{payload.temperature}}, "humidity": {{payload.humidity}}}Doneをクリックします。
rbeノードの出力をtemplateノードの入力に接続します。
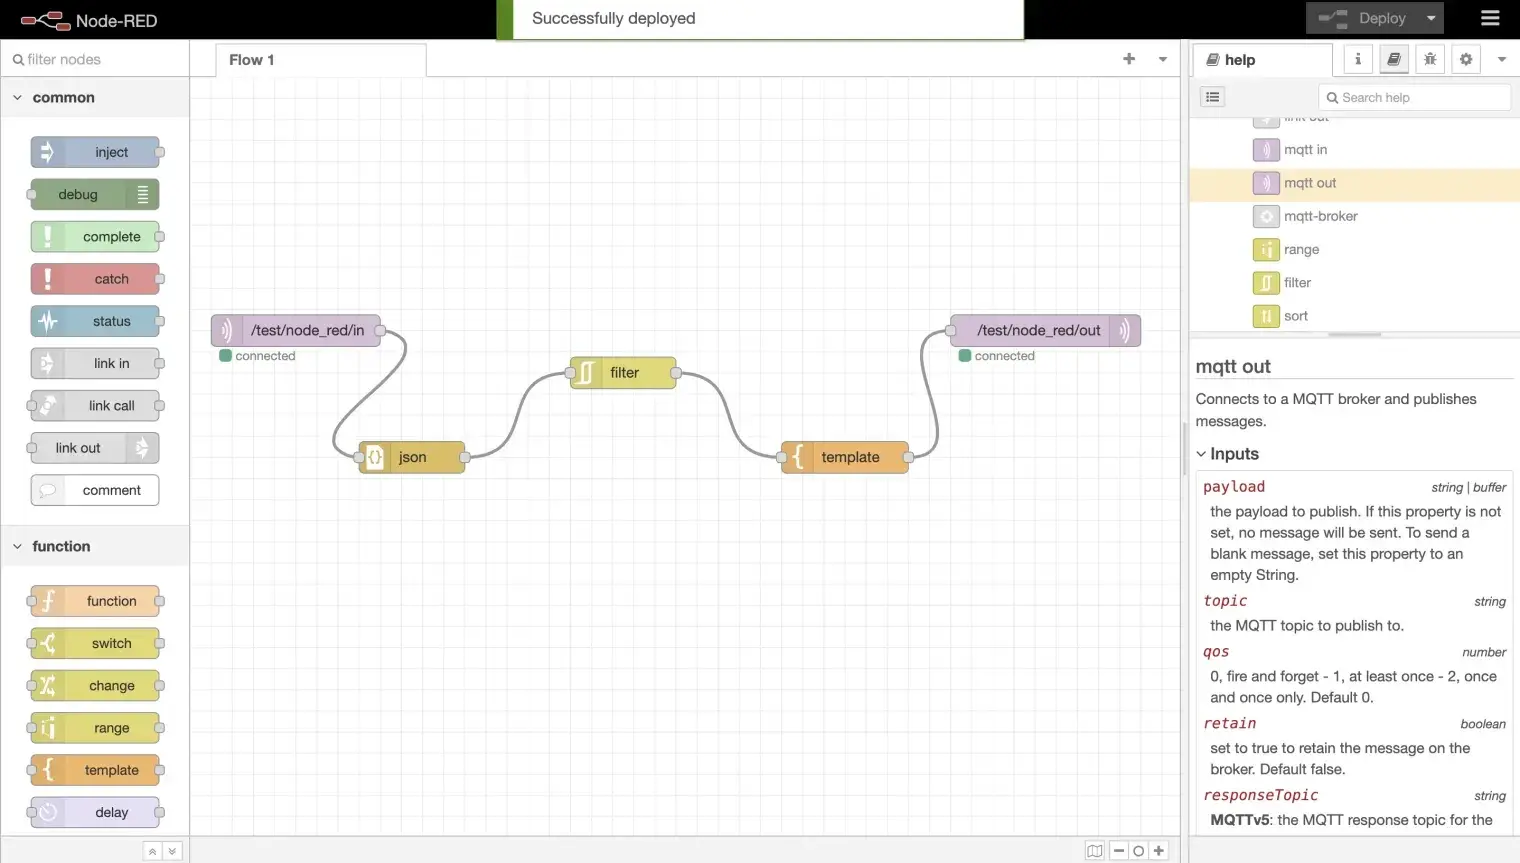
ステップ4:出力ノードの接続とデプロイ
templateノードの出力をmqtt-outノードの入力に接続します。
Deployをクリックします。
すべてのノードが緑色のconnectedステータスを表示していることを確認します。
フィルタリング後のデータを再フォーマットせずにそのままパブリッシュしたい場合は、templateノードを省略し、rbeノードを直接mqtt-outノードに接続してください。
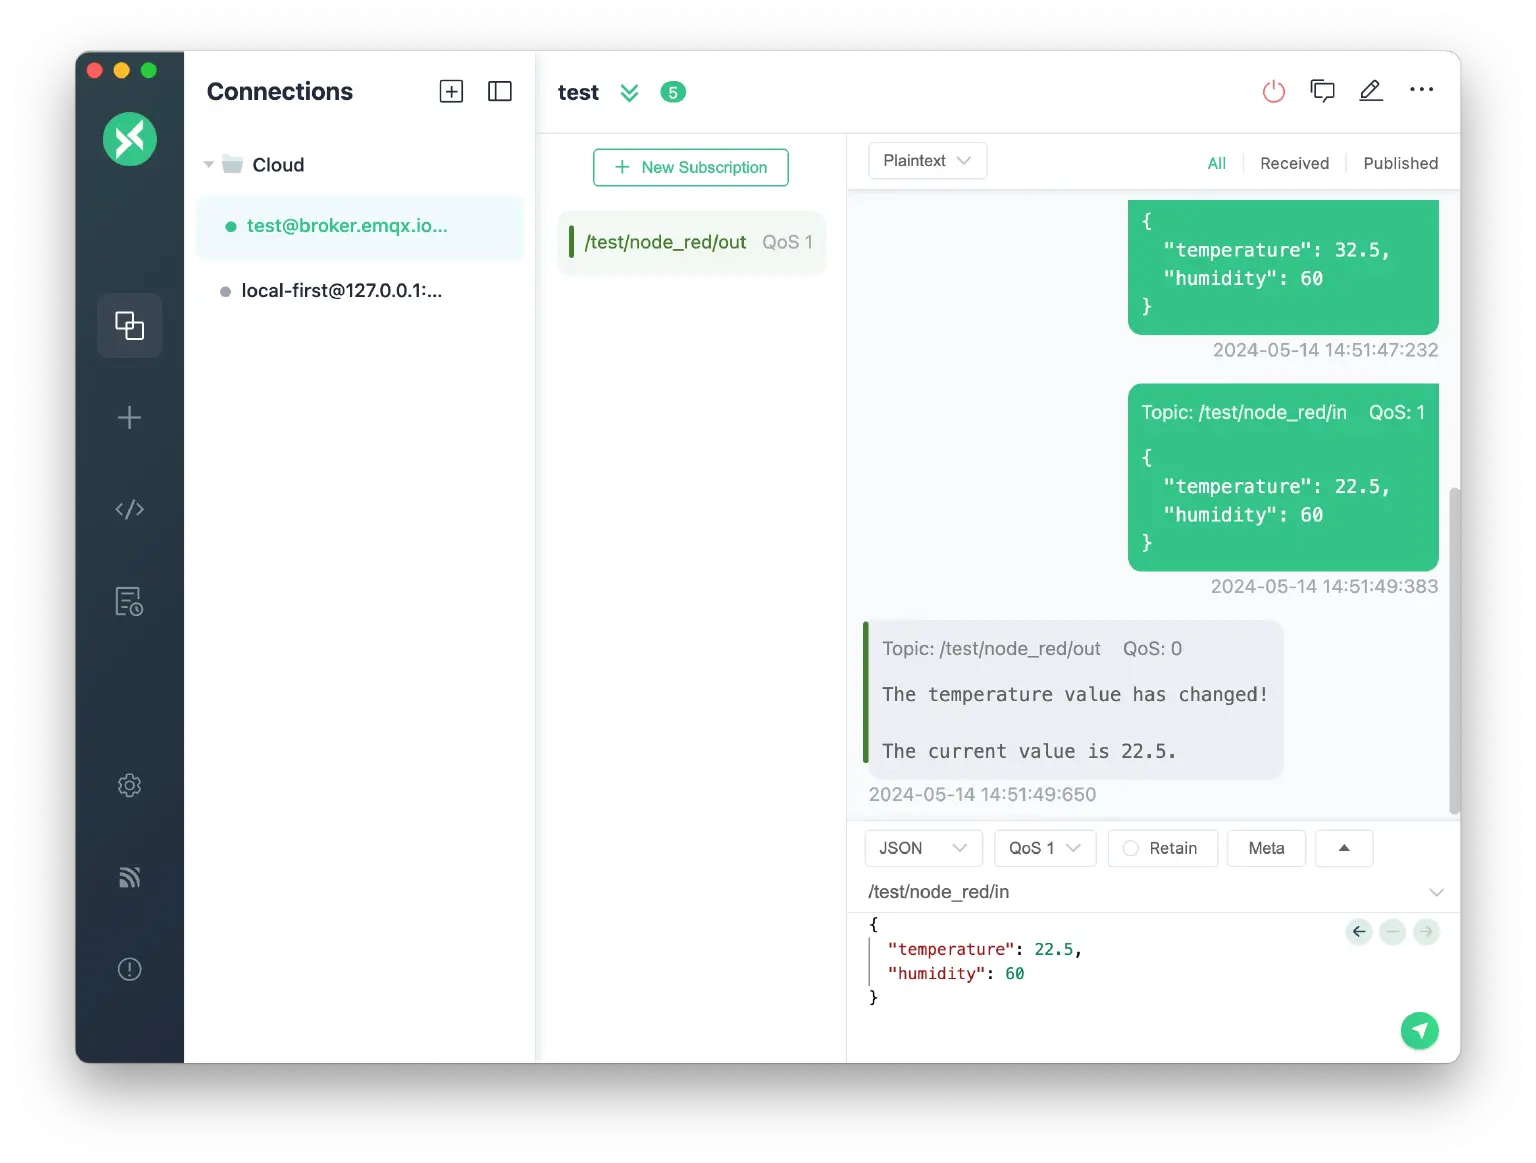
フローのテスト
MQTTXなどのMQTTクライアントを使ってパイプラインをテストします。
test/node_red/outをサブスクライブして処理済みの出力を監視します。test/node_red/inにJSONペイロードのテストメッセージをパブリッシュします。例:json{"temperature": 25, "humidity": 60}出力トピックにメッセージが表示されることを確認します。
同じメッセージを再度パブリッシュします。rbeフィルターにより重複が抑制され、出力は表示されません。
温度値を変更してパブリッシュします:
json{"temperature": 26, "humidity": 60}このメッセージはフィルターを通過し、出力トピックに表示されることを確認します。
トラブルシューティング
ノードが「disconnected」ステータスを表示する
説明
- デプロイ後、mqtt-inまたはmqtt-outノードが赤色のdisconnectedインジケーターを表示する。
考えられる原因
- ブローカーアドレスまたはポートの誤り
- ネットワークファイアウォールによるポート
1883または8883のブロック - ブローカーが起動していない
対処方法
- ノードをダブルクリックし、Server横の鉛筆アイコンをクリックしてブローカーアドレスとポートを確認する。
- MQTTXなど別のMQTTクライアントでブローカーへの基本的な接続をテストする。
- TLSを使用している場合は、正しいポート(
8883)とCA証明書が設定されているか確認する。
入力トピックでメッセージが受信されない
説明
- mqtt-inノードは接続済みだがメッセージが届かない。
考えられる原因
- パブリッシャーとサブスクライバーでトピック名が一致していない
- QoSレベルの不整合
- ブローカーのACLルールによるサブスクライブのブロック
対処方法
- パブリッシャーがmqtt-inノードで設定した正確なトピック(
test/node_red/in)に送信しているか確認する。 - Node-REDのデバッグノードを使い、フロー各段階でメッセージを確認する。
- ブローカーの認証およびACL設定をチェックする。
フィルターノードがすべてのメッセージをブロックする
説明
- 温度値が変わっても出力トピックにメッセージが表示されない。
考えられる原因
- rbeノードのプロパティパスが誤っている
- JSONノードがフィルター前にペイロードをパースしていない
対処方法
- jsonノードがrbeノードの前にあり、Always Convert to JavaScript Objectに設定されているか確認する。
- rbeノードのプロパティが
msg.payload.temperature(payload.temperatureではない)に設定されているか確認する。 - jsonノードの後にdebugノードを追加し、
msg.payloadの構造を確認する。
認証に失敗する
説明
- デプロイ直後にノードがdisconnectedとなり、ブローカーのログに認証エラーが記録される。
考えられる原因
- ブローカー設定でユーザー名やパスワードが未設定または誤っている
- トピックに対するACL制限
対処方法
- ノードをダブルクリックし、ブローカー設定のSecurityタブで正しいユーザー名とパスワードを入力する。
- EMQXの認証設定を確認する。
参考情報
詳細な解説や追加の例については、ブログ記事「Node-REDを使ったMQTTデータ処理」をご覧ください。