Member Account Management
The Member Account Management feature of the EMQX Cloud is an essential component designed to help enterprises achieve fine-grained multi-role management and access control. This functionality allows users to create and manage member accounts, assign different roles and permissions, and meet the needs of complex team collaborations, ensuring the secure and efficient utilization of resources and data.
This page provides a comprehensive guide to the Member Account Management functionality, including creating member accounts, assigning role permissions, and managing common operations for member accounts. This helps enterprises maximize collaboration and security through effective user management.
Member Account System
A member account is an independent account created and activated by the root user (or an administrator account) in the EMQX Cloud. Each member account has a specific role, such as Administrator, Project Administrator, Accountant, or Auditor, each with a defined scope of permissions. These roles cover various scenarios, including project and deployment management, financial operations, and auditing.
The role-based permission system allows enterprises to allocate specific functional modules and operations to member accounts, making it easier to manage projects and resources based on responsibility.
The EMQX Cloud also provides an intuitive interface for member account management, enabling users to authorize projects, modify roles, manage passwords, and activate or deactivate accounts.
Roles and Permissions
Administrator: This account has full platform permissions equivalent to the root user and acts as the super administrator within the sub-account system. Although administrators have the same functionality as the primary account, they are still part of the member account hierarchy.
Project Administrator: Has permission to view projects, as well as to modify and delete deployments within an authorized project. This role is primarily intended for managing project deployments. For example, if an organization or department requires exclusive management of a specific project cluster, a designated individual can be assigned as a Project Administrator to oversee those projects without access to unauthorized projects.
Project User: Has permission to view projects and to view and edit deployments. Typically, Project Users are business personnel who, in addition to viewing projects and deployments, can access deployment details, utilize data integration and monitoring features, and address relevant business needs.
Project Viewer: Has read-only access to the assigned projects and deployments within the projects.
Accountant: Has financial management permissions and can also view projects and deployments. Financial personnel can monitor the current billing status of the platform account and manage balances, invoices, and other related matters.
Auditor: Can view projects and deployments, as well as sub-user and financial details. The Auditor role is designed to meet internal audit needs within a company, providing read-only access to various platform functionalities.
Member Account Login
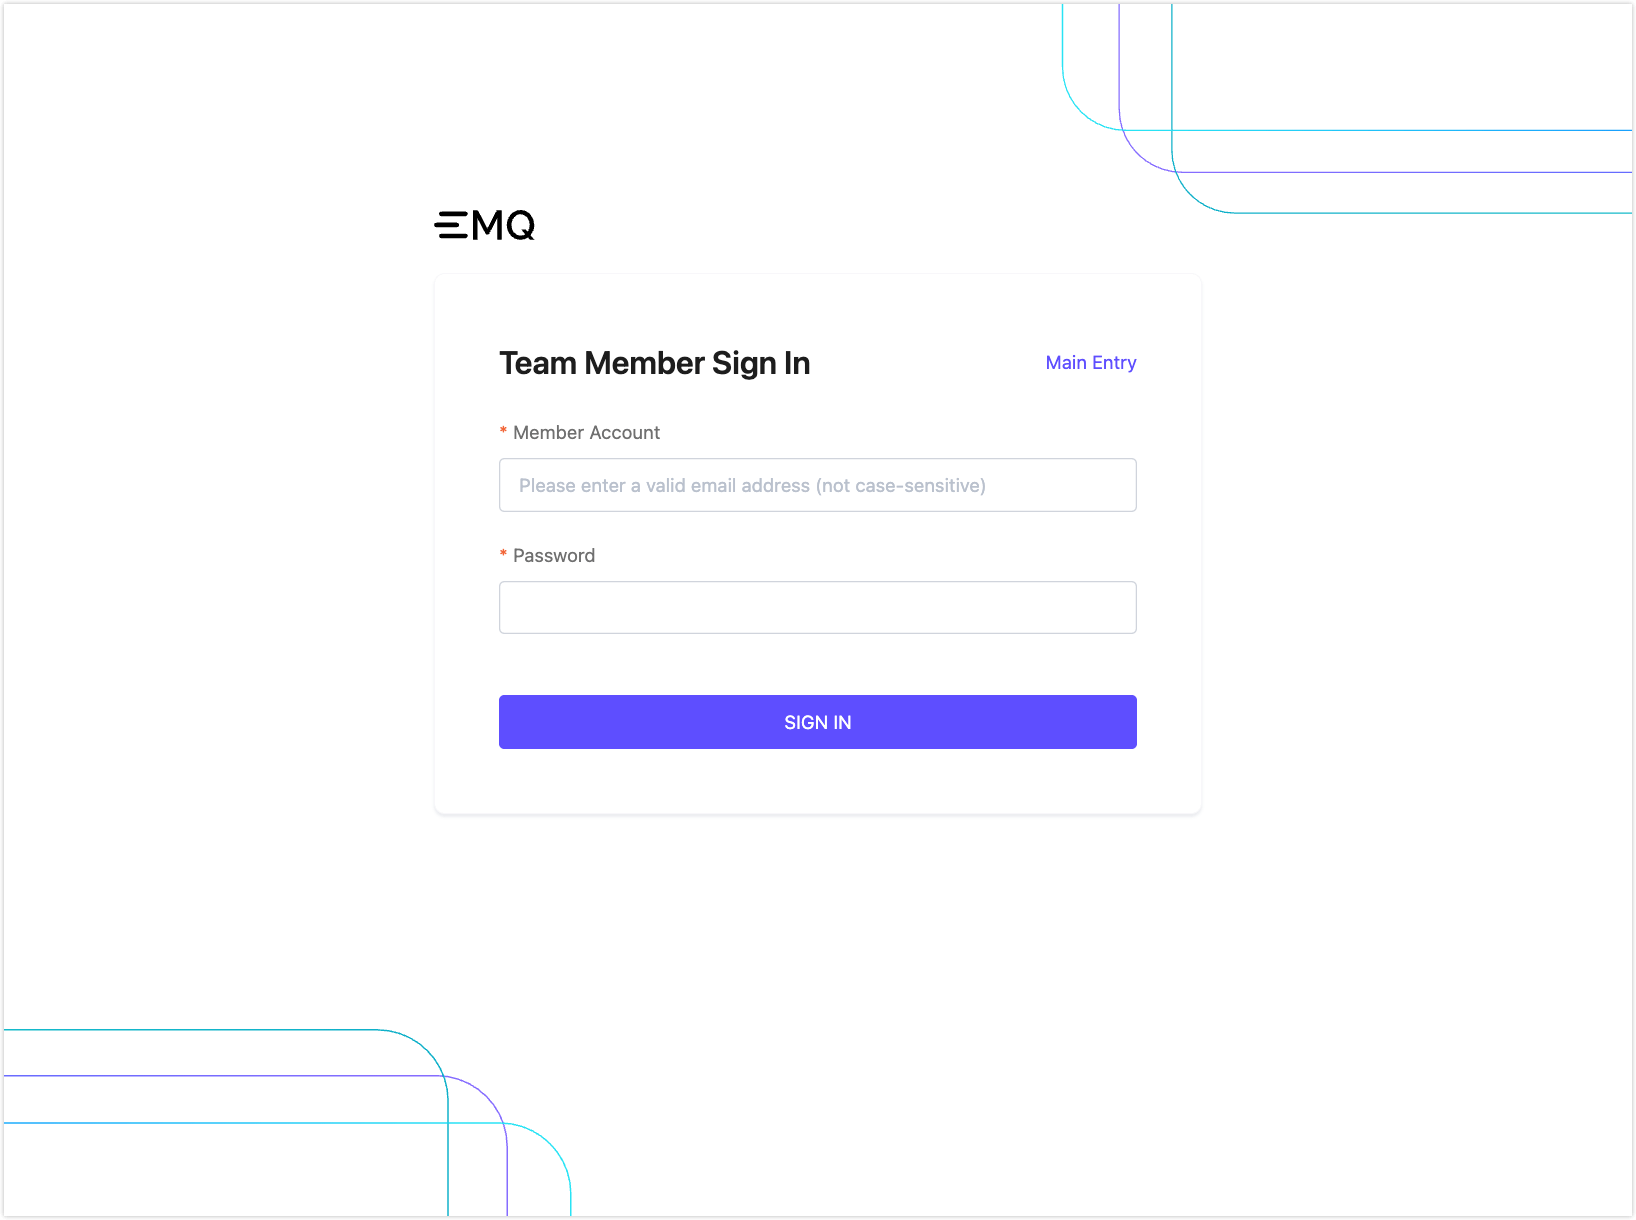
Team members log in through a dedicated Member Account login page, separate from the root (main) account. After entering their credentials, members can access projects and features based on their assigned roles (e.g., Project Administrator or Project User).
Below is the current Team Member Sign In interface:
Login Security: Account Lock Mechanism
To enhance security, the EMQX Cloud enforces a login protection mechanism for member accounts:
- If more than 5 login attempts (successful or failed) are made within a 30-minute period, the member account will be temporarily locked.
- Once locked, the account must wait 30 minutes before attempting to log in again.
Create a Member Account
Only the root user or an administrator can create new Member Accounts.
- In the EMQX Cloud Console, click Team from the left menu.
- Click + Invite Member in the upper-right corner of the page.
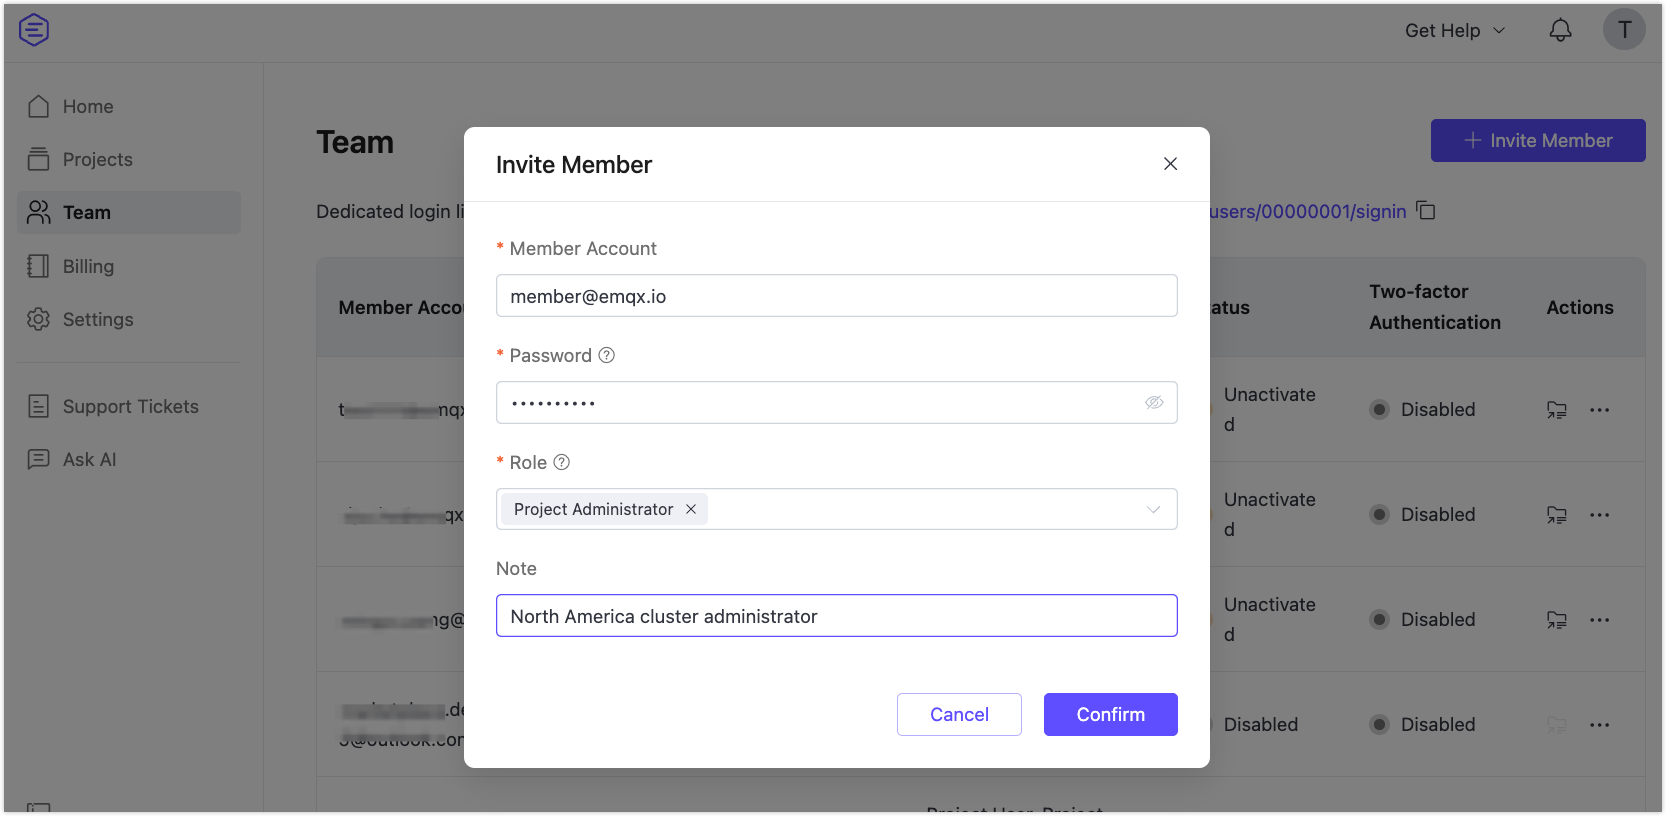
- In the Invite Member dialog:
- Member Account: Enter the email address of the new member.
- Password: Set an initial password. This can be changed later by the root user or the member.
- Role: Select one or more roles (e.g., Project Administrator, Project User).
- Note: Optional field for describing the account’s purpose (e.g., “North America cluster administrator”).
- Click Confirm to complete the invitation.
Activate a Member Account
After the account is created, the invited user will receive an activation email.
Note
The activation link is valid for 1 hour. Please complete the verification and first login within this period.
To activate the account:
- Open the email and click the activation link to verify the email address.
- Use the unique Member Account Login URL provided in the email to log in to the EMQX Cloud.
The email includes two links:
- Activation/Login Link (valid for first-time access)
- Dedicated Login URL for regular member account access

Once activated, the member can access the platform according to the roles and permissions assigned by the root user. If the member needs access to specific projects, the root user or an administrator must add them to the appropriate project(s).
Manage Member Accounts
Only users with the Root User (Administrator) or Auditor roles can access the Team page and manage member accounts.
- Root User (Administrators): Full access to all user management operations.
- Auditors: Read-only access to view the member account list.
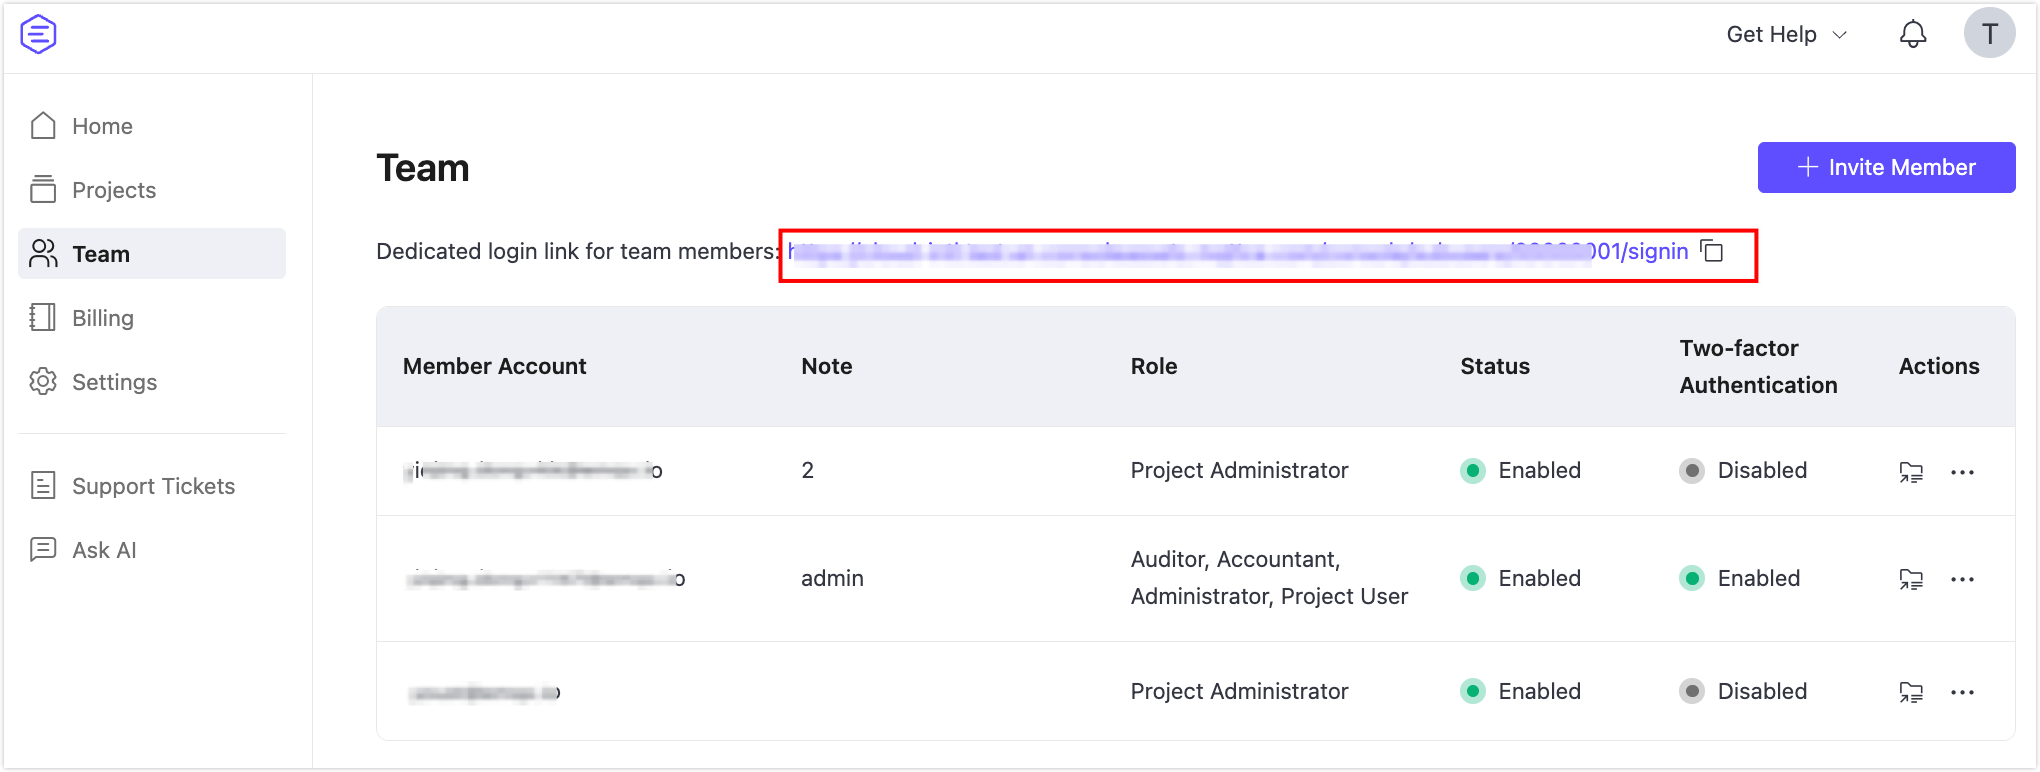
The Team page displays a list of all current member accounts along with their assigned roles, status, two-factor authentication settings, and available actions. A member account's status will only be activated once it has passed email verification.
At the top of the Team page, you'll find the dedicated login URL for member accounts. This link is specific to your workspace and should be shared with team members if they forget how to access the platform.
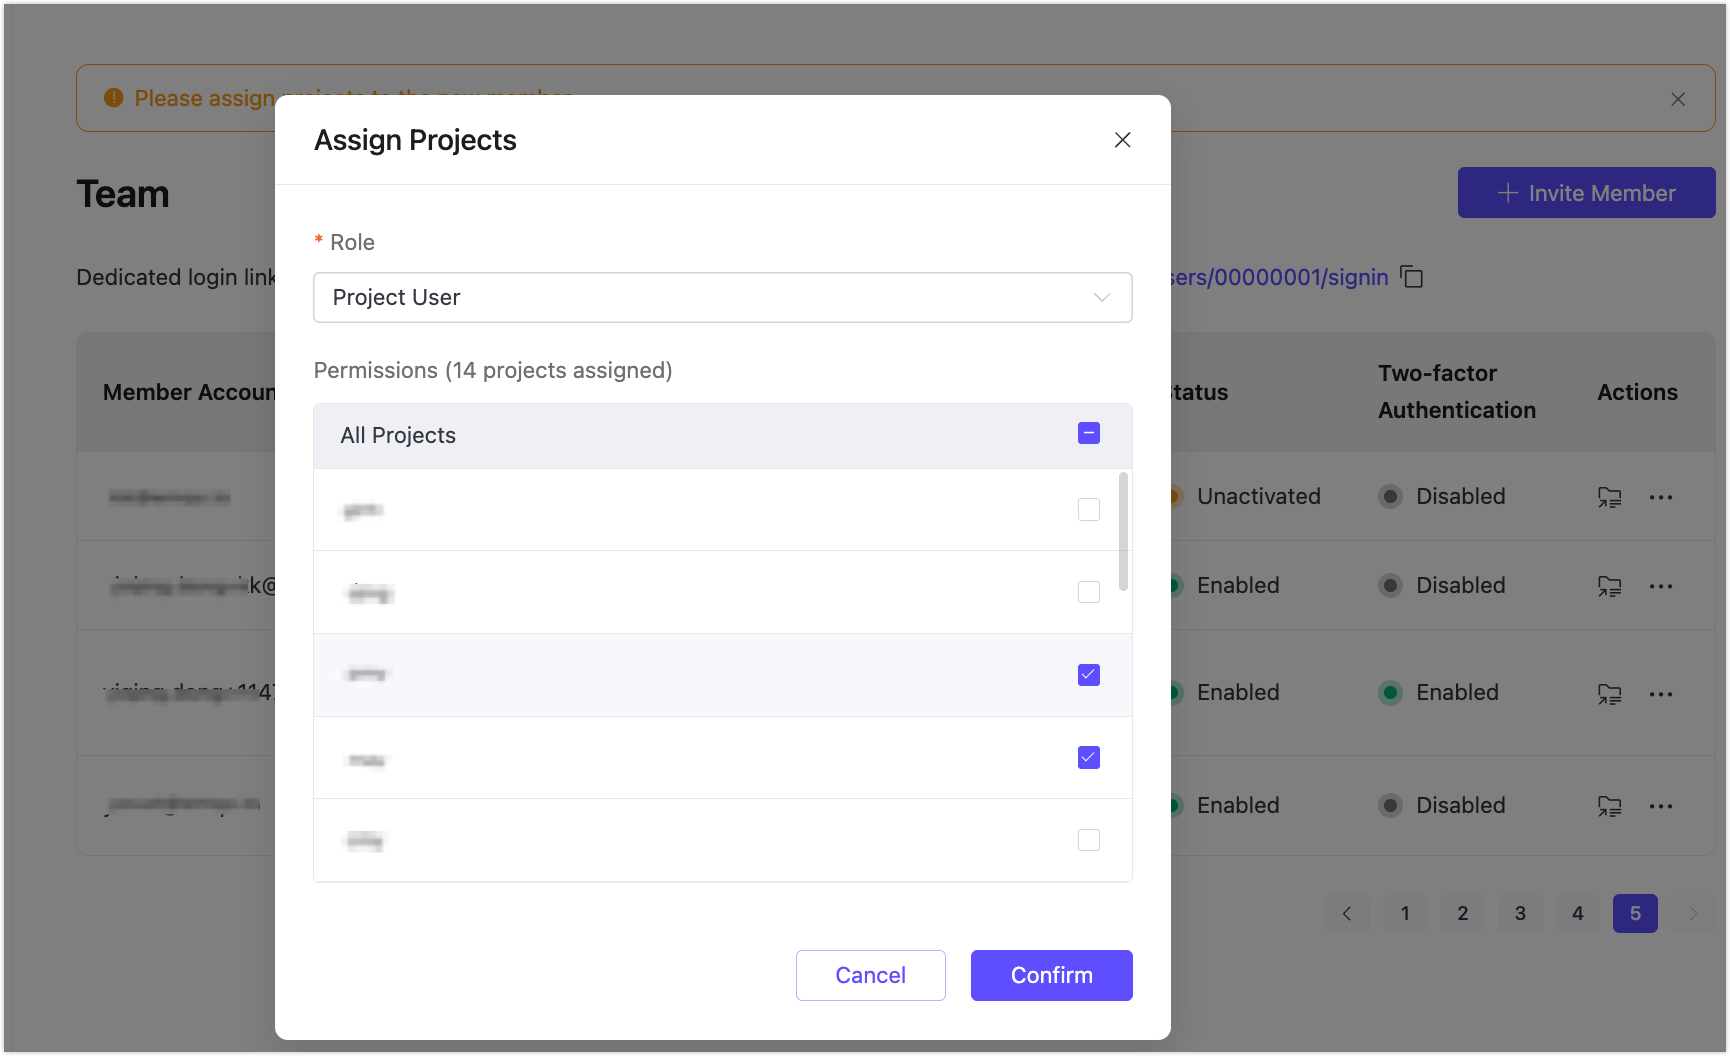
Assign Projects
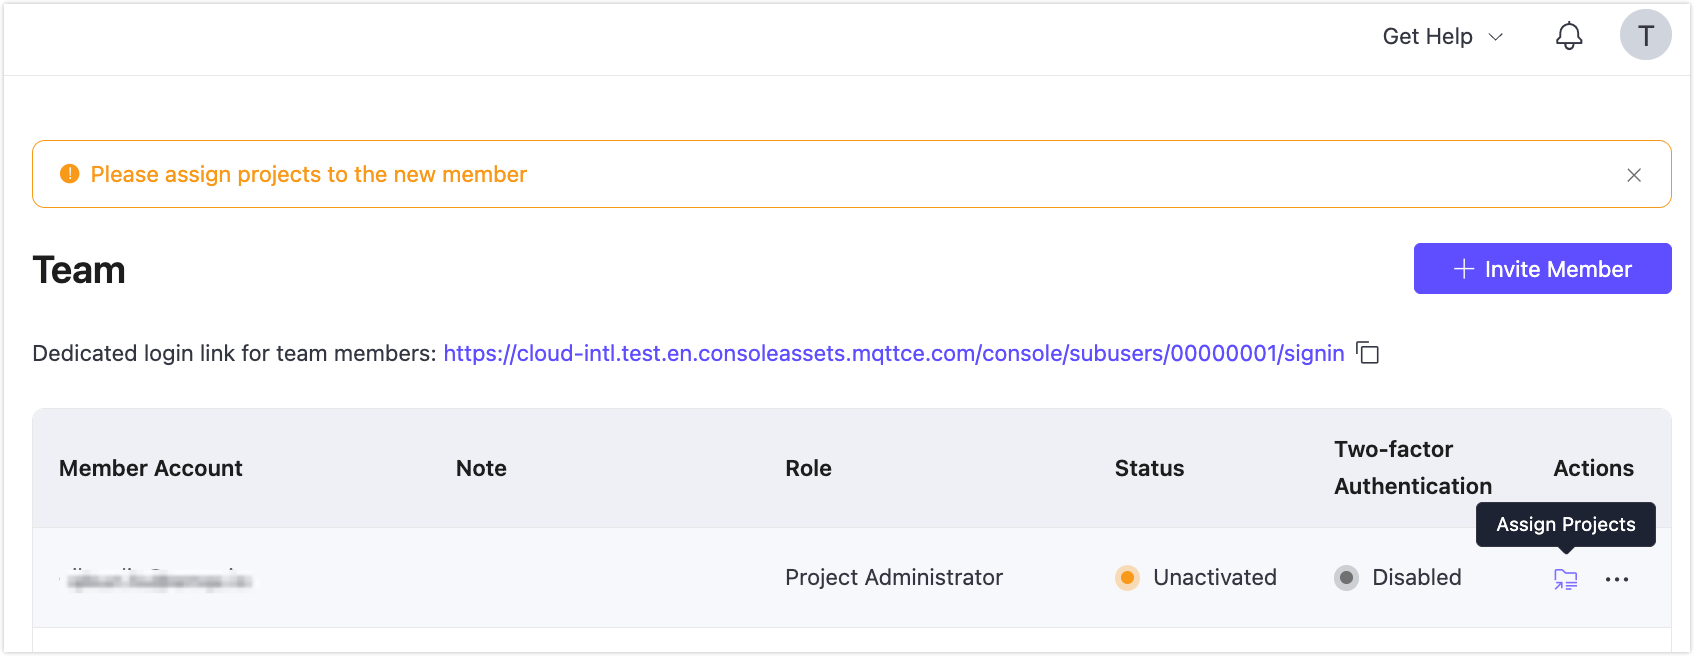
When a new member is created with a Project Administrator, Project User, or Project Viewer role, a reminder will appear prompting you to assign project access. If no project is assigned, the member will not see any resources after logging in.
To assign projects:
- Click Assign Projects in the Actions column for the relevant member.
- In the Assign Projects window:
- Choose the role for the assigned projects.
- Select one or more projects from the list.
- Click Confirm to apply the assignments.
Notes:
- Project Administrator, Project User, and Project Viewer roles require explicit project assignment.
- Administrator, Auditor, and Accountant roles are global roles and have default access across all projects:
- Administrator: Full access to all projects by default (no need to assign).
- Auditor and Accountant: Read-only access to all projects (assigning projects is not required, and the option will be disabled).
When an account has both the Project Administrator and Project User roles, you should set permissions for different roles.
More Actions
In the Actions column of each member, additional operations are available. These require root user or administrator privileges:
Change Password: Update the password for the member account.
Change Role: Modify or add roles for the member account.
Resend Activation Email: Re-send the activation email to unverified users.
Enable / Disable: Control access to the platform. Disabled members cannot log in until the account is reactivated.
When disabled, it cannot access any resources and will not appear in the project members lists.
Remove 2FA: Remove the Two-Factor Authentication (2FA) for the an activated member account for added login security.
Delete: Permanently remove the member account. This action is irreversible.
Role Permissions Matrix
The user management feature provides a detailed permissions matrix to cater to enterprise needs for role-based management. Each role is assigned specific operational and project permissions.
Note: ✓ (Allow), ✗ (Deny), Read only (View only)
| Permissions | Project Administrator | Project User | Project Viewer | Accountant | Auditor | |
|---|---|---|---|---|---|---|
| Deployment | View deployment list | ✓ | ✓ | ✓ | ✓ | ✓ |
| View deployment details (all features within deployments) | ✓ | ✓ | ✓ | ✓ | ✓ | |
| Create new deployments | ✓ | ✗ | ✗ | ✗ | ✗ | |
| Move deployments to other projects | ✓ | ✗ | ✗ | ✗ | ✗ | |
| Start/Stop the deployment | ✓ | ✗ | ✗ | ✗ | ✗ | |
| Delete deployment | ✓ | ✗ | ✗ | ✗ | ✗ | |
| Change deployment's name | ✓ | ✓ | ✗ | ✗ | ✗ | |
| Change deployment tiers | ✓ | ✗ | ✗ | ✗ | ✗ | |
| Change spend limit for Serverless | ✓ | ✗ | ✗ | ✗ | ✗ | |
| Update BYOC license | ✓ | ✗ | ✗ | ✗ | ✗ | |
| Ports management | ✓ | ✓ | ✗ | ✗ | ✗ | |
| TLS/SSL configuration | ✓ | ✓ | Read only | Read only | Read only | |
| Deployment API key | ✓ | ✓ | Read only | Read only | Read only | |
| VPC/PrivateLink configuration | ✓ | ✓ | Read only | Read only | Read only | |
| NAT gateway/Internal endpoint configuration | ✓ | Read only | Read only | Read only | Read only | |
| Access control configuration | ✓ | ✓ | Read only | Read only | Read only | |
| Monitoring management | ✓ | ✓ | Read only | Read only | Read only | |
| Data integration configuration | ✓ | ✓ | Read only | Read only | Read only | |
| Cluster linking configuration (Dedicated Flex) | ✓ | ✓ | Read only | Read only | Read only | |
| Gateway configuration (Dedicated Flex) | ✓ | ✓ | Read only | Read only | Read only | |
| Logs | ✓ | ✓ | ✓ | ✓ | ✓ | |
| Online test | ✓ | ✓ | ✗ | ✗ | ✗ | |
| Smart Data Hub (Dedicated Flex) | Subscribe/Unsubscribe | ✓ | ✗ | ✗ | ✗ | ✗ |
| Schema Registry | ✓ | ✓ | Read-only | Read-only | Read-only | |
| Schema Validation | ✓ | ✓ | Read-only | Read-only | Read-only | |
| Message Transformation | ✓ | ✓ | Read-only | Read-only | Read-only | |
| Member Account | View member account list | ✗ | ✗ | ✗ | ✗ | ✓ |
| Member account operation | ✗ | ✗ | ✗ | ✗ | ✗ | |
| Project Management | View project list | ✓ (authorized projects only) | ✓ (authorized projects only) | ✓ (authorized projects only) | ✓ | ✓ |
| Create new projects | ✗ | ✗ | ✗ | ✗ | ✗ | |
| Delete project | ✗ | ✗ | ✗ | ✗ | ✗ | |
| Edit project name and note | ✗ | ✗ | ✗ | ✗ | ✗ | |
| Add project members | ✗ | ✗ | ✗ | ✗ | ✗ | |
| Billing | Billing overview | ✗ | ✗ | ✗ | ✓ | ✓ |
| Change payment info | ✗ | ✗ | ✗ | ✓ | ✗ | |
| View bills page | ✗ | ✗ | ✗ | ✓ | ✓ | |
| View charges by services page | ✗ | ✗ | ✗ | ✓ | ✓ | |
| View coupons | ✗ | ✗ | ✗ | ✓ | ✓ | |
| View invoices | ✗ | ✗ | ✗ | ✓ | ✓ | |
| Download invoices | ✗ | ✗ | ✗ | ✓ | ✗ | |
| Subscription renewal | ✓ | ✗ | ✗ | ✗ | ✗ | |
| Audit Logs | ✗ | ✗ | ✗ | ✗ | ✓ | |
| Platform API key | View platform API key | ✗ | ✗ | ✗ | ✗ | ✓ |
| Manage platform API key | ✗ | ✗ | ✗ | ✗ | ✗ | |
| Tickets | ✓ | ✓ | ✓ | ✓ | ✓ | |