Connect to Deployment using React via MQTT.js SDK
This article mainly introduces how to use MQTT.js in a web application built on the React framework, and implement the connection, subscription, messaging, unsubscribing and other functions between the client and MQTT broker.
Prerequisites
Before connecting your web application to the EMQX Cloud using the React client, ensure you have completed the following prerequisites:
- Deploy MQTT broker
- Create a React application
Deploy MQTT Broker
To connect your application to the EMQX Cloud, you need to create and configure a deployment.
Serverless Deployment
Create a Serverless deployment in the EMQX Cloud Console.
Once the deployment is created and running, go to the deployment Overview page to find the MQTT connection information, including:
Broker address
Port number (only TLS ports are supported in Serverless)
Serverless deployments require TLS connections. Make sure to download the CA certificate from the Overview page and use port
8883for TLS.Configure the default authentication (username/password) under Access Control -> Client Authentication in the deployment.
For more details, refer to the Serverless Port Guide.
Dedicated Flex or BYOC Deployment
- You can create a Dedicated Flex or BYOC deployment in the EMQX Cloud Console.
- After creation, go to the deployment Overview page to retrieve MQTT connection information, including:
- Broker address
- TCP and TLS port numbers for MQTT and WebSocket (Both TCP and TLS connections are supported).
- Configure the default authentication (username/password) under Access Control -> Client Authentication in the deployment.
For detailed port configurations, see the Dedicated & BYOC Port Guide.
Creating a React Application
Reference link: https://reactjs.org/docs/getting-started.html
Creating new React applications with
Create React Appshellnpx create-react-app react-mqtt-testIf you need to use TypeScript, simply add the --template typescript parameter at the end of the command line
shellnpx create-react-app react-mqtt-test --template typescriptThen add the TypeScript type library required in the React project
shellnpm install --save typescript @types/node @types/react @types/react-dom @types/jest # or yarn add typescript @types/node @types/react @types/react-dom @types/jestThe use of TypeScript will not be the focus of the examples in this article, but if you wish to use it, you can add TypeScript features after referring to the creation example and the full code examples.
Import via CDN
html<script crossorigin src="https://unpkg.com/react@16/umd/react.production.min.js"></script> <script crossorigin src="https://unpkg.com/react-dom@16/umd/react-dom.production.min.js"></script>
Install Dependencies
MQTT.js is a fully open-source client-side library for the MQTT protocol, written in JavaScript and available for Node.js and browsers. For more information and usage of MQTT.js, please refer to the MQTT.js GitHub.
MQTT.js can be installed via NPM or Yarn, or can be imported through CDN or relative path. This example will install MQTT.js through NPM command. Directly importing files is more suitable for projects that use React through CDN.
Installation via the command line, either using the npm or yarn command (one or the other)
shellnpm install mqtt --save # or yarn add mqttImport via CDN
html<script src="https://unpkg.com/mqtt/dist/mqtt.min.js"></script>Download to the local and then import using the relative path
html<script src="/your/path/to/mqtt.min.js"></script>
Connect over WebSocket Port
You can set a client ID, username, and password with the following code. The client ID should be unique.
const clientId = "emqx_react_" + Math.random().toString(16).substring(2, 8);
const username = "emqx_test";
const password = "emqx_test";
You can establish a connection between the client and the MQTT broker using the following code:
const client = mqtt.connect("ws://broker.emqx.io:8083/mqtt", {
  clientId,
  username,
  password,
  // ...other options
});
Connect over WebSocket Secure Port
If TLS/SSL encryption is enabled, the connection parameter options are the same as for establishing a connection via the WebSocket port, you just need to be careful to change the protocol to wss and match the correct port number.
You can establish a connection between the client and the MQTT broker using the following code:
const client = mqtt.connect("wss://broker.emqx.io:8084/mqtt", {
  clientId,
  username,
  password,
  // ...other options
});
Subscribe and Publish
Subscribe to Topics
Specify a topic and the corresponding QoS level to be subscribed.
const mqttSub = (subscription) => {
    if (client) {
      const { topic, qos } = subscription
      client.subscribe(topic, { qos }, (error) => {
        if (error) {
          console.log('Subscribe to topics error', error)
          return
        }
        console.log(`Subscribe to topics: ${topic}`)
        setIsSub(true)
      })
    }
  }
Unsubscribe to Topics
You can unsubscribe using the following code, specifying the topic and corresponding QoS level to be unsubscribed.
const mqttUnSub = (subscription) => {
  if (client) {
    const { topic, qos } = subscription
    client.unsubscribe(topic, { qos }, (error) => {
      if (error) {
        console.log('Unsubscribe error', error)
        return
      }
      console.log(`unsubscribed topic: ${topic}`)
      setIsSub(false)
    })
  }
}
Publish Messages
When publishing a message, the MQTT broker must be provided with information about the target topic and message content.
const mqttPublish = (context) => {
  if (client) {
    const { topic, qos, payload } = context;
    client.publish(topic, payload, { qos }, (error) => {
      if (error) {
        console.log("Publish error: ", error);
      }
    });
  }
};
Receive Messages
The following code listens for message events and prints the received message and topic to the console when a message is received.
client.on("message", (topic: string, message) => {
  console.log(`received message: ${message} from topic: ${topic}`);
});
Disconnect from MQTT Broker
To disconnect the client from the broker, use the following code:
const mqttDisconnect = () => {
  if (client.connected) {
    try {
      client.end(false, () => {
        setConnectStatus('Connect')
        console.log('disconnected successfully')
      })
    } catch (error) {
      console.log('disconnect error:', error)
    }
  }
}
The above section only shows some key code snippets, for the full project code, please refer to MQTT Client - React. You can download and try it out yourself.
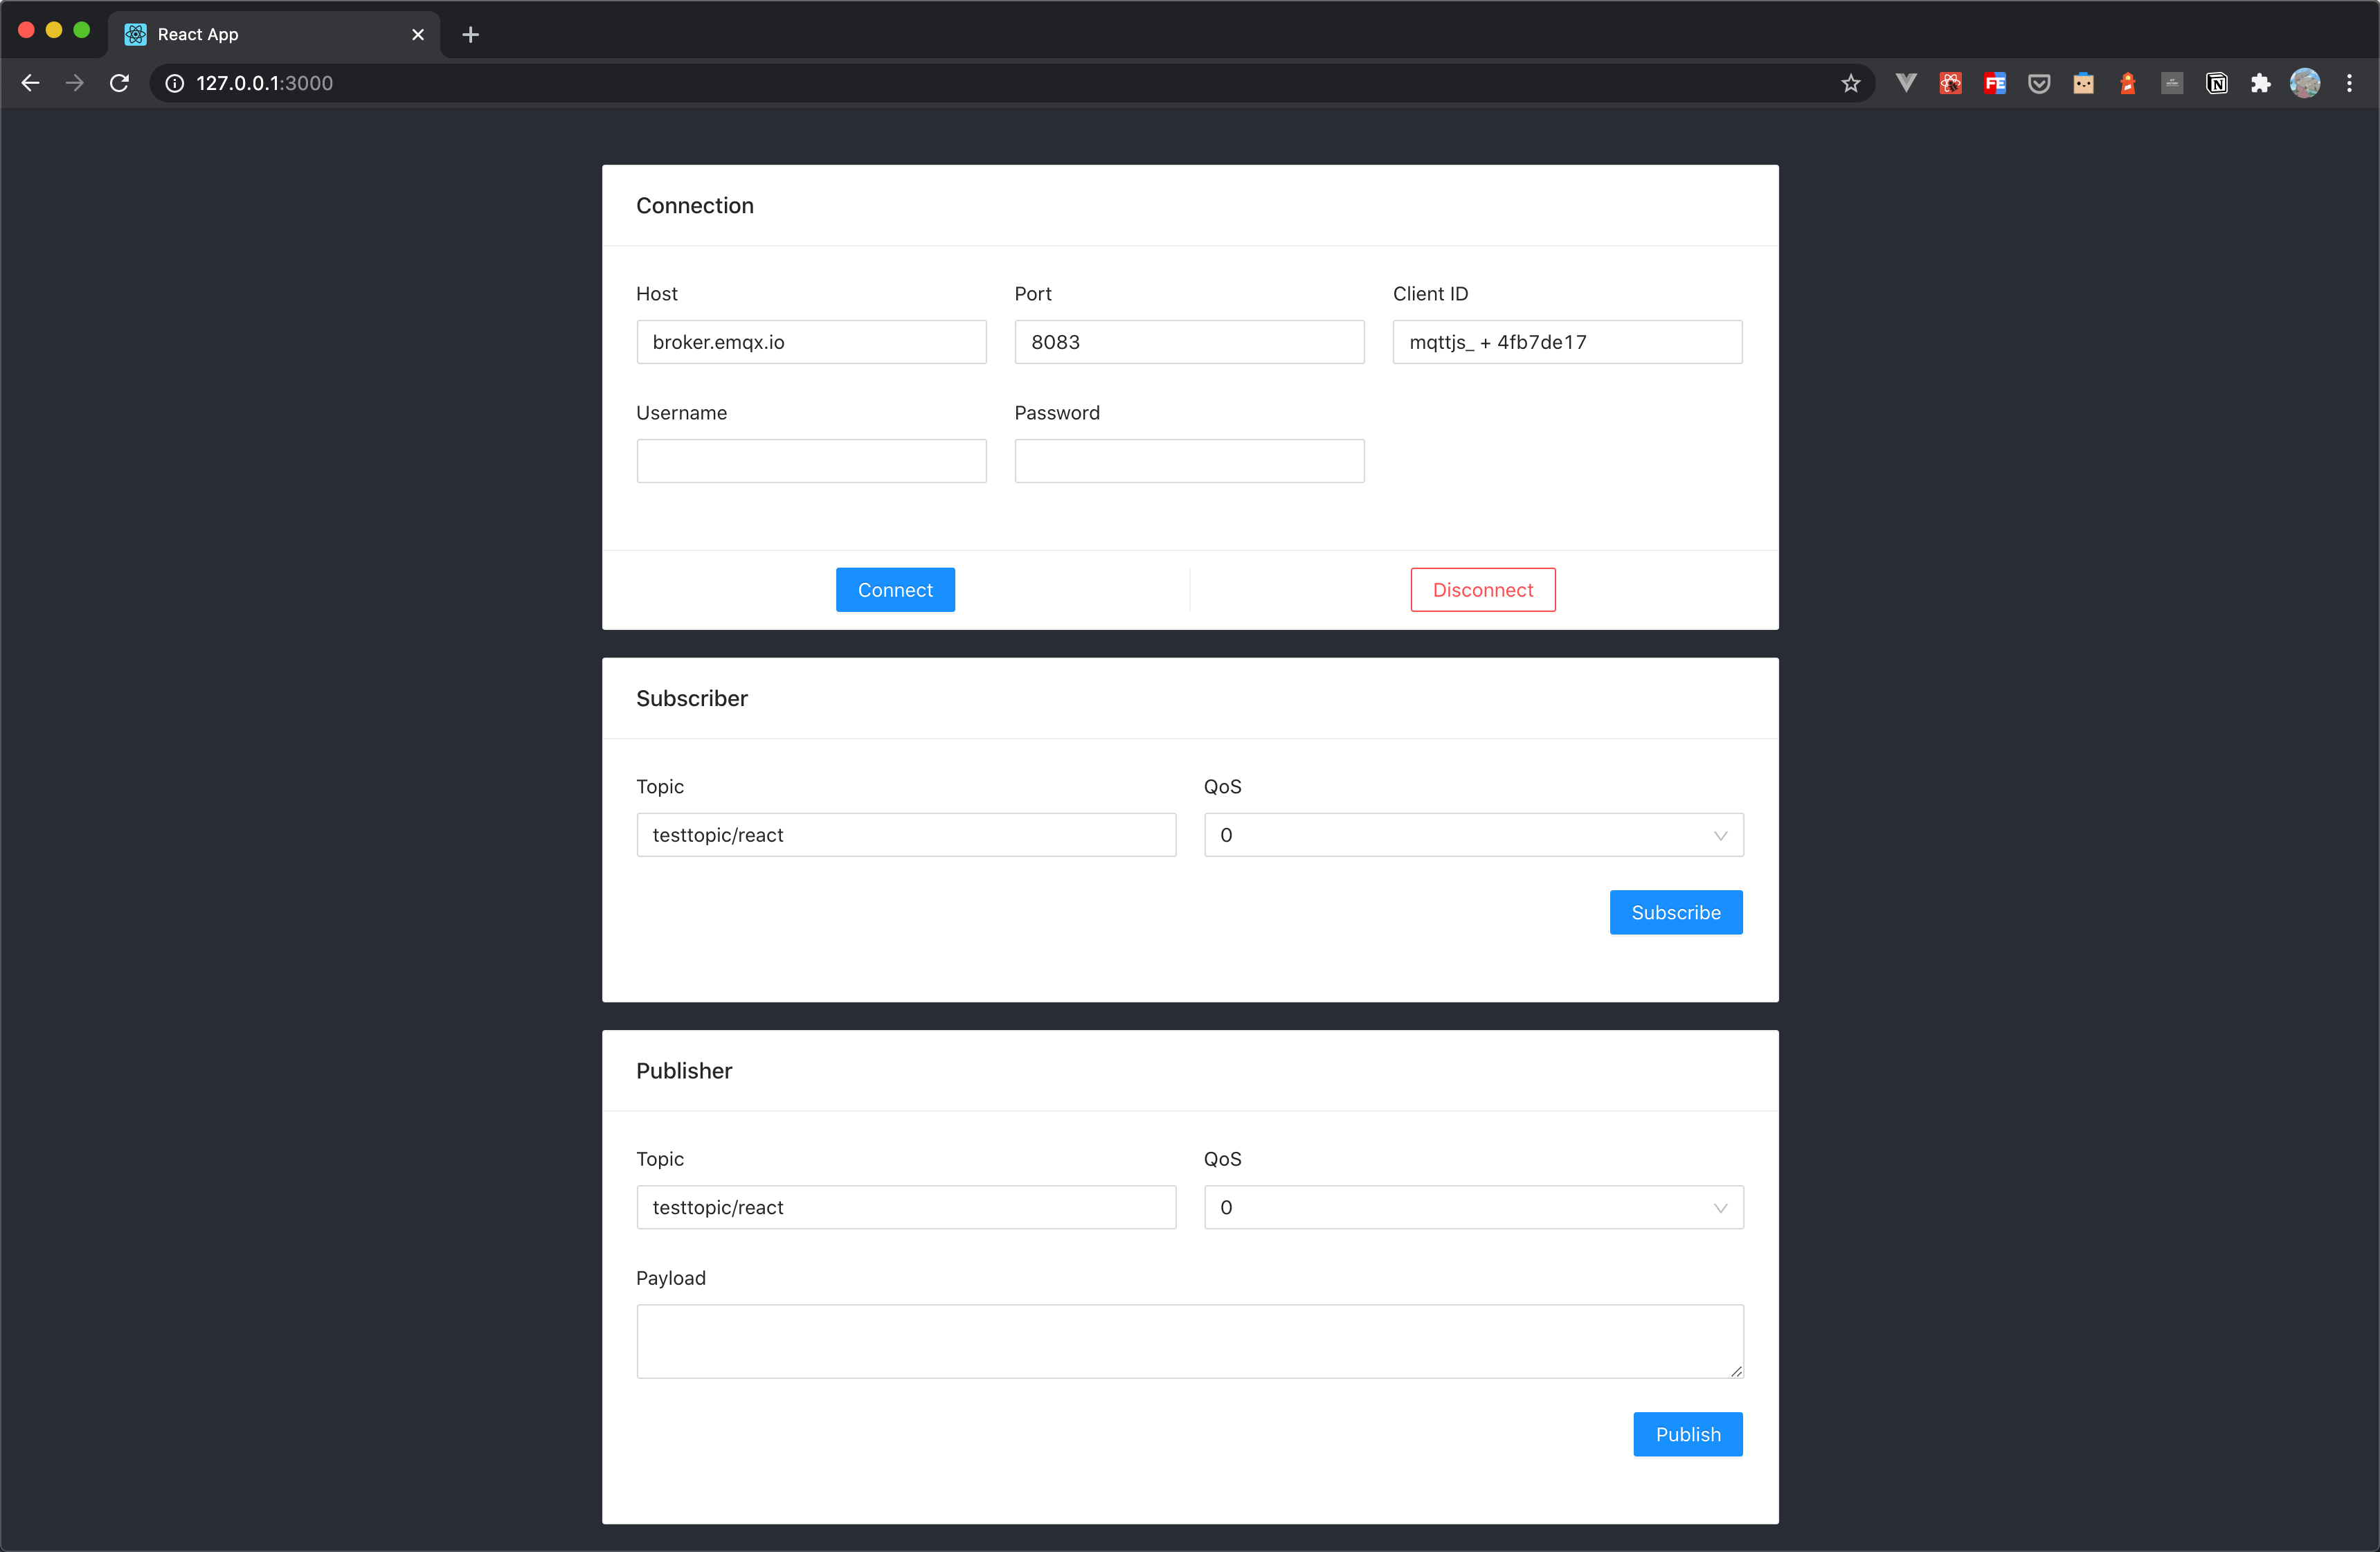
Test the Connection
We have written the following simple browser application using React with the ability to create connections, subscribe to topics, send and receive messages, unsubscribe, and disconnect.
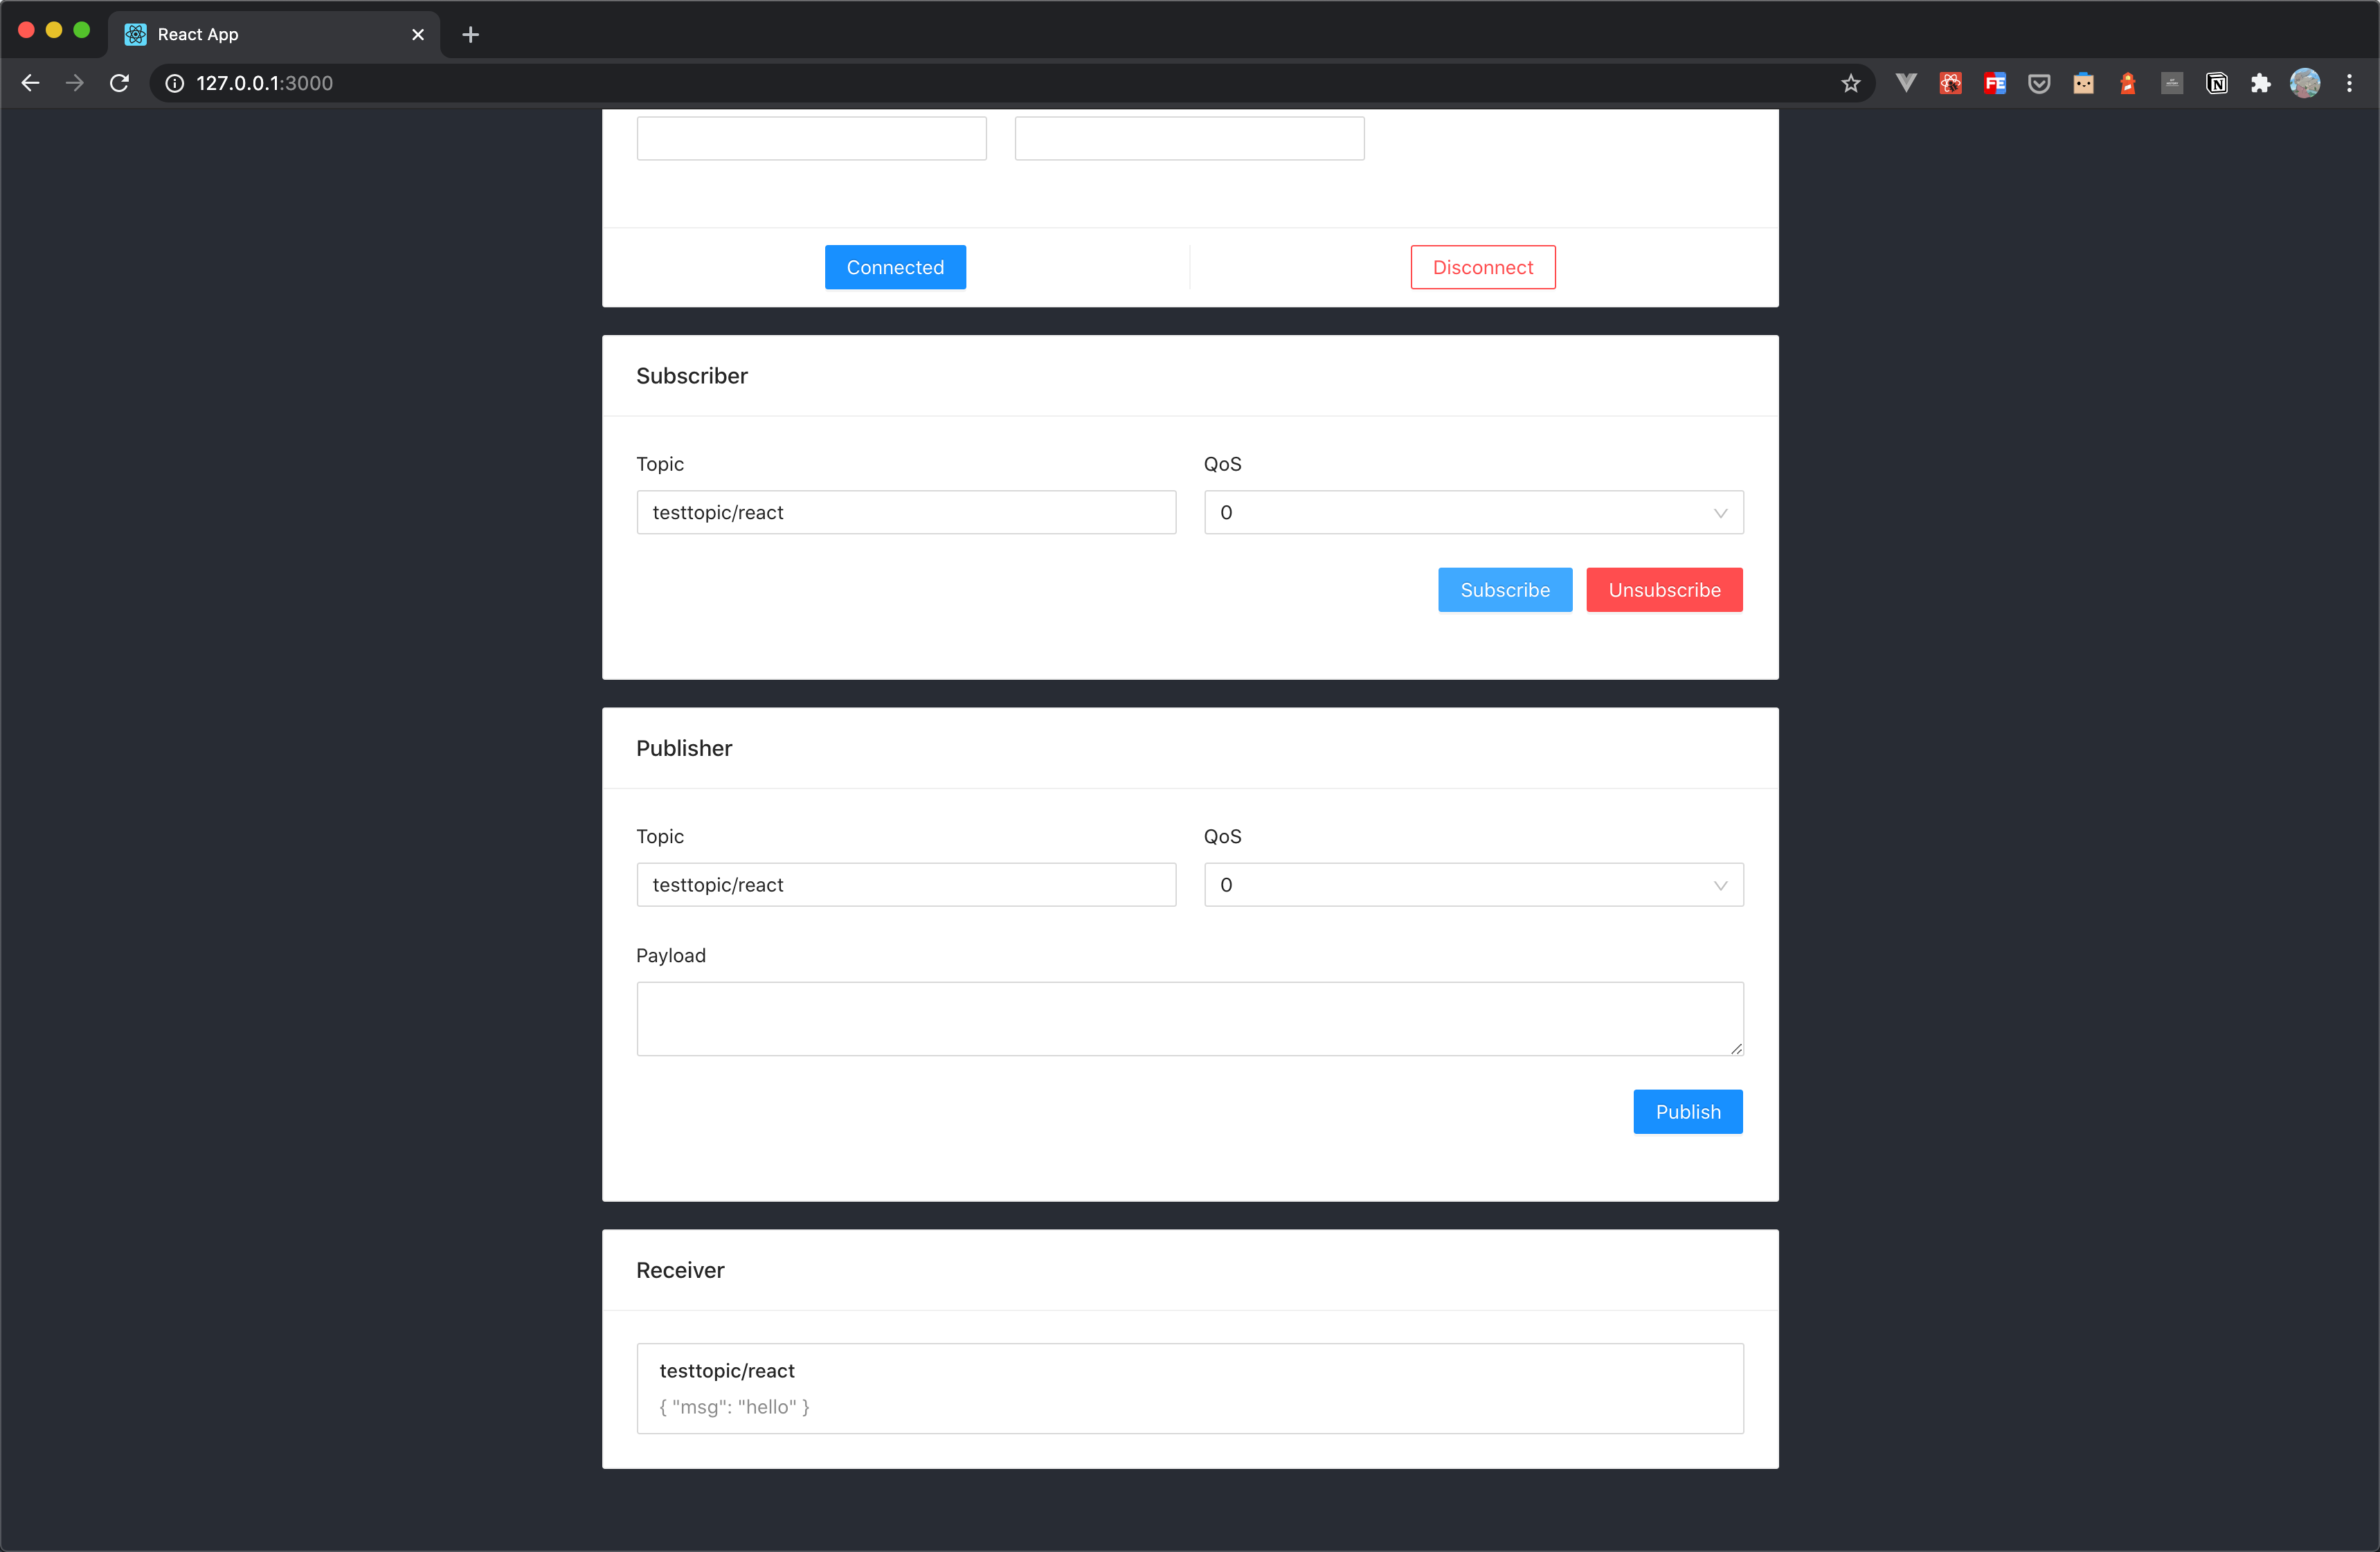
Use MQTT 5.0 client tool - MQTTX as another client to test sending and receiving messages.
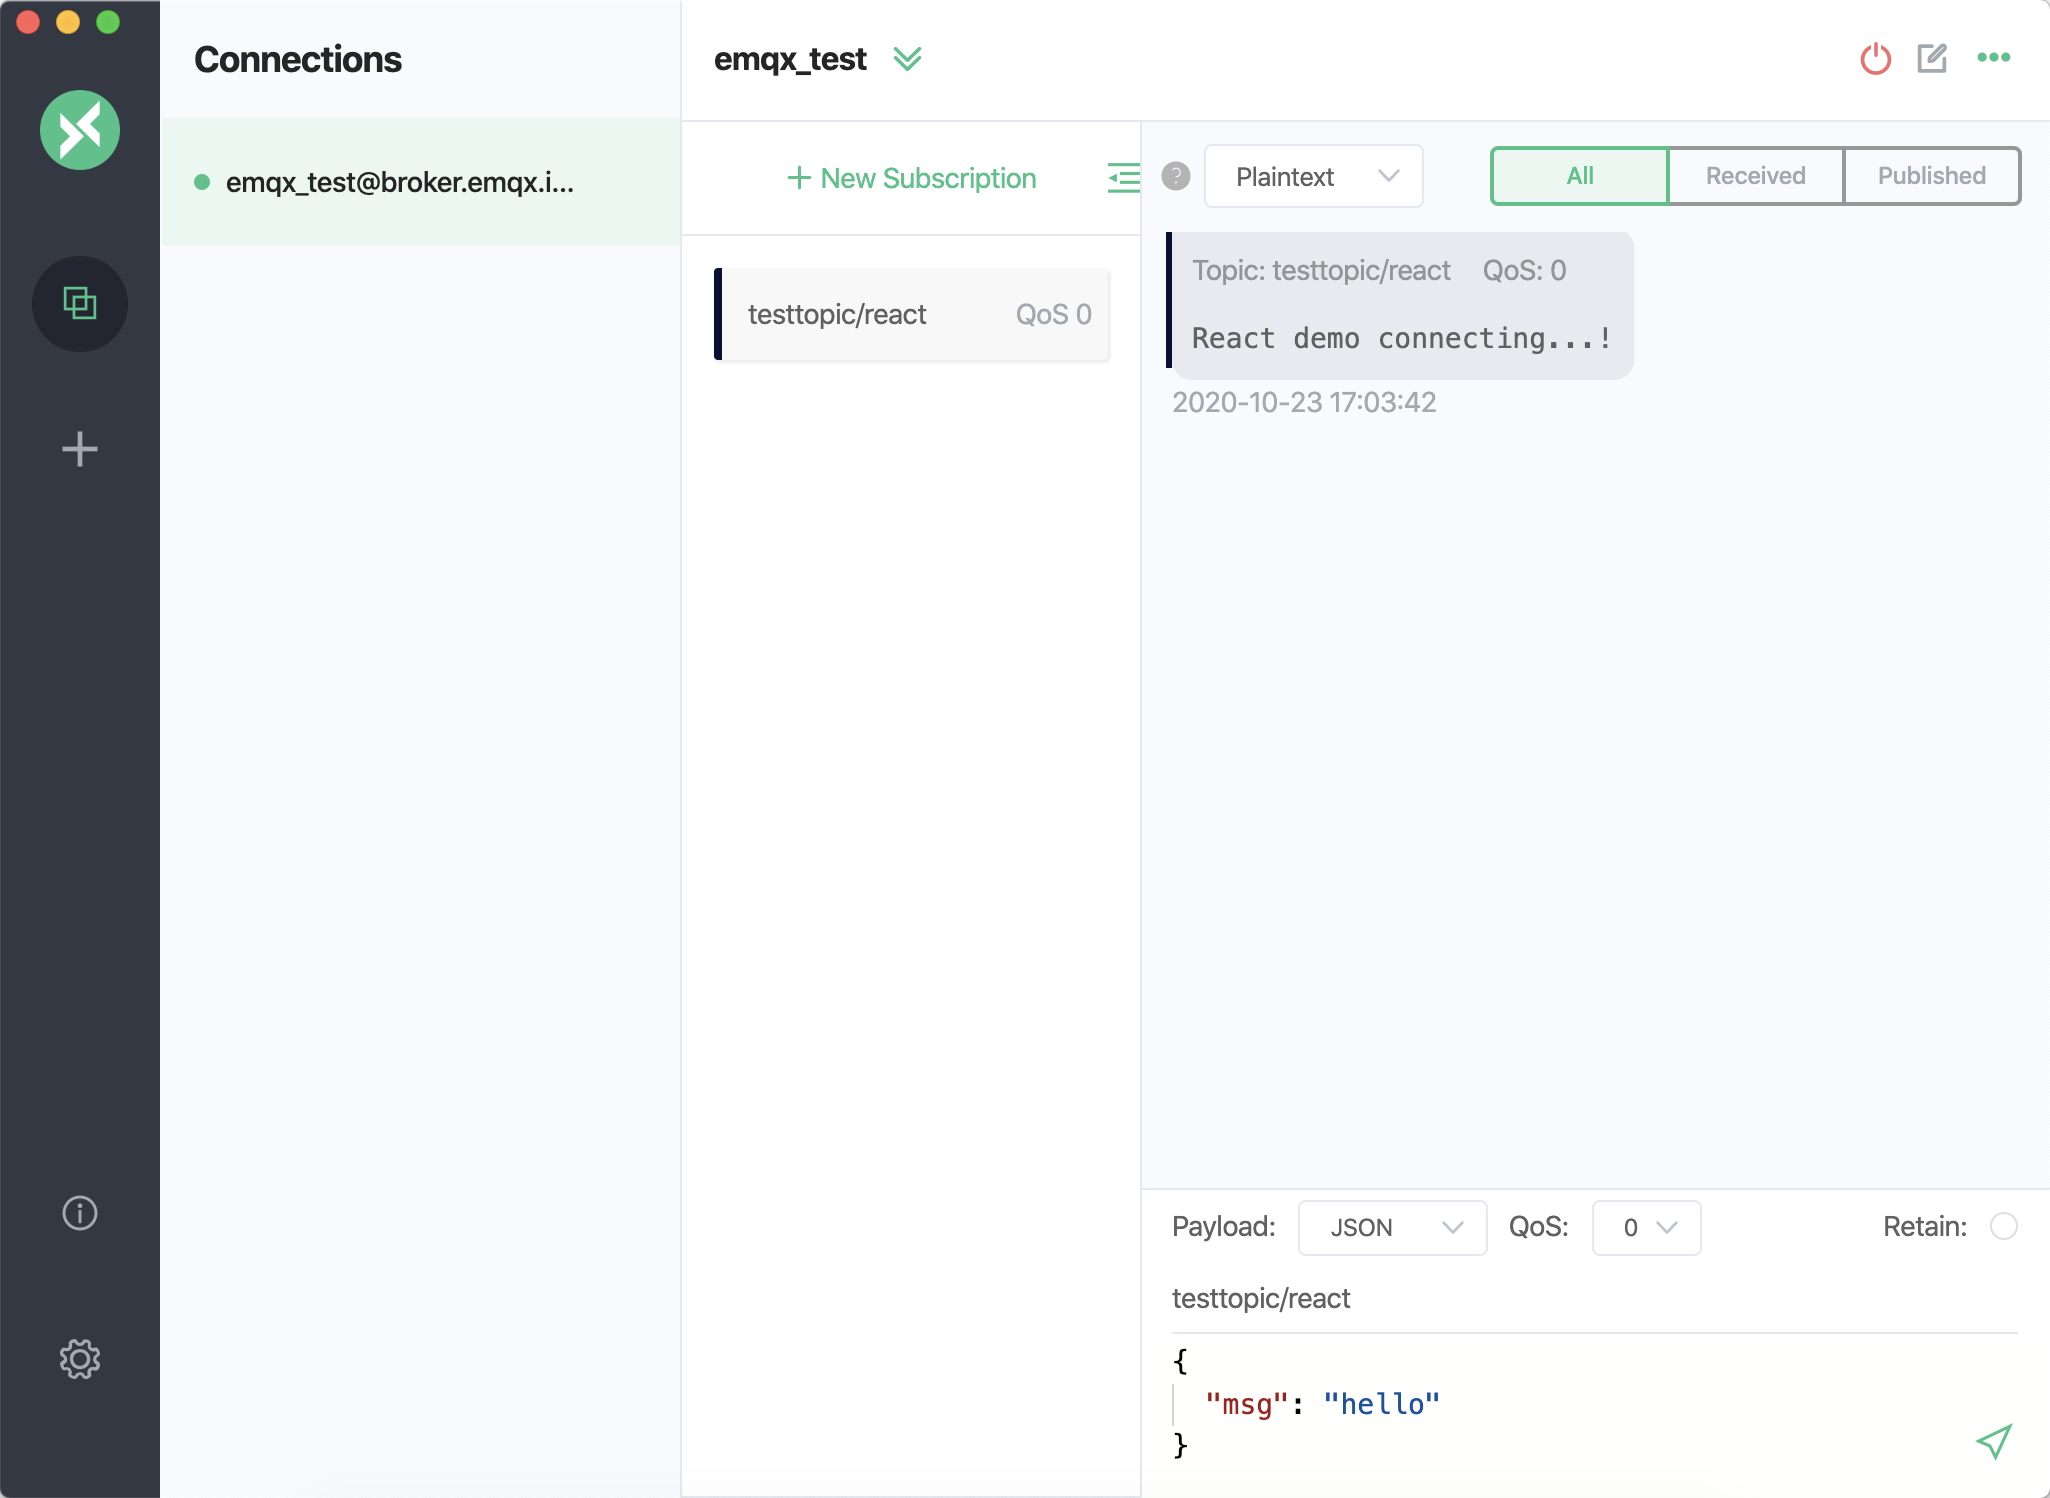
You can see that MQTTX can receive messages from the browser side normally, as can be seen when sending a message to the topic using MQTTX.
FAQ
How to use self-signed certificates? How to use two-way TLS/SSL authentication?
Due to the browser limitations, it is not supported temporarily. For more details, please refer to the MQTT.js issue: How to use TLS/SSL two-way authentication connections in browser? and Two-way authentication is available in Node.js, but not supported in browsers.
More
In conclusion, we have implemented creating MQTT connections in a React project and simulated scenarios of subscribing, publishing messages, unsubscribing, and disconnecting between clients and MQTT servers.
In this article, we use React v18.2.0, so the Hook Component feature will be used as example code to demonstrate, or if required, you can refer to the ClassMqtt component in the full example code to use the Class Component feature for project building.
You can download the complete example source code on the MQTT Client - React page, and we also welcome you to explore more demo examples in other languages on the MQTT Client example page.