Use EMQX Streaming in EMQX Premium
This page provides a step-by-step guide on how to use the EMQX Streaming feature in a Premium deployment.
Prerequisites
Before you begin, ensure you have completed the following steps:
- A Premium deployment has been created. For detailed instructions, refer to Create a Premium Deployment.
- VPC peering connections are enabled for your deployment. For instructions, refer to VPC Peering Connections.
- Any MQTT clients that will publish messages are set up and available.
- Any Kafka clients that will consume messages are ready.
Enable EMQX Streaming in EMQX Platform Console
The EMQX Streaming feature can only be activated by submitting a ticket.
- Go to your deployment and navigate to Streaming (beta).
- Click Enable Streaming (beta) on the page to submit a ticket.
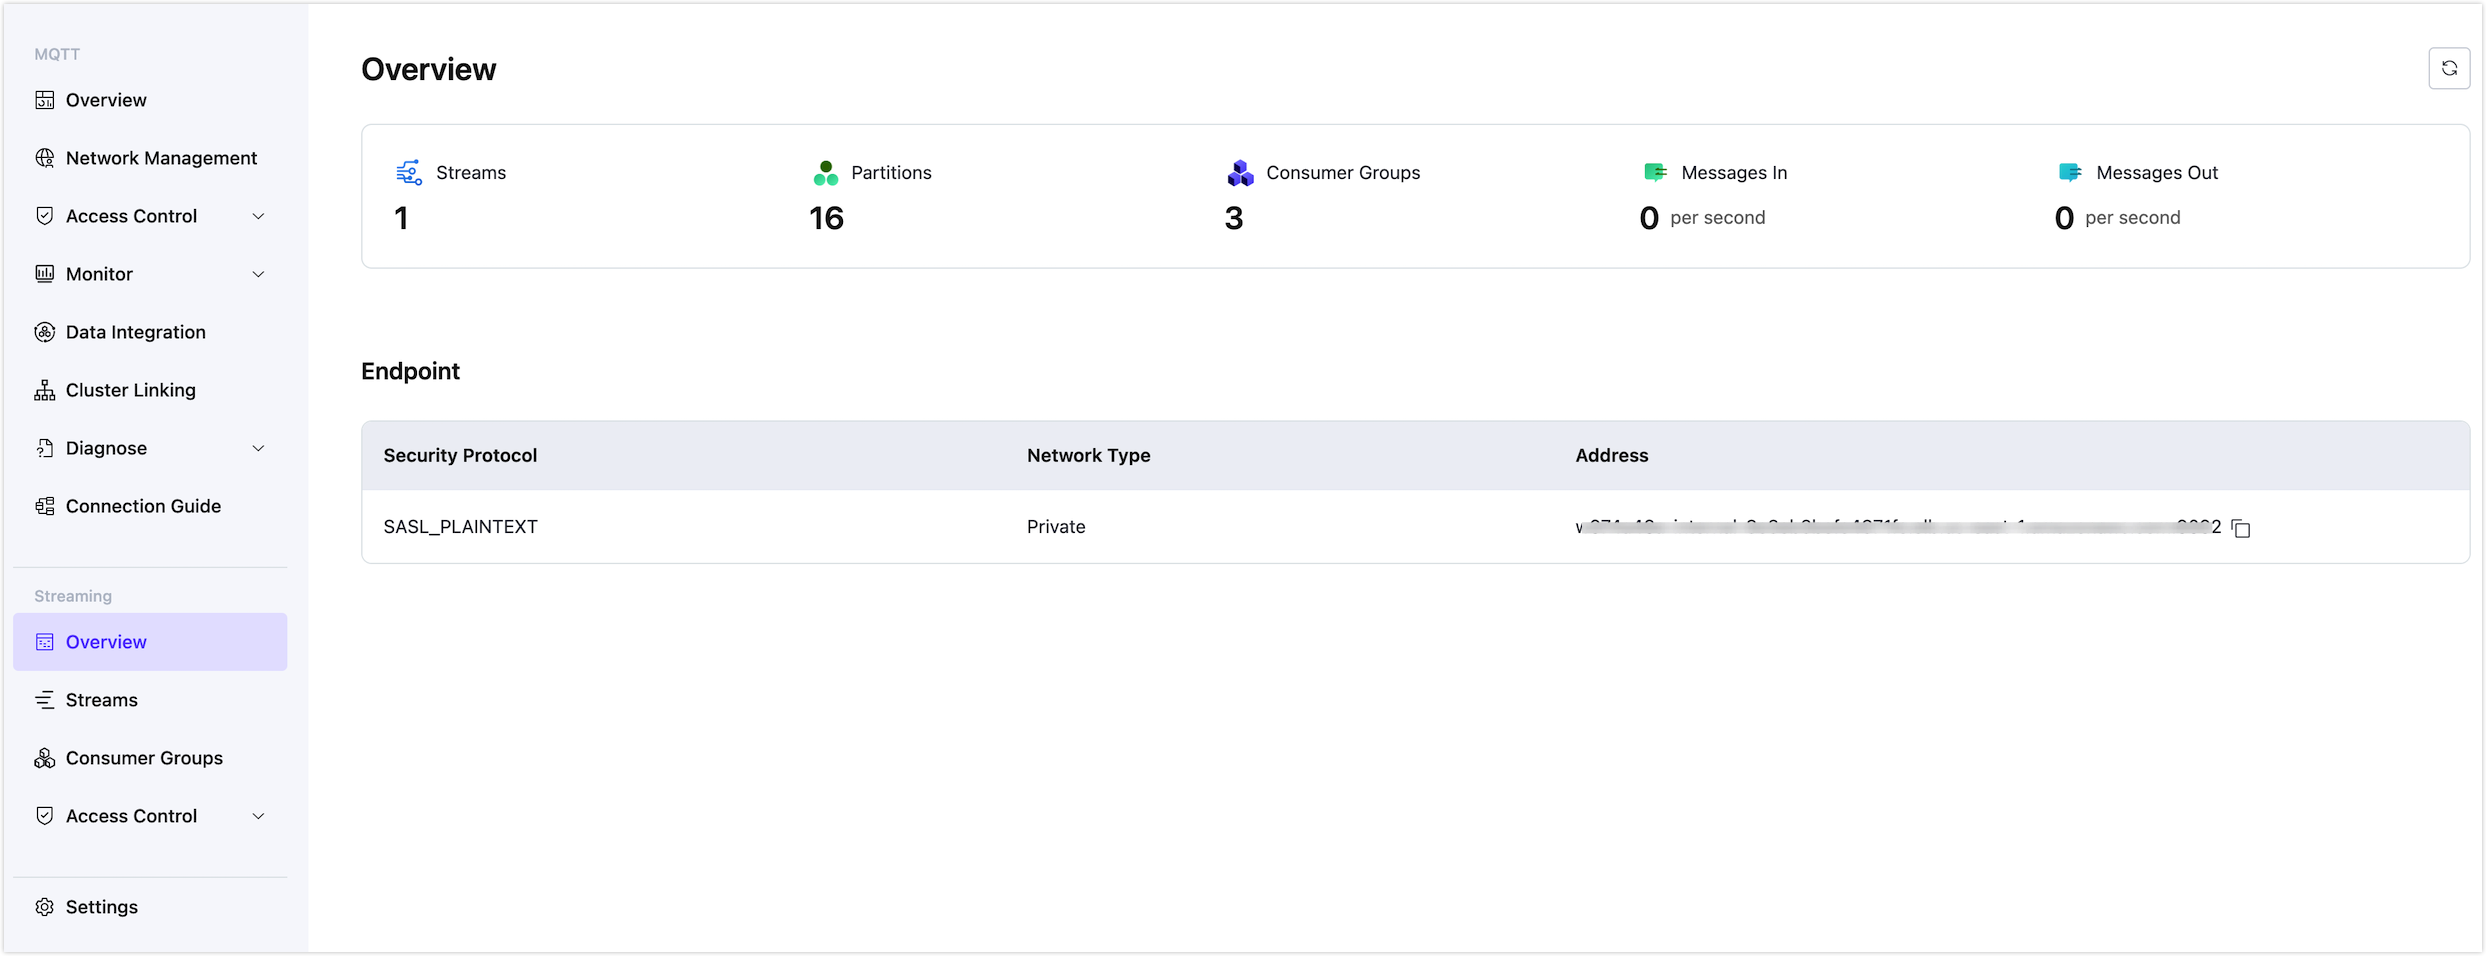
Once the EMQX Streaming is activated, the Kafka endpoint information will be displayed on the Streaming (beta) -> Overview page.
Add a User
To authenticate Kafka clients for accessing EMQX streaming, you need to create a user for the authentication process.
- Navigate to Streaming (beta) -> Access Control -> Authentication.
- Click Add on the Authentication page. In the Add Authentication popup, complete the following settings:
- Authentication Mechanism: Select
SCRAM-SHA-256(recommended as the default mechanism). - Username: Enter a username, such as
admin. - Password: Set a password for the username you provided.
- Authentication Mechanism: Select
- Click Confirm to save the new user.
Add ACL Rules
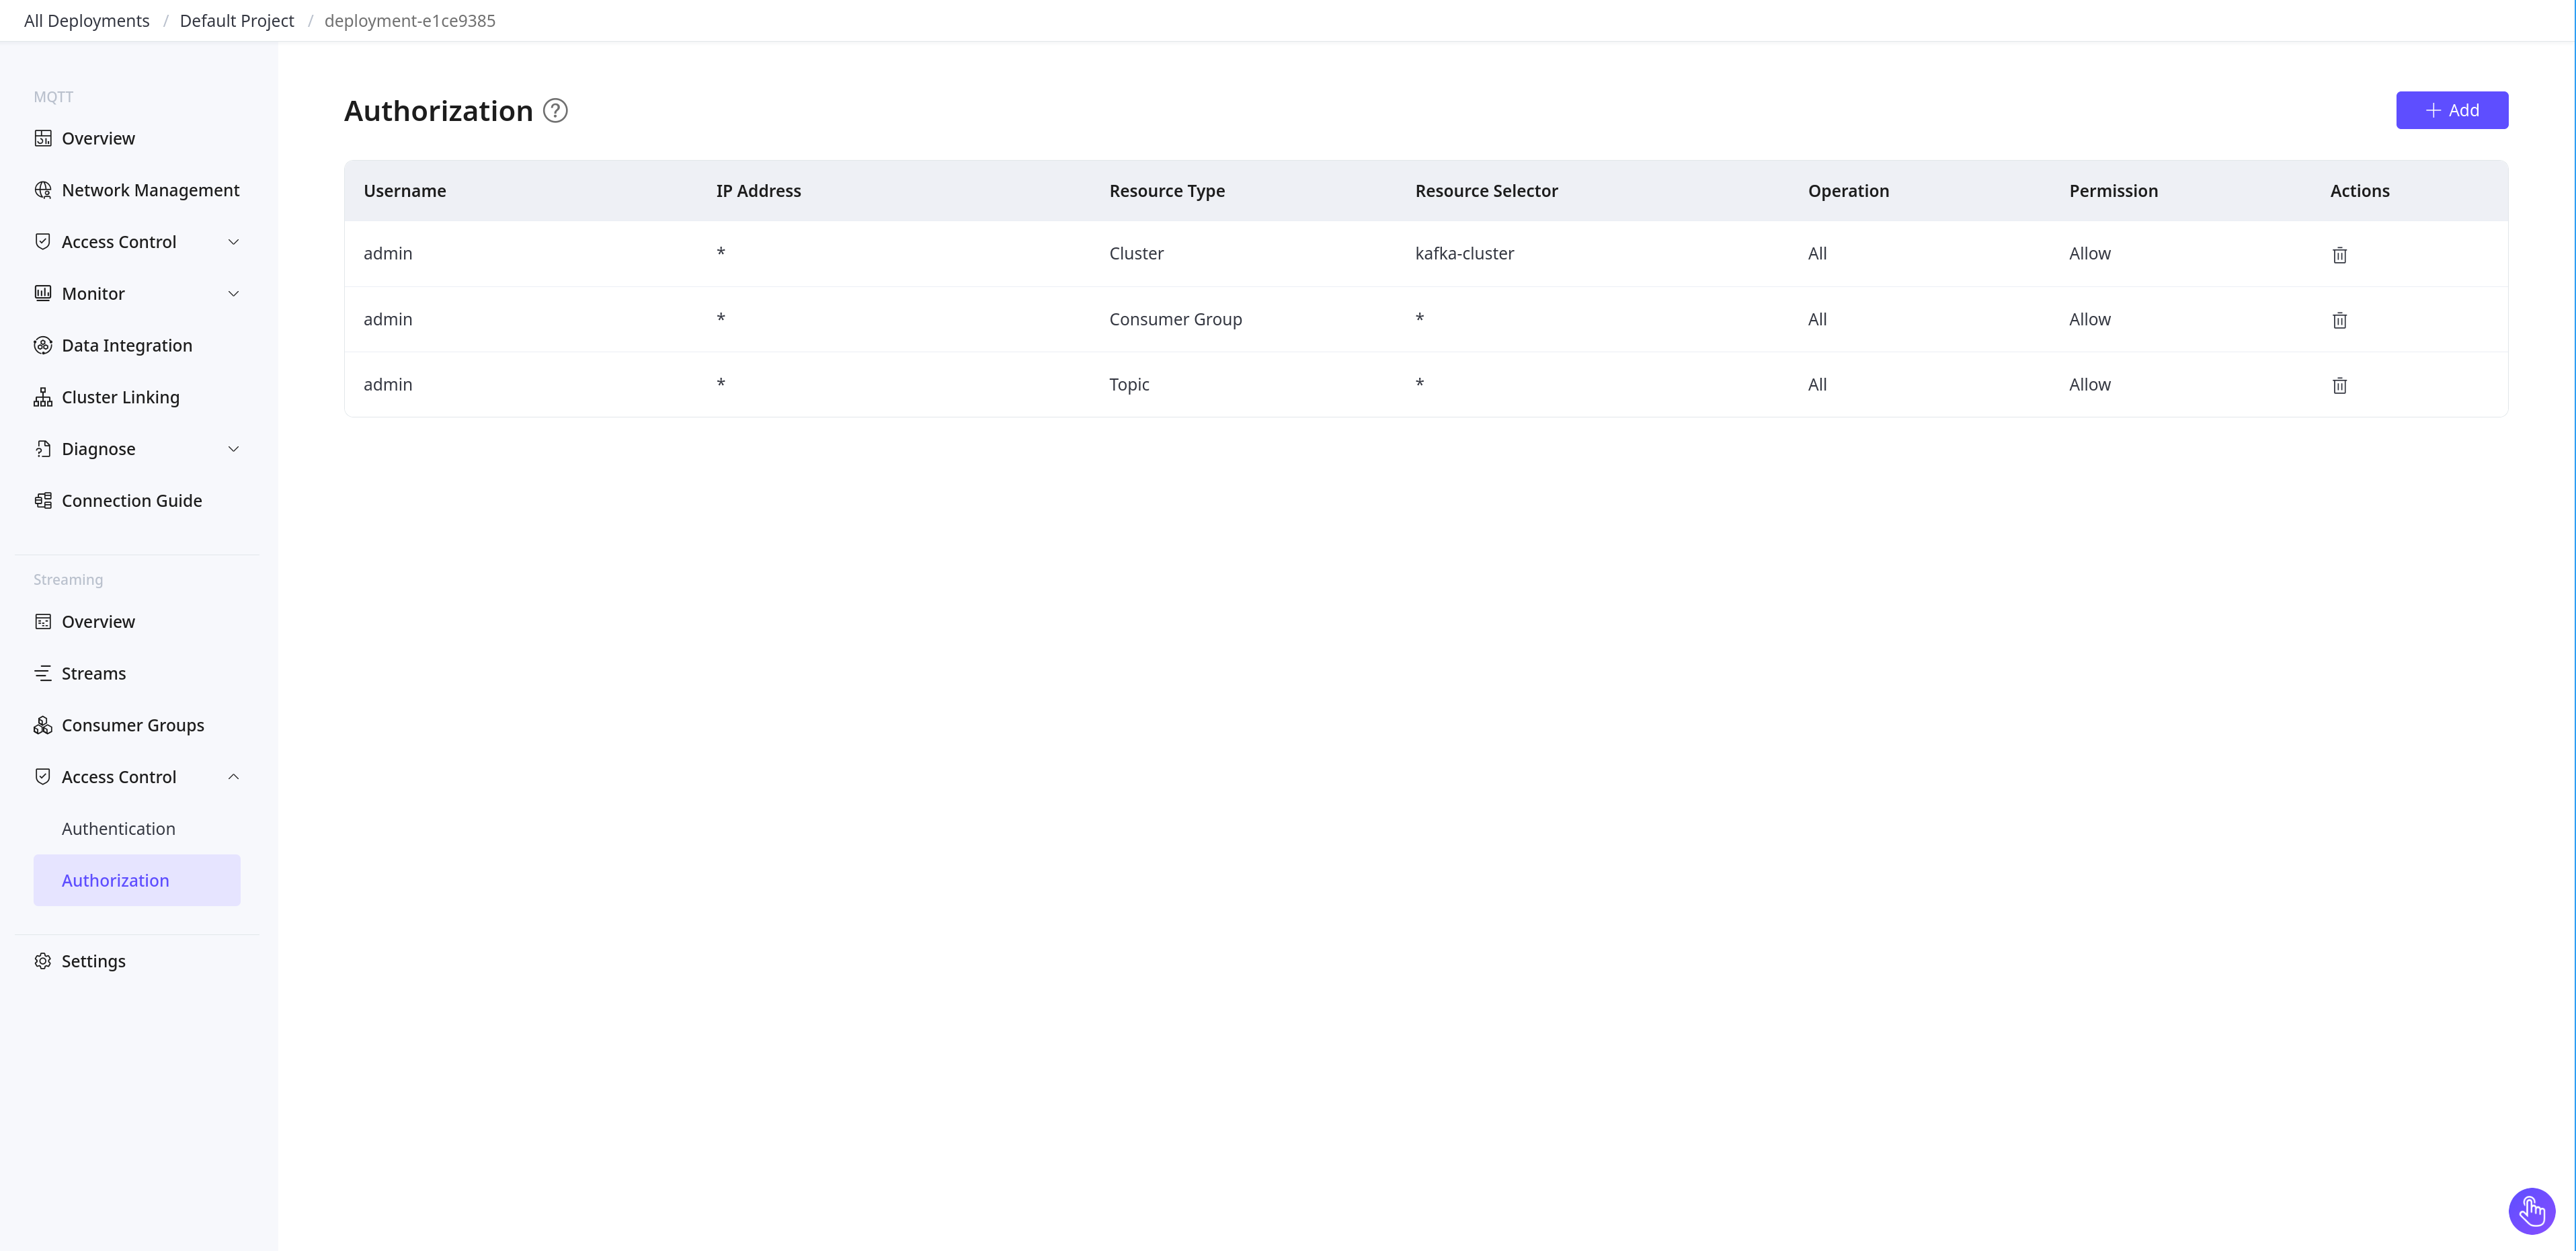
Once the Kafka user is created, the next step is to assign the necessary permissions for accessing EMQX streaming. These permissions are configured using Access Control List (ACL) rules. ACL rules define which Kafka users are allowed to perform specific operations on specific resources, such as MQTT topics, consumer groups, and clusters.
An ACL rule follows the format: User is [Allowed|Denied] Operation From Host on Resource matching Resource Pattern.
The authorization mechanism in EMQX Streaming follows a whitelist model by default: only Kafka users explicitly listed in the ACL rule are permitted to access the specified resources, while those not included are denied by default.
To add an ACL rule:
- Navigate to Streaming (beta) -> Access Control -> Authorization.
- Click Add on the Authorization page. In the Add Authorization popup, complete the following settings:
- Username: Specify the user for which the ACL rule applies. You can select between two username patterns:
- All: The rule applies to all users.
- Literal: The rule applies only to the specific user you input.
- Host: Enter the IP address of the host from which the user is connecting to access EMQX streaming resources. You can select from the following patterns:
- All: The rule applies to users connecting from any host.
- Literal: The rule applies only to users connecting from a specific host identified by the IP address you provide.
- Resource Type: Select the type of resource the ACL rule will apply to. This determines the kind of resource the pattern in the Resource Selector will target. The available options are:
- Topic: For MQTT topics, where you can apply the ACL rule to specific topics or topic patterns.
- Consumer Group: For Kafka consumer groups, where you can set rules related to Kafka consumer group operations.
- Cluster: For EMQX clusters, where you can apply rules at the cluster level for broader access control.
- Resource Selector: Define the pattern that will match the resource name for the selected Resource Type. This field determines which specific resource(s) the ACL rule applies to based on the pattern you specify. You can select from the following options:
- All: The rule applies to all resources of the selected resource type.
- Literal: The rule applies only to a specific resource name (e.g., a specific topic like
t1/+or a specific consumer group). - Prefix: The rule applies to all resources whose names start with the specified prefix (e.g.,
t1/would match any topic that begins witht1/).
- Operation: Select the type of operation the rule governs.
Allapplies to all available operations. - Permission: Select whether to Allow or Deny the operation for the specified user, host, and resource.
- Username: Specify the user for which the ACL rule applies. You can select between two username patterns:
- Click Confirm to save the ACL rule.
Create a Stream
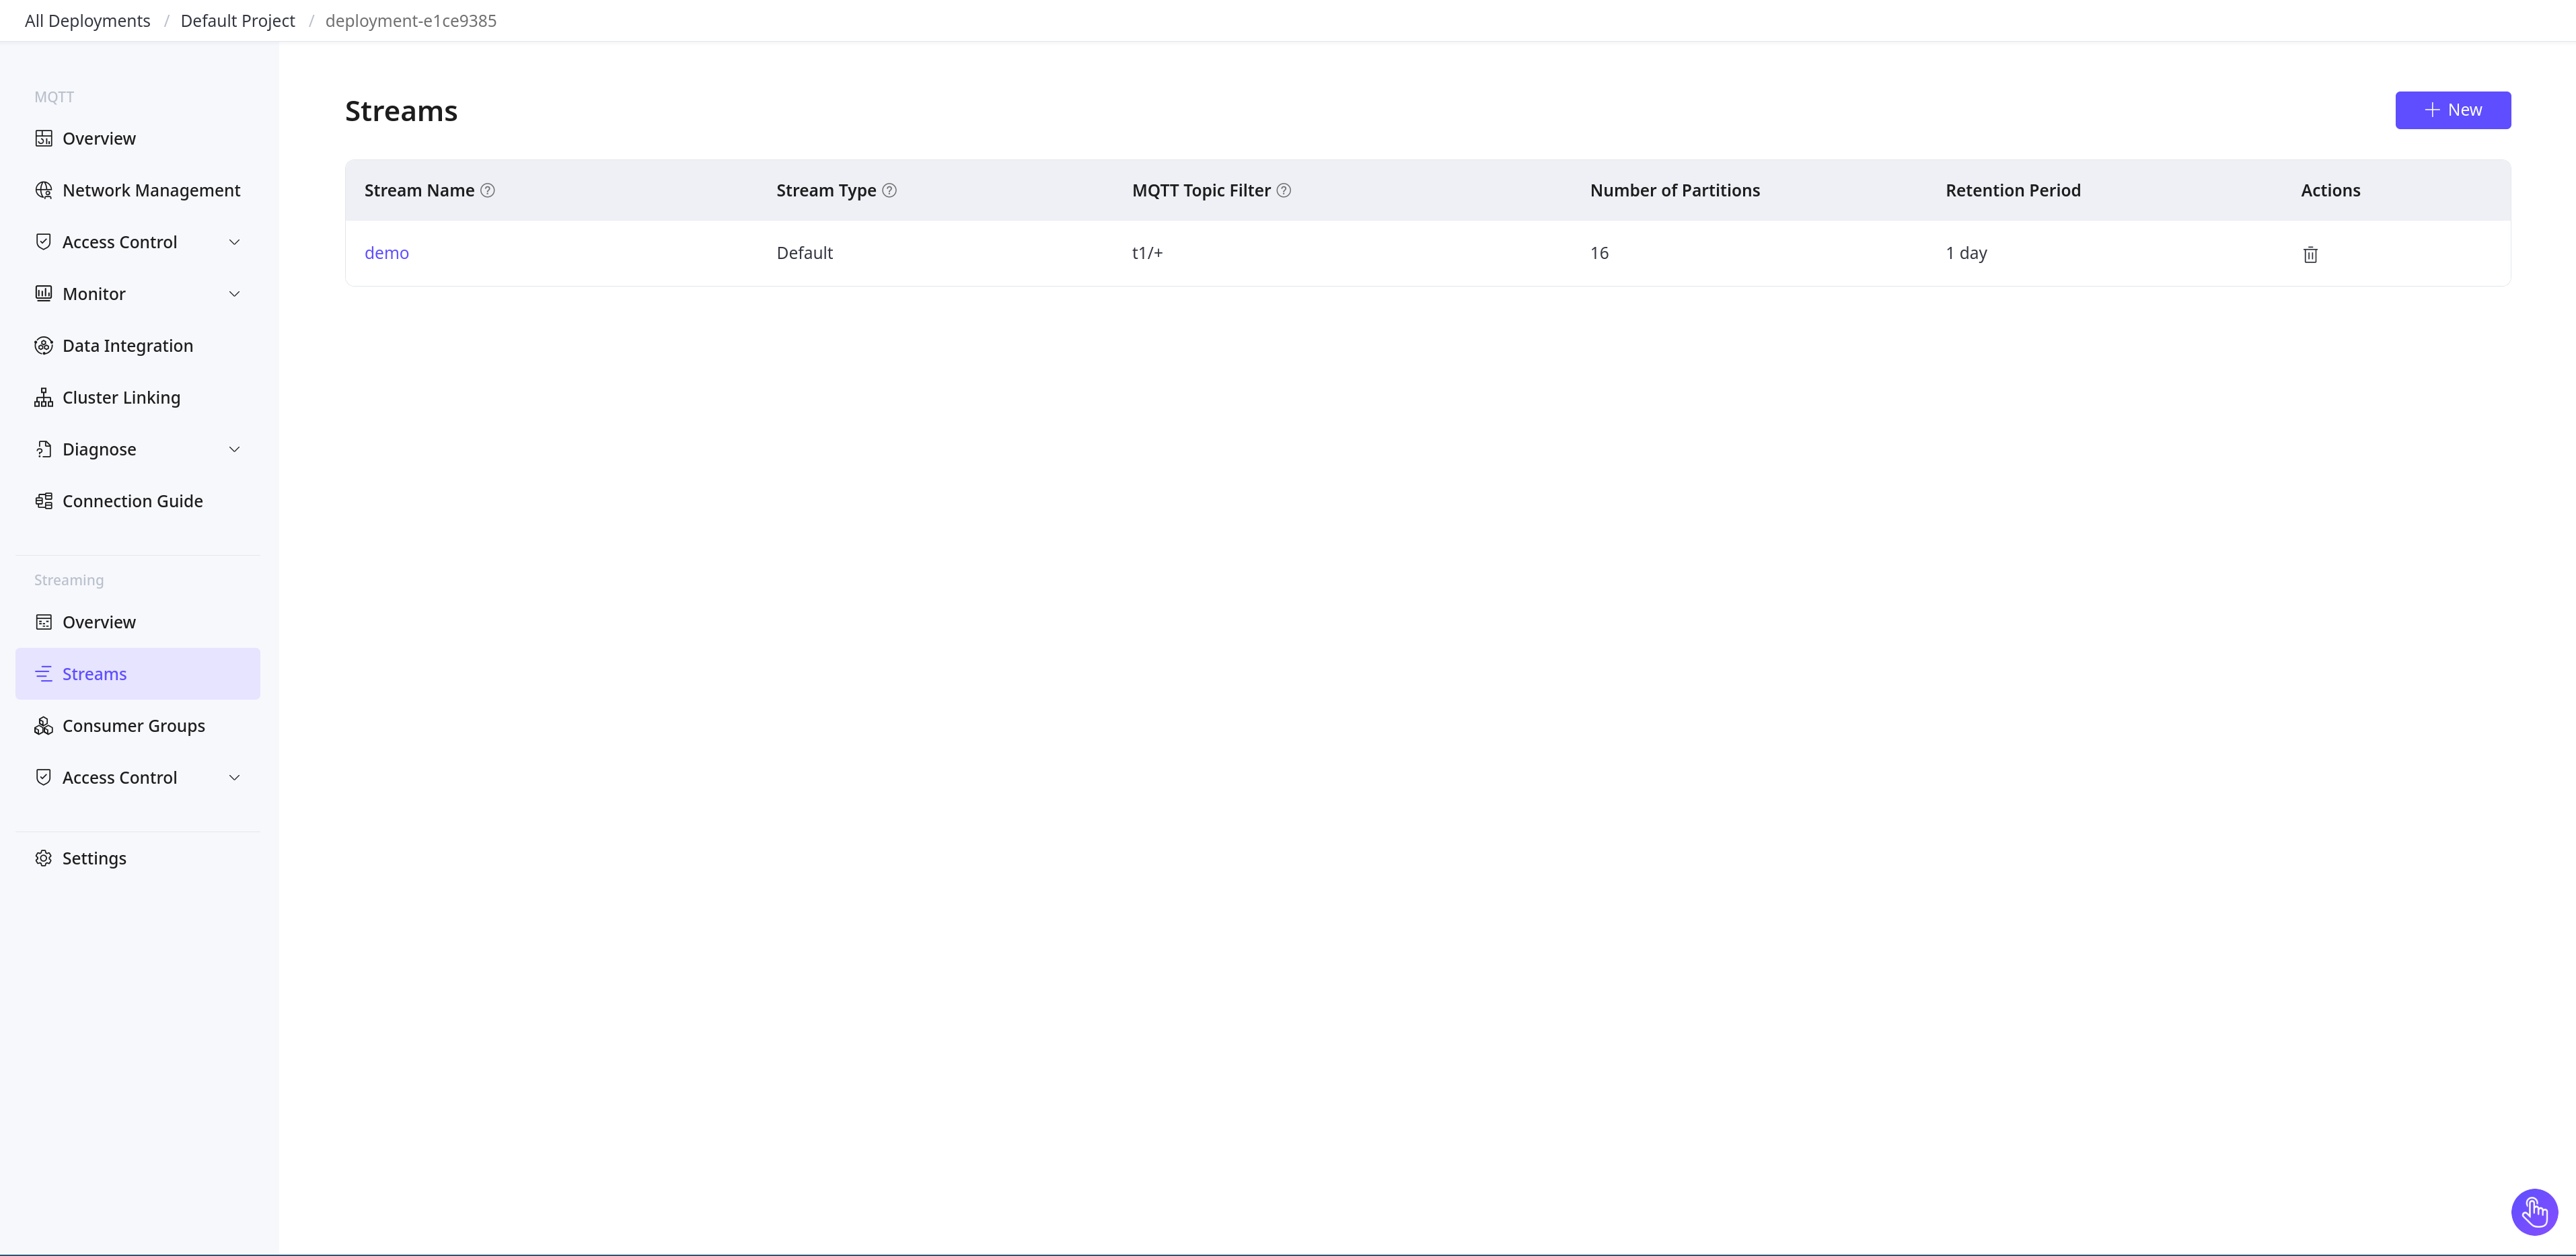
Users can create two types of streams: default and free. A default stream is linked to an MQTT topic filter and created with 16 partitions by default, storing all matching MQTT messages. A free stream operates independently of MQTT topics, with customizable partition numbers, providing greater flexibility for non-MQTT use cases.
The retention period for both types of streams is fixed at 1 day and cannot be modified.
Navigate to Streaming (beta) -> Streams.
Click New on the Streams page. On the New Streams popup, complete the following settings:
- Stream Name: Provide a name for the stream, for example,
demo. The Kafka topic for a Kafka client must match the stream name. - Stream Type: Select the stream type.
- Default: The default type Stream is associated with an MQTT topic filter, and MQTT messages matching the topic filter are saved to the Stream.
- Free: The free type Stream is not associated with an MQTT topic filter and is typically used for other data processing purposes.
- MQTT Topic Filter: If you select
Defaultas the stream type, enter a topic filter for MQTT messages. MQTT messages matching this topic filter are saved to the corresponding default type Stream. For this example, entert1/+. - Number of Partitions: If you select
Freeas the stream type, specify the number of partitions to divide the stream for scalability and parallel processing.
- Stream Name: Provide a name for the stream, for example,
Click Confirm.
Once the stream is created, it will appear in the Streams list. By clicking the stream name, you can view details, including the partition offsets and other stream-specific information.
Publish Messages Using MQTT Client
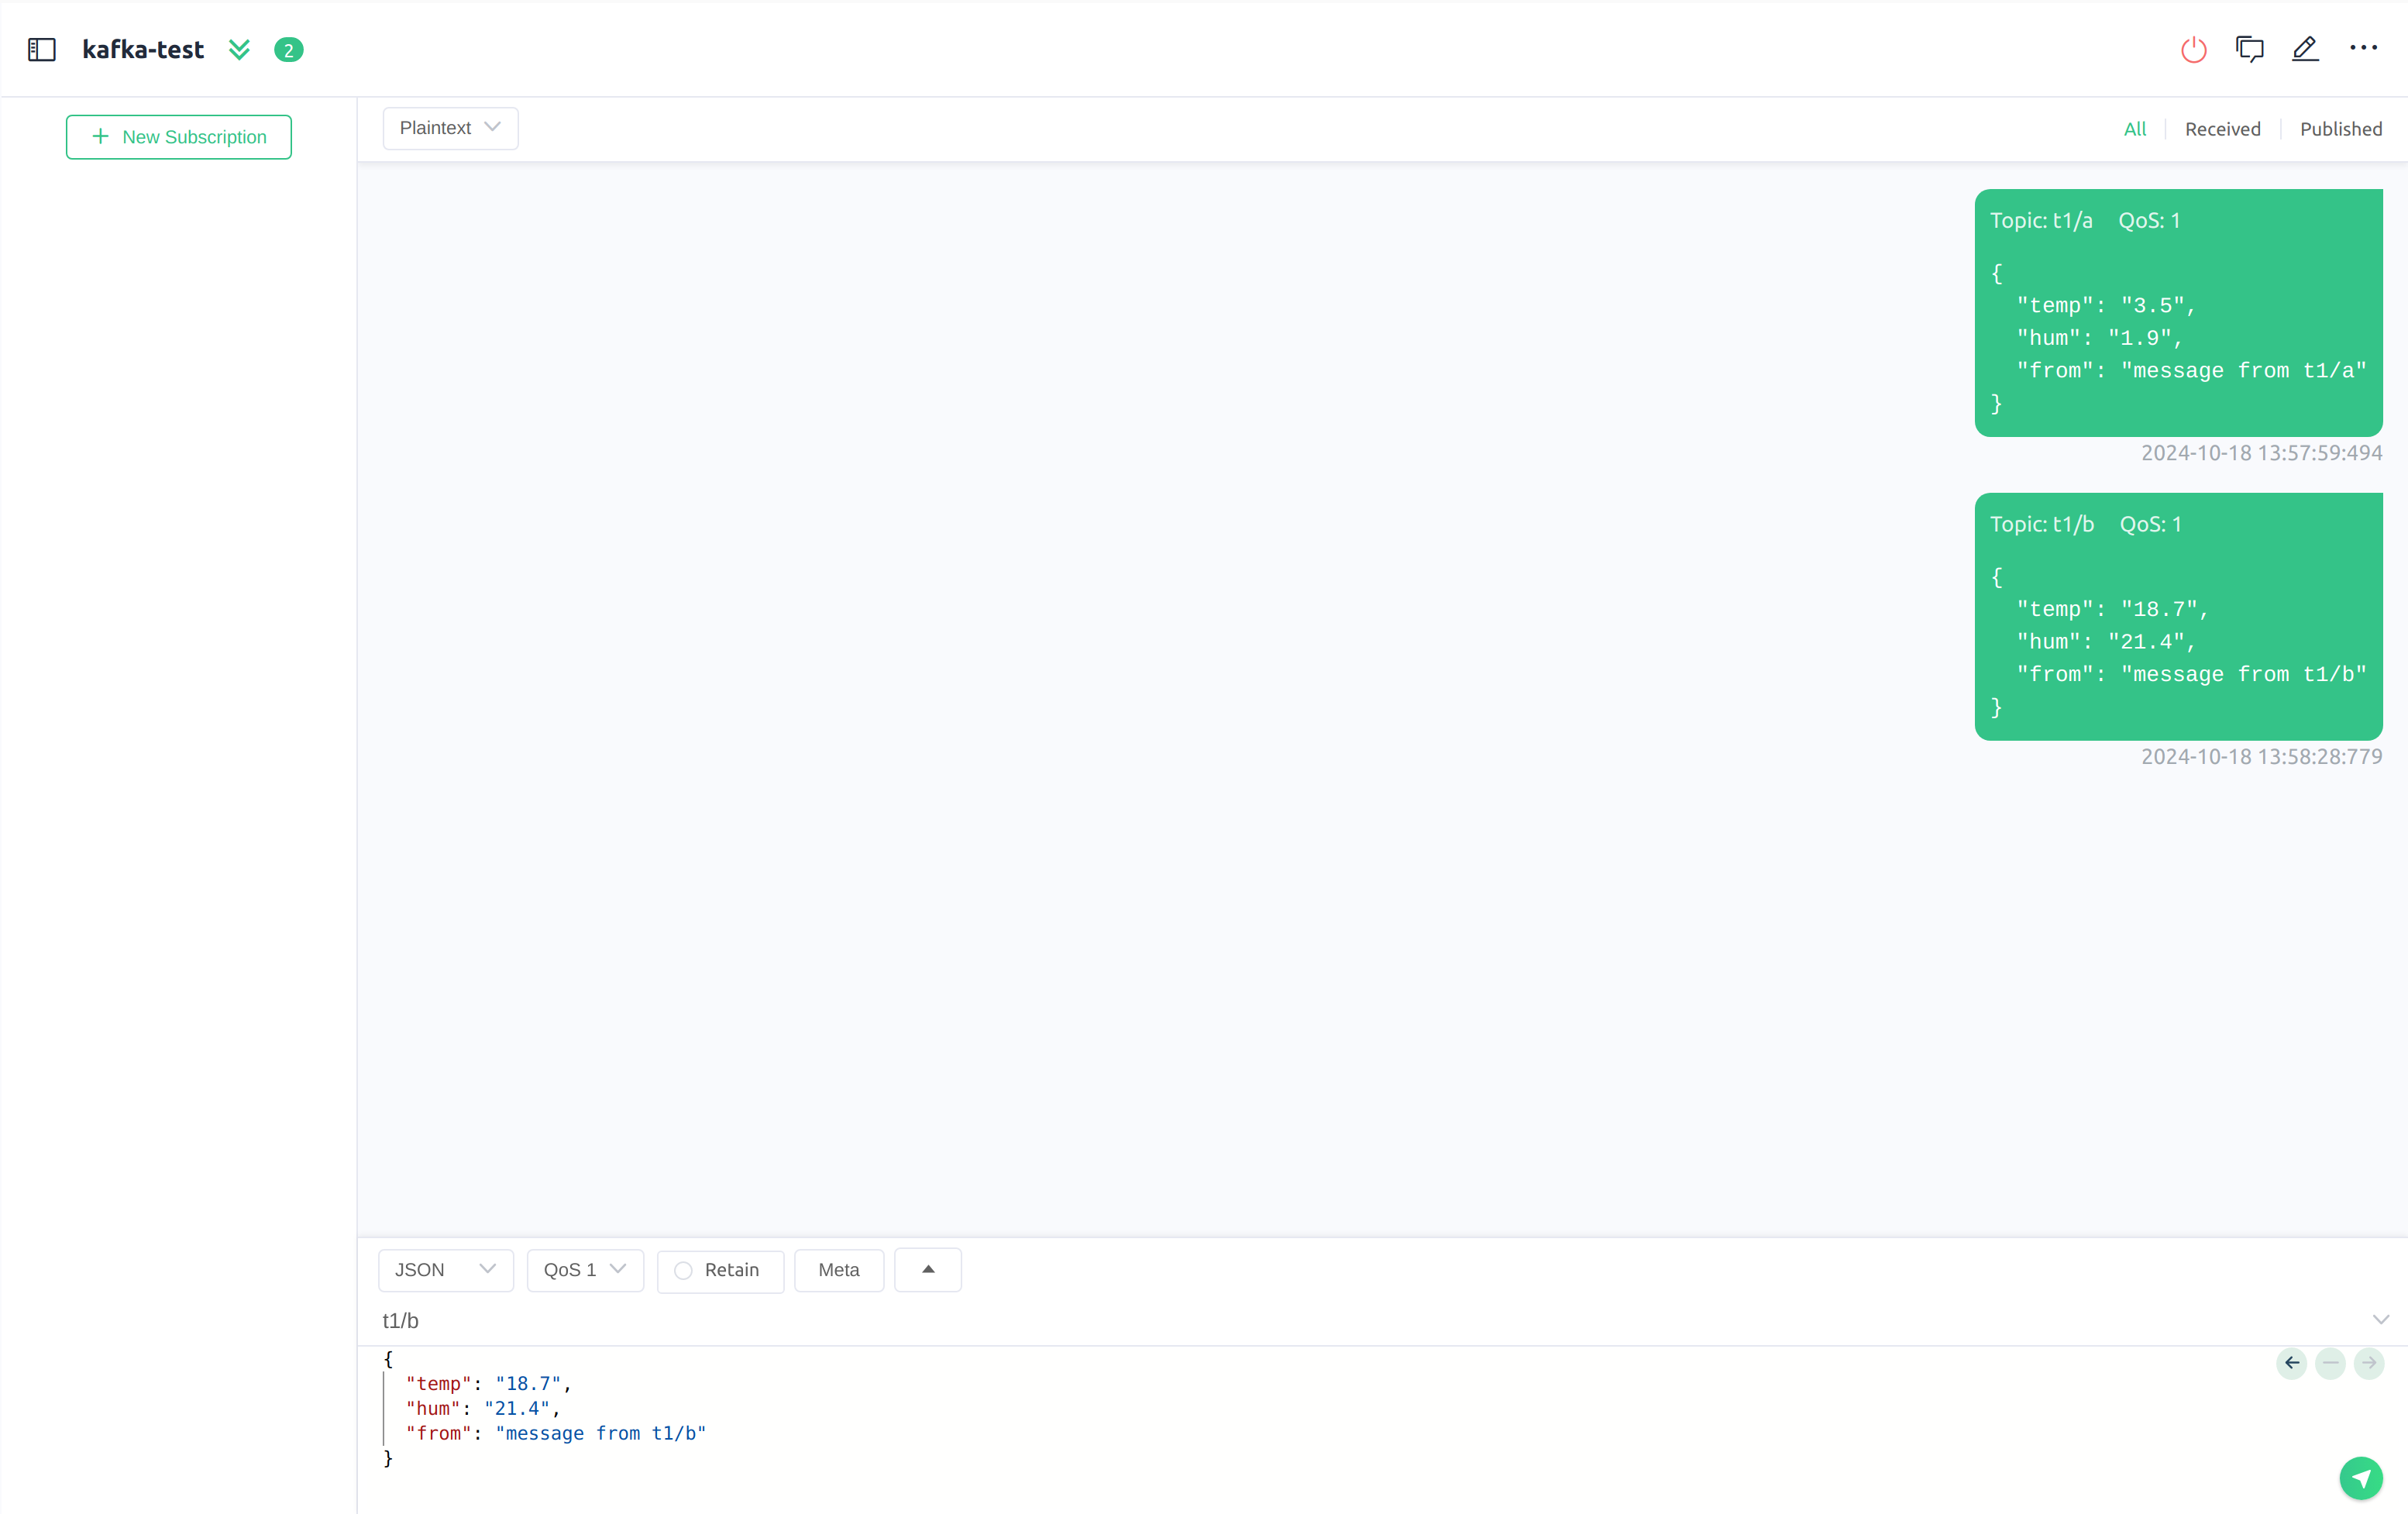
You can use MQTTX to simulate an MQTT client and publish messages to the topics t1/a and t1/b.
Consume Messages Using Kafka CLI
Follow the steps below to download the official Kafka CLI tool:
- Download and install the official Kafka CLI tool from the Kafka Downloads page.
- Configure the Kafka CLI tool to connect to the Kafka endpoint provided in the Streaming (beta) -> Overview page.
Create a Configuration File to Provide Credentials
- Create a configuration file
config/client.propertiesfor Kafka CLI tools. - Add the following contents to the configuration file:
security.protocol=SASL_PLAINTEXT
sasl.mechanism=SCRAM-SHA-256
sasl.jaas.config=org.apache.kafka.common.security.scram.ScramLoginModule required \
  username="<your username>" \
  password="<your password>";
Retrieve Topic Information
Using the Kafka CLI, you can retrieve topic information with the describe command. Ensure that the bootstrap-server option is set to the Kafka endpoint displayed on the Streaming (beta) -> Overview page.
Example command:
bin/kafka-topics.sh --describe --bootstrap-server <your streaming endpoint> --command-config config/client.properties
Consume Messages from the Topic
To consume messages using the Kafka CLI, execute the following command:
bin/kafka-console-consumer.sh --bootstrap-server <your streaming endpoint> --topic demo --from-beginning --consumer.config config/client.propertiesThis command will consume messages from the specified stream starting from the beginning. You should see the previously published messages being consumed.

View Consumer Groups in EMQX Platform Console
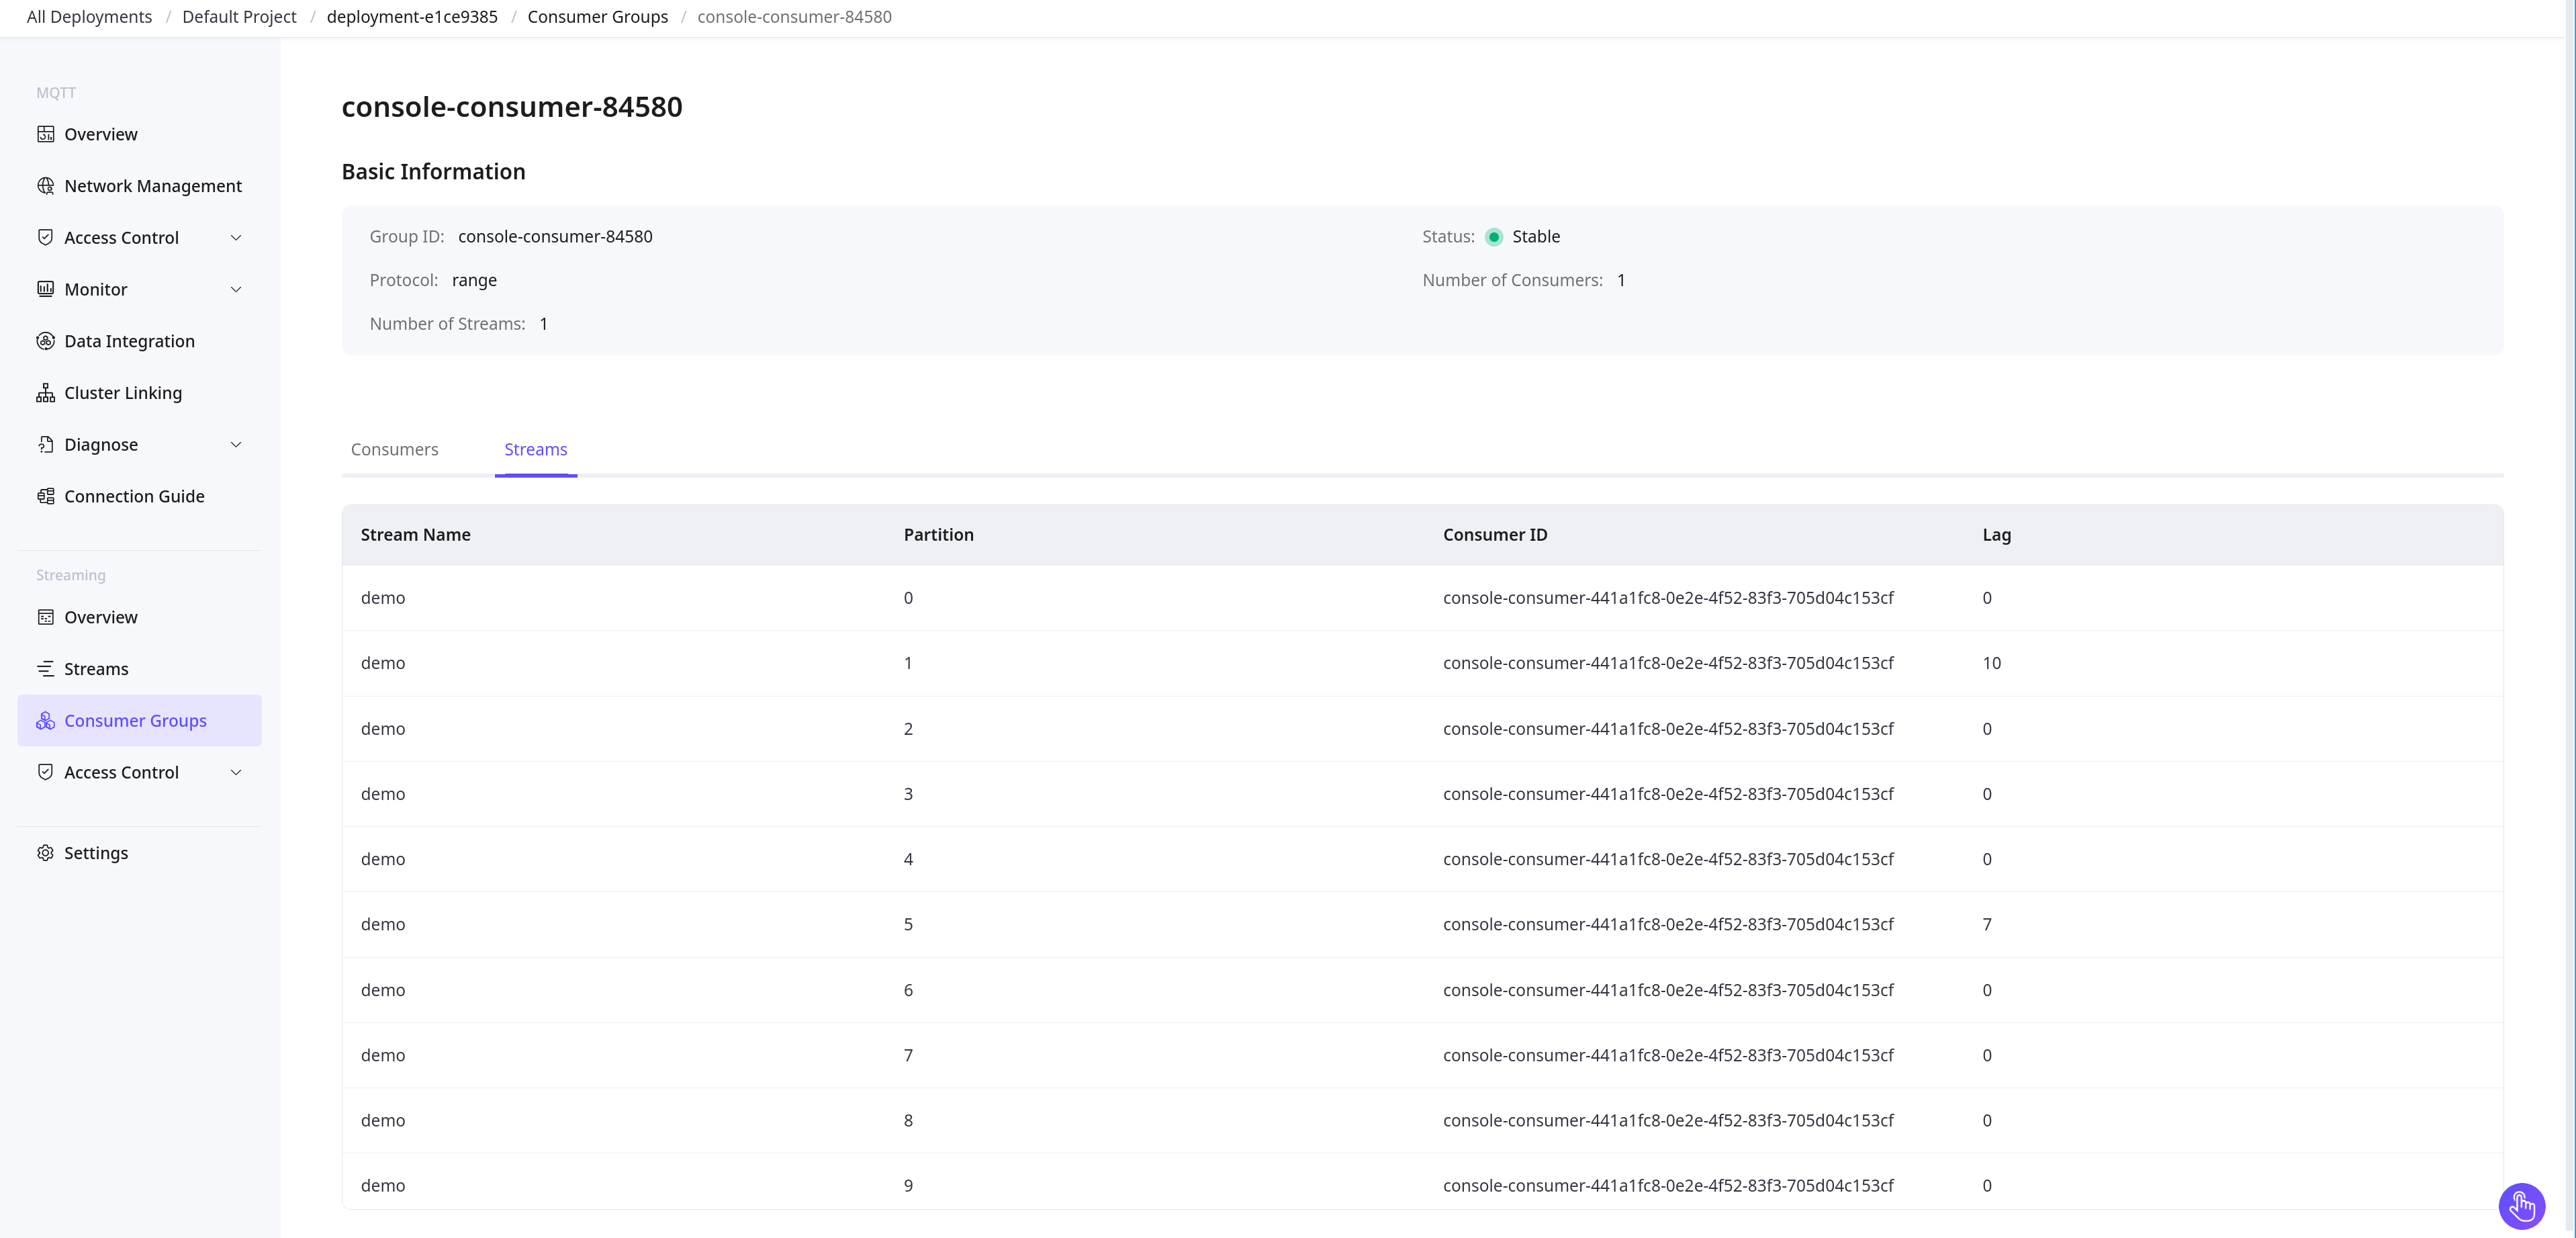
To view the consumer groups, navigate to Streaming (beta) -> Consumer Groups in the EMQX Platform Console.
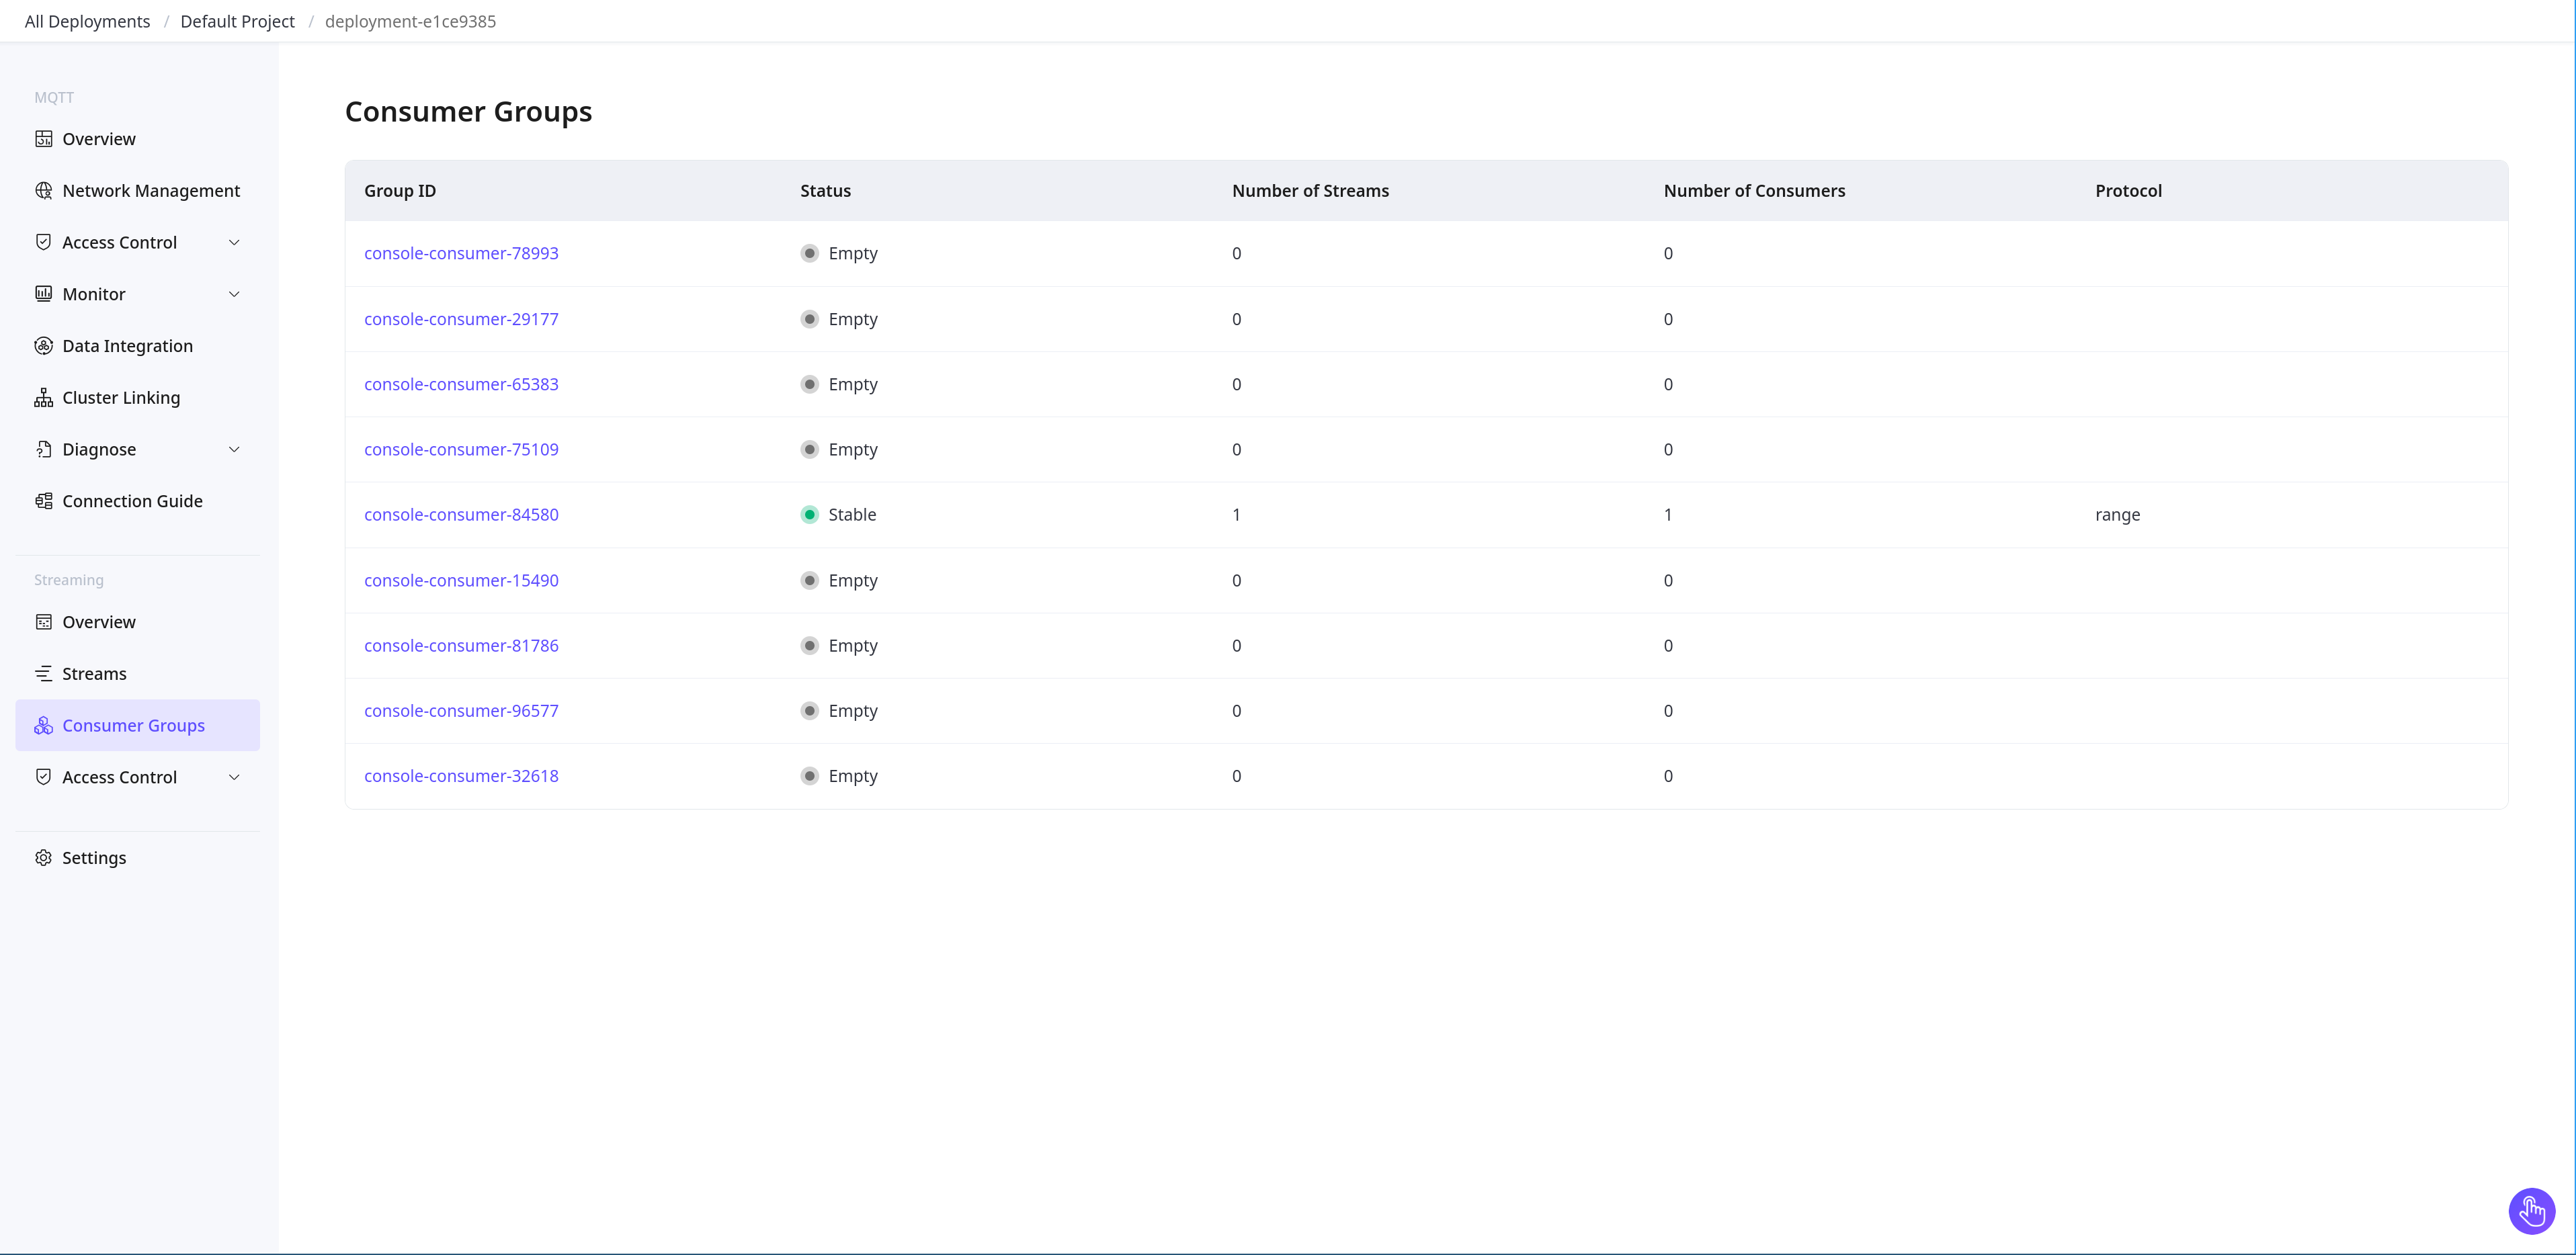
Click on the Group ID to view details about the consumer group, such as the list of consumers and their consumption progress.
View EMQX Streaming Metrics
The Streaming -> Overview page provides a comprehensive view of the metrics for Kafka endpoints and EMQX streaming. It displays statistics, including the current number of streams, partitions, consumer groups, and message rates for streaming operations.
Remove a Stream
To remove a stream:
- Go to the Streaming (beta) -> Streams section.
- Click the delete icon in the Action column of the stream you want to remove.
- Confirm the deletion by clicking Confirm.