Create a Dedicated Flex Deployment
EMQX Dedicated Flex Plan offers independent MQTT service clusters with higher connection and Transactions Per Second (TPS) limits. It also supports more advanced features and complex network architectures. This guide uses the Dedicated Flex Plan as an example to walk you through the steps of creating and utilizing the EMQX Cloud.
Create a Deployment
Log in to the EMQX Cloud console.
If this is your first time using the platform, you need to start by creating a project. For detailed steps, see Create a Project. If you’ve already created a project, you can skip this step.
You can either:
- Click New Deployment on the Overview page to start the creation process directly, or
- Click the project card where you want to create the deployment, then click New Deployment on the project page.
In Choose Plan, select Dedicated Flex.
Configure the specifications according to your needs.
- Cloud Provider & Region: Select a supported cloud provider and region. See Cloud Service Providers and Regions.
- Tier: Use the slider to select the session limit and Pub/Sub TPS. Each tier defines different capacity limits. If your requirements exceed the available tiers, you can contact us.
- Smart Data Hub (Optional): Select whether to enable the Smart Data Hub services for the deployment.
- Deployment Name & Project: Provide a name for your deployment and select the appropriate project. The project defaults to the last project you accessed. You can switch to a different project by clicking the project name at the top of the page. Note that the project cannot be changed after the deployment is created.
- EMQX Version: The default version is v5. Commercial users may also select v4.
In the right-side Summary panel, review the deployment details and select a pricing model:
You can review the plan, cloud provider, tier, ports, and pricing details.
Pricing: Choose one of the following options:
Pay as you go: Billed based on actual usage time and traffic.
TIP
Deployments created with Pay as you go can be upgraded to Annual billing later. See Switch to Annual Billing for details.
Annual (Save 15%): Pay for one year upfront at a discounted price. The Summary panel shows the annual instance price, included egress traffic, and overage pricing. Overage traffic and add-ons are billed monthly.
After confirming the configuration and pricing, proceed to the next step.
Complete the deployment creation based on the selected pricing model:
Pay as you go flow:
- Click View Payment Method to review or update the payment method.
- If you have a promo code, click Redeem Coupon to enter the code. Once successfully redeemed, the corresponding coupon will be added to your account and automatically applied to eligible charges.
- After confirming, click Deploy. The system will immediately start creating the deployment.
Annual billing flow:
Review the total amount due today in the Summary panel.
Click View Payment Method to review or update the payment method.
Click Subscribe & Deploy to create the order and start the deployment.
TIP
If your account does not have payment permissions, the system will create the order and display a prompt indicating that payment is required.
You can contact a team member with payment permissions to complete the payment. Order details are available on the Orders page.
The deployment process may take a few minutes. You can click the deployment card to view the current creation progress and detailed status. Once the deployment status changes to Running, your deployment is successfully created and ready for use.
View Deployment Information
Once your deployment is created, it will appear in the EMQX Brokers section on the Overview page.
Click the deployment card to access the Deployment Overview page. On this page, you can:
- View real-time status
- Copy connection information
- Access all deployment features via the left-hand menu
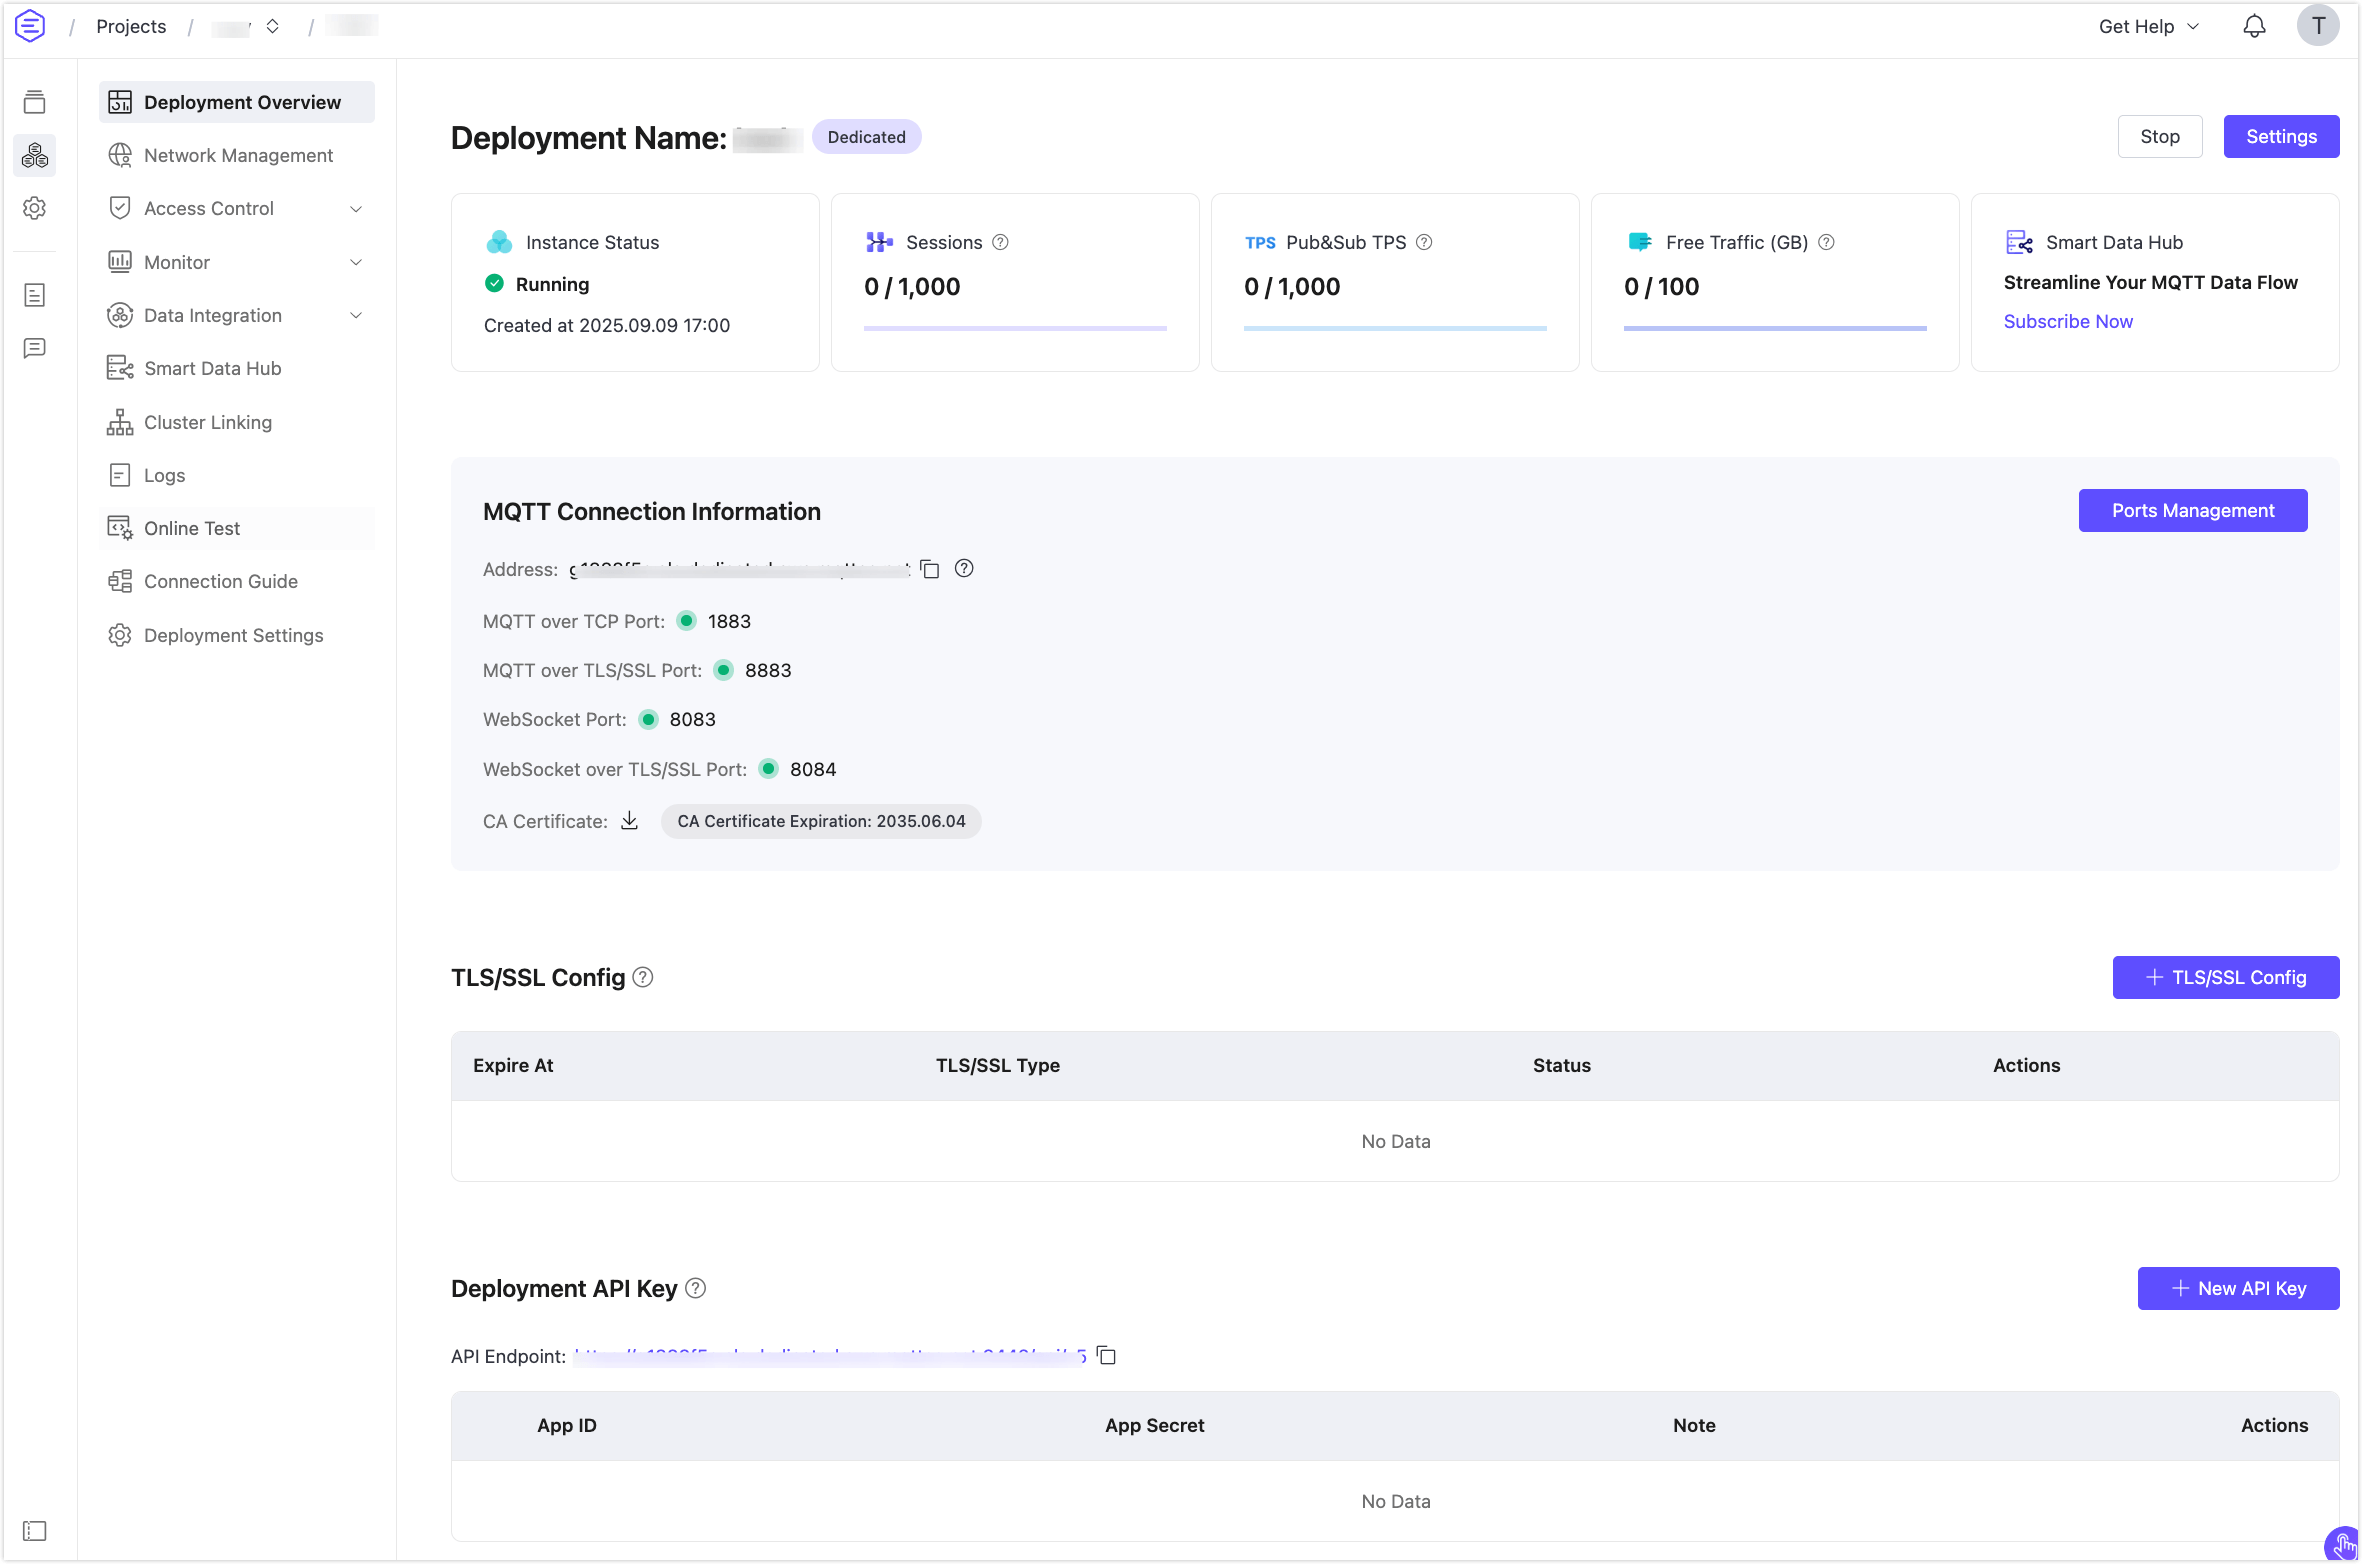
Basic Information
- Instance Status: Running status and deployment creation time.
- Sessions: Current and maximum connection counts.
- Pub&Sub TPS: Current messages sent and received per second, as well as the TPS limit.
- Traffic: Traffic usage information for the deployment, including monthly usage and free quota.
- Smart Data Hub: Displays the activation status, time, or activation entry.
Connection Information
- Address: The IP address.
- Ports:
1883(mqtt),8083(ws),8883(mqtts), and8084(wss) ports are enabled by default. - Ports Management: Use it to enable or disable ports individually. For details, see Ports Management.
- CA Certificate: Allows you to download a server-side CA-signed certificate file for verification and reminds you of the certificate expiration time.
Check out the Connection guide to learn more.
Dedicated Flex Deployment Features
To explore the advanced features of the Dedicated Flex Plan, refer to the following links to the specific sections.
REST API
Provides REST APIs for integration with external systems, such as querying client information, publishing messages, and creating rules.
Configure TLS/SSL
EMQX Dedicated Flex deployment provides custom one-way/two-way TLS/SSL configuration and supports self-signed and CA-signed certificates.
Configure a Custom Domain
Configure a custom domain for Brokers in EMQX v5 Dedicated and v5 Dedicated Flex deployments. This guide focuses on Managed by EMQX Cloud, while users with stricter certificate requirements may prefer uploading their own certificate.
VPC Peering Connections
VPC peering connection is a network connection between two VPCs. Through this connection, the instances in different VPCs can communicate with each other as if they are in the same network.
Configure PrivateLink
PrivateLink enables the proprietary network VPC where the EMQX Cloud deployment is located to establish a secure and stable private connection to services on the public cloud. It simplifies the network architecture, enables private access to services, and avoids the potential security risks associated with accessing services over the public network.
Internal Endpoint
Internal Endpoint allows you to create an internal load-balancing service that distributes traffic on-demand within an internal network. It can expand the application system's throughput by distributing traffic to different backend servers.
NAT Gateway
NAT gateway can provide network address translation services to provide Dedicated Flex deployments with the ability to access public network resources without the need for VPC peering connections.
Connect to the Deployment
You can use any MQTT client tool to connect to the deployment for testing. It is recommended to use MQTTX to connect to the deployment.