Project Management
Projects provide the capability for multiple organizations or departments within a company to use and manage MQTT clusters independently, allowing for more detailed management of the platform's capabilities by assigning different roles. Based on projects, each organization or department can manage its own MQTT cluster independently and account for it separately. Under the multi-project mechanism, deployments must be established under a project, and a deployment can only belong to one project.
View Projects
You can view and manage your projects from multiple entry points in the Console:
- On the Overview page, click View All Projects in the Projects section.
- Or, use the left-hand navigation and click Projects.
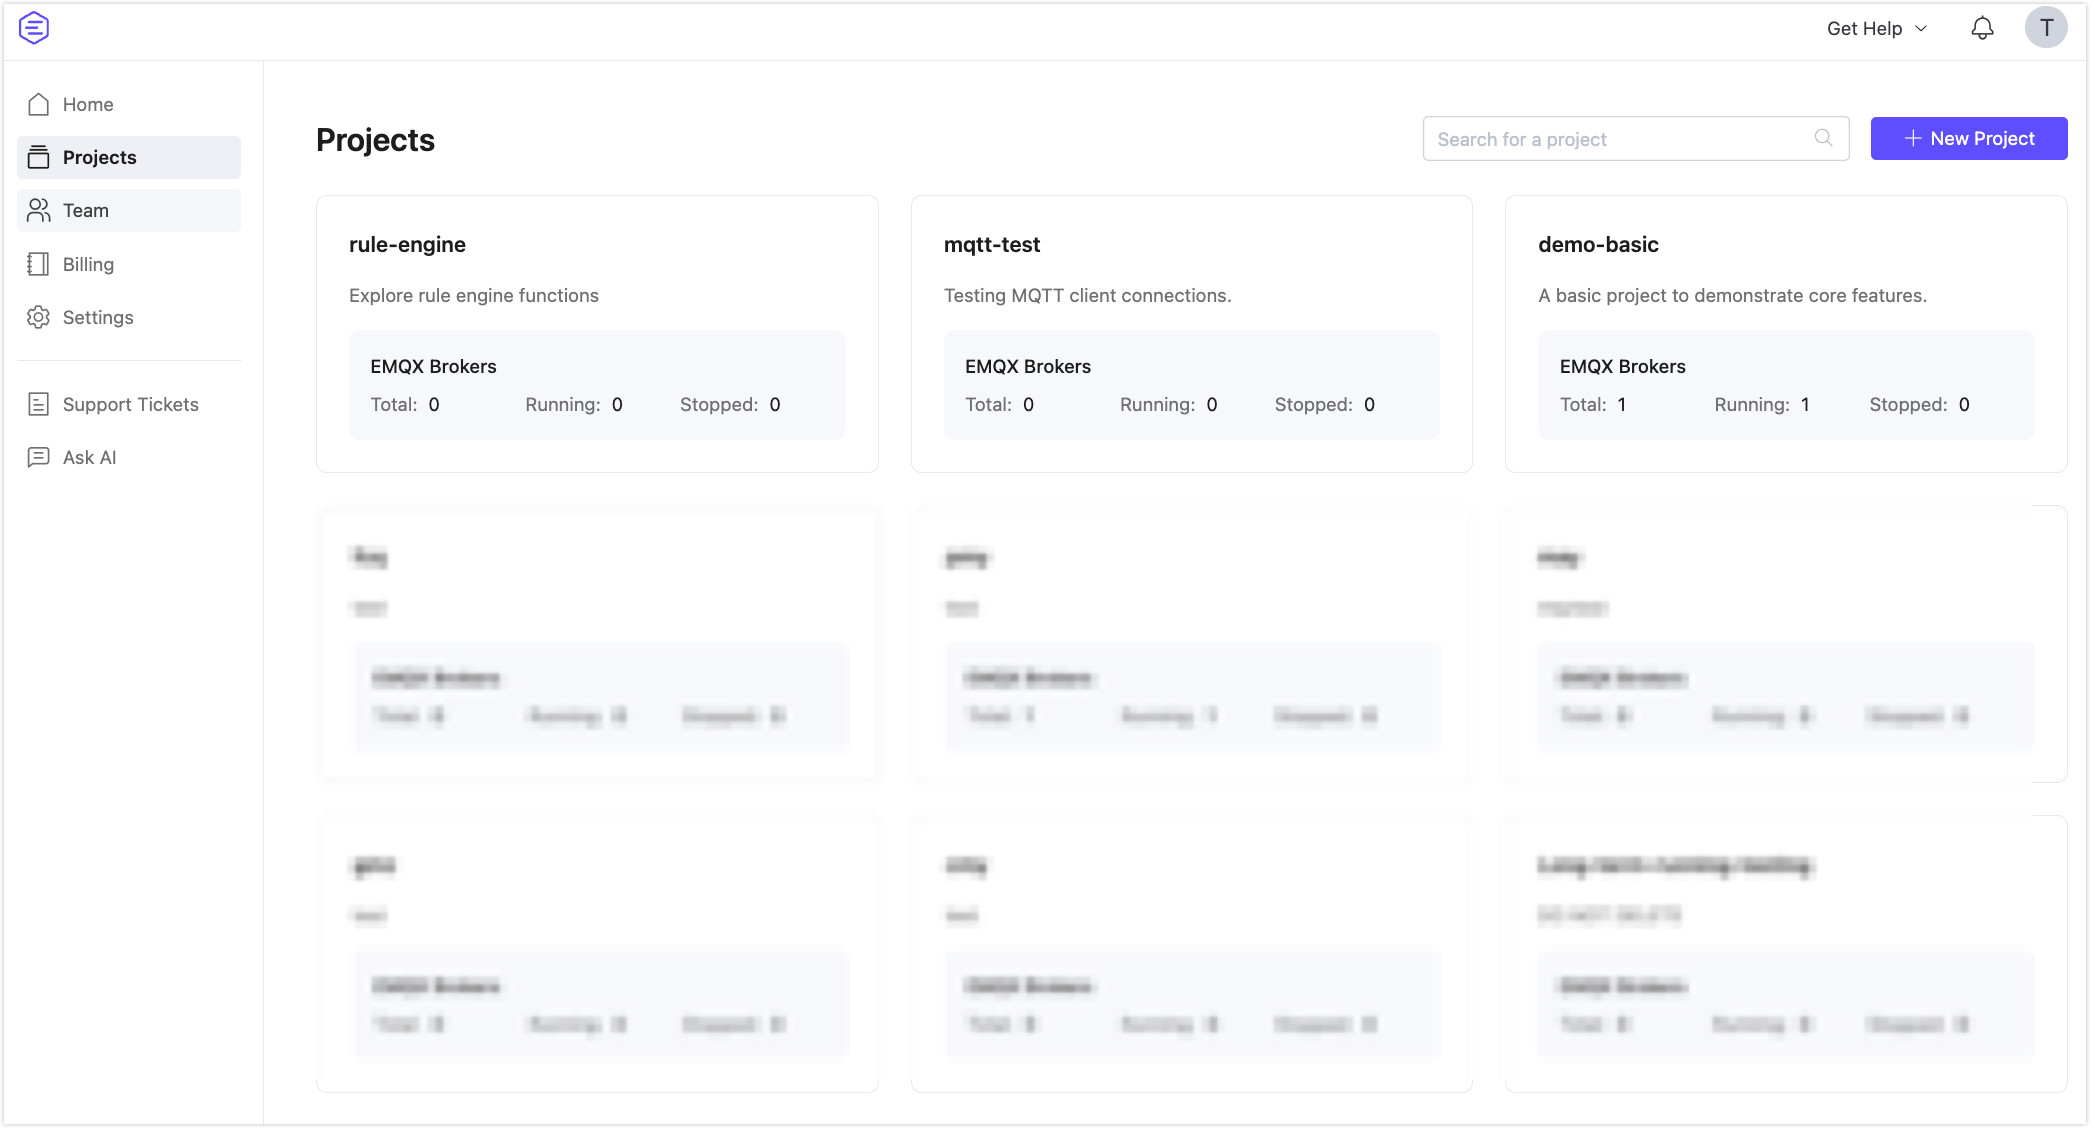
This opens the Projects page, where you will see a list of all created projects. Each project card displays:
- Project name and description
- EMQX Brokers summary, including:
- Total number of brokers
- Number of Running brokers
- Number of Stopped brokers
Click a project card to enter the project details, where you can create and manage deployments specific to that project.
TIP
If you hold the role of Project Administrator, Project User, or Project Viewer, you can only access the projects you are authorized to view. For detailed information about project management permissions associated with each role, refer to Roles and Permissions.
Create a Project
To create a new project, you can click + New Project from either the Projects page or the Overview (home) page.
- Navigate to the Projects page or the Overview page.
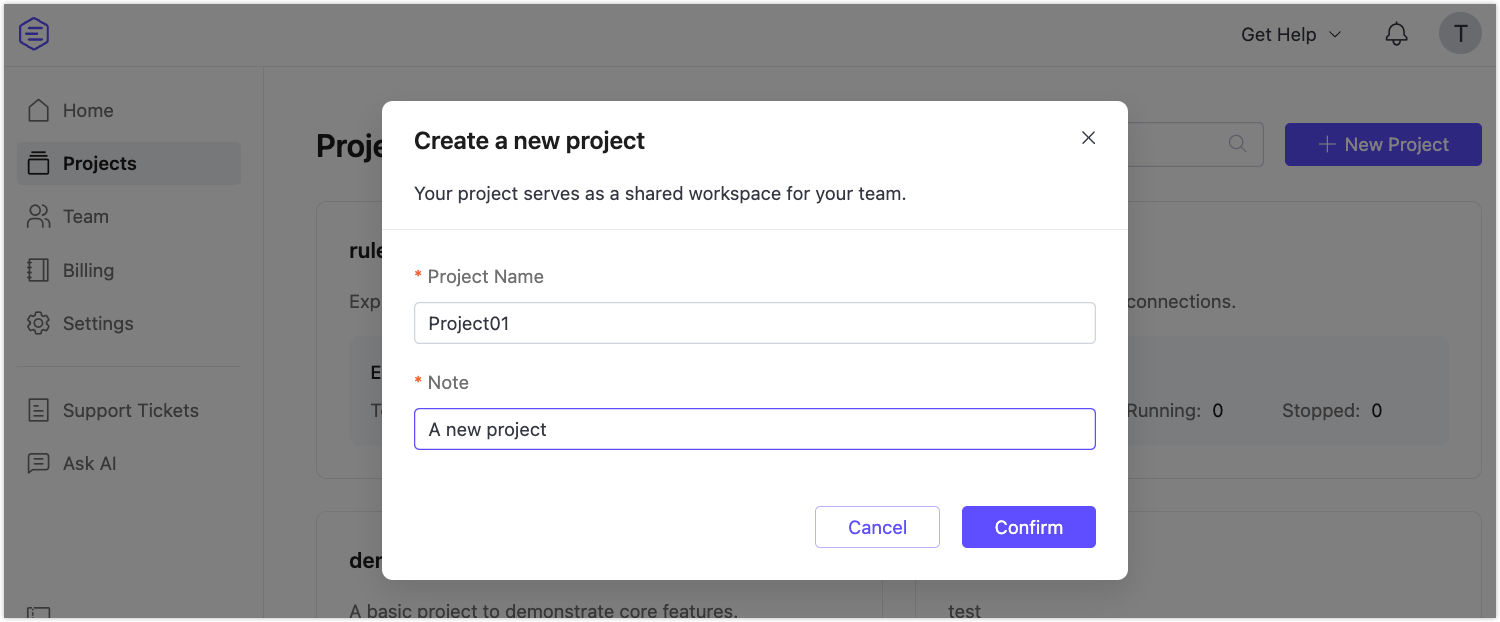
- Click + New Project.
- In the Create a new project pop-up, enter the Project Name and a Note (required).
- Click Confirm to create the project.
Note
The maximum number of projects that can be created in the EMQX Cloud Console is 20.
Create a Deployment Under a Project
To create a deployment, you must first enter the target project:
- Click the project card to enter the Project Overview page.
- On the Project Overview page, you can choose either of the following ways to create a deployment:
- Click the + New Deployment button on the Project Overview page.
- Or, click EMQX Brokers from the left project menu, then click + New Deployment on the EMQX Brokers page.
For detailed deployment instructions, refer to Create a Deployment.
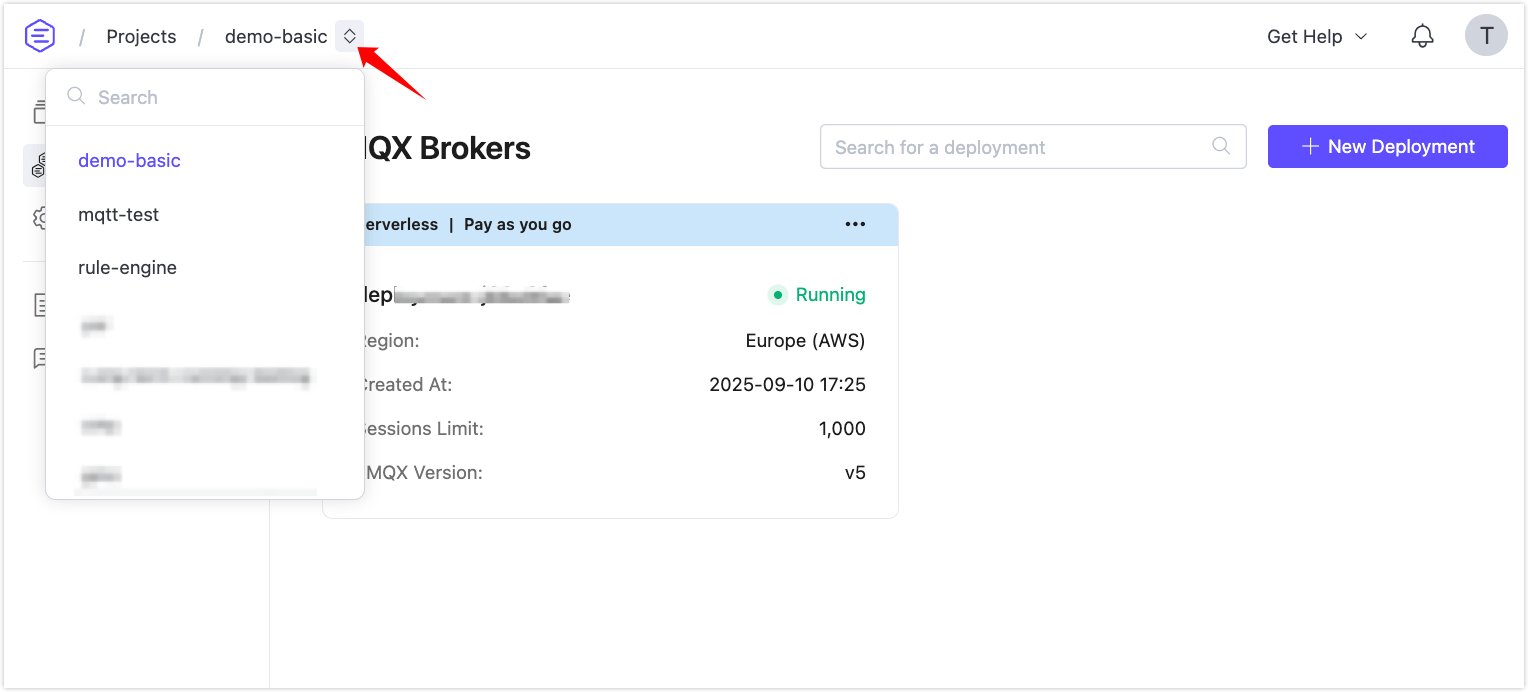
To improve efficiency in multi-deployment scenarios, the breadcrumb navigation at the top of the project page supports dropdown switching between projects and deployments, enabling quick navigation and automatic page data refresh.
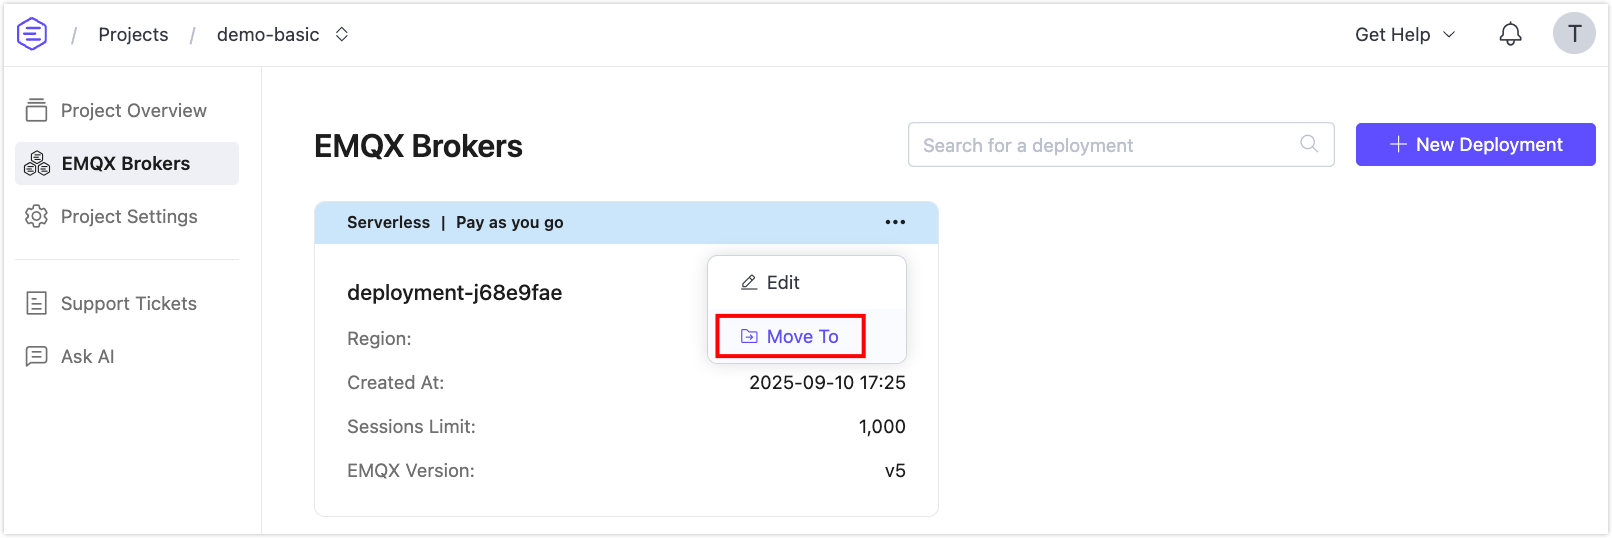
Move Deployment to Another Project
Click the menu in the top right corner of the deployment card, and select Move to.
From the Choose Project dropdown, select the target project.
After clicking Confirm, the deployment will be moved to the target project.
Edit Project Name and Note
TIP
Only the root user (administrator account) can edit the project name and note. For more information, see Member Account Management.
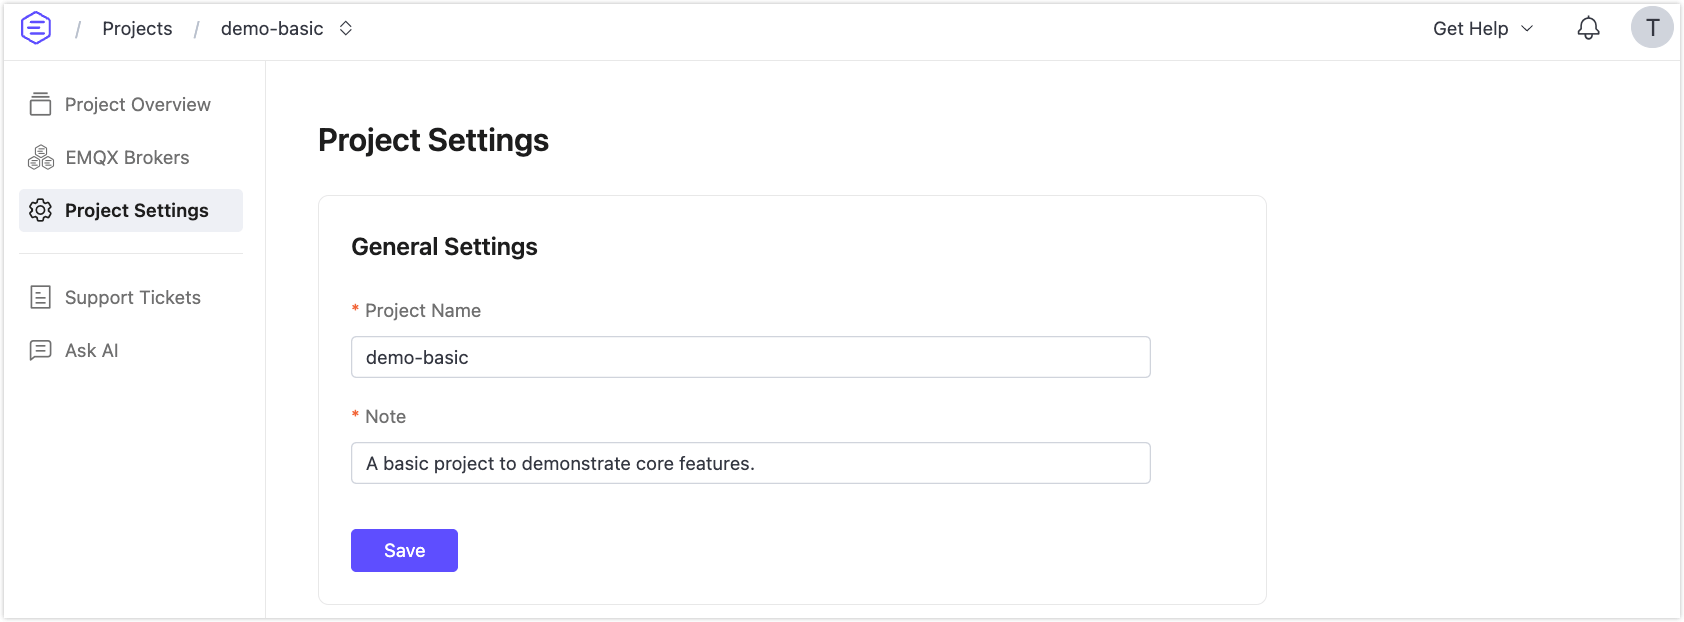
- Click the target project card to enter the project, and then click Project Settings from the left menu.
- You can edit the Project Name and Note under the General Settings section.
Delete a Project
TIP
Only the root user (administrator account) can delete a project. For more information, see Member Account Management.
Note
Before deleting a project, make sure there are no deployments under the project.
- Click the target project card to enter the project, and then click Project Settings from the left menu.
- Click the Delete Project button at the bottom of the page. You will be prompted to confirm the deletion. Click Confirm to proceed with the operation.
Add Project Members
If you are an Administrator, you can assign team members to a project, either by creating a new member account or adding an existing one. This allows for more flexible collaboration and permission control within a project.
Click the target project card to enter the project, and then click Project Settings from the left menu.
In the Project Settings page, scroll to the Project Members section and click Add.
In the Add Project Member dialog:
- Select between the New Team Member or Add Existing Team Member tab.
- For New Team Member:
- Enter a valid Member Account (email address).
- Set a Password for the account.
- Optionally enter a Note.
- Select a Role:
- Project Viewer
- Project User
- Project Administrator
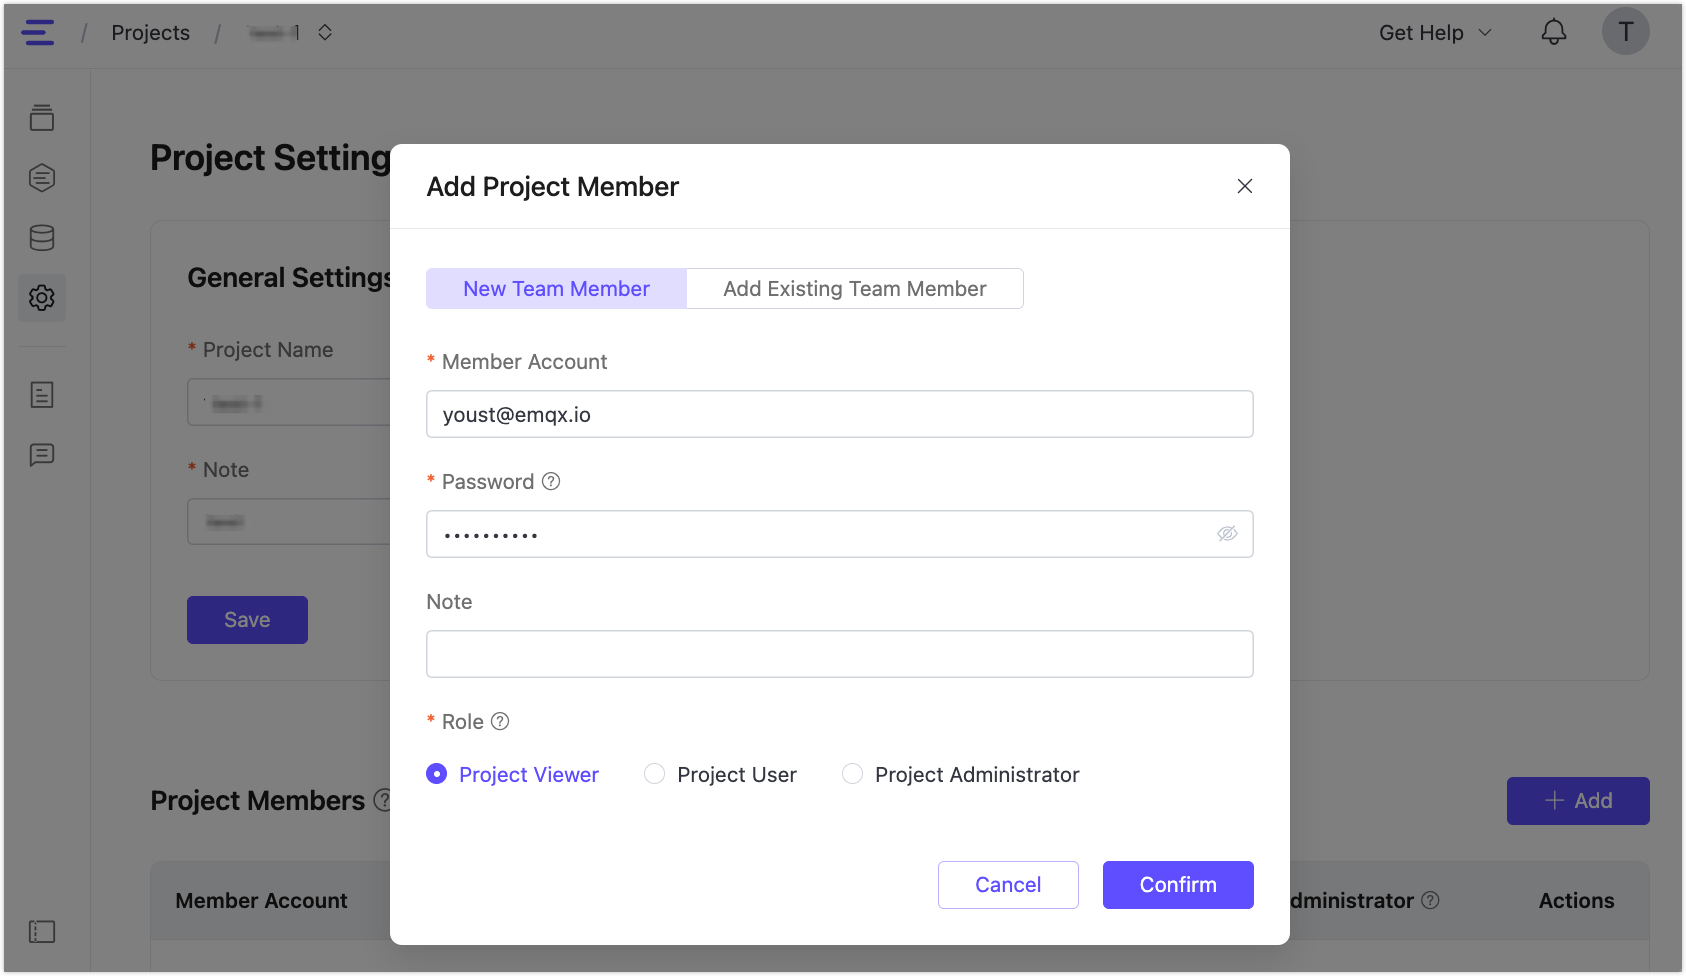
Click Confirm to add the member to the project. You can repeat the process to add more members.