Connect with Apache NiFi
Apache NiFi is a visual data flow management tool designed for the reliable, efficient transfer, transformation, and processing of data between different systems. It supports features such as real-time data flow, drag-and-drop process design, data provenance, and security controls.
This page primarily explains how to connect Apache NiFi to your EMQX Cloud deployment and perform some basic data flow processing tasks using Apache NiFi.
Prerequisites
Before connecting Apache NiFi to EMQX Cloud, make sure the following preparations are complete:
- Deploy an MQTT server
- Install JDK
- Deploy Apache NiFi
Deploy MQTT Server
To connect your application to the EMQX Cloud, you need to create and configure a deployment.
Serverless Deployment
Create a Serverless deployment in the EMQX Cloud Console.
Once the deployment is created and running, go to the deployment Overview page to find the MQTT connection information, including:
Broker address
Port number (only TLS ports are supported in Serverless)
Serverless deployments require TLS connections. Make sure to download the CA certificate from the Overview page and use port
8883for TLS.Configure the default authentication (username/password) under Access Control -> Client Authentication in the deployment.
For more details, refer to the Serverless Port Guide.
Dedicated Flex or BYOC Deployment
- You can create a Dedicated Flex or BYOC deployment in the EMQX Cloud Console.
- After creation, go to the deployment Overview page to retrieve MQTT connection information, including:
- Broker address
- TCP and TLS port numbers for MQTT and WebSocket (Both TCP and TLS connections are supported).
- Configure the default authentication (username/password) under Access Control -> Client Authentication in the deployment.
For detailed port configurations, see the Dedicated & BYOC Port Guide.
Install JDK
For deploying Apache NiFi 2.6.0, you need to install JDK 21 (or a later version) to run Apache NiFi properly.
Debian / Ubuntu
sudo apt update
sudo apt install openjdk-21-jdk
java -version
CentOS 8+ / Fedora 8+ / RHEL
sudo dnf install temurin-21-jdk
java -version
Arch Linux / Manjaro
sudo pacman -S jdk-openjdkDeploy Apache NiFi
Download and Start Apache NiFi
Download the package from the Apache official website and unzip it. For example, deploying Apache NiFi 2.6.0:
bash# Download Apache NiFi 2.6.0 from apache.org wget https://dlcdn.apache.org/nifi/2.6.0/nifi-2.6.0-bin.zip # Unzip the file unzip nifi-2.6.0-bin.zip # Delete the zip file after extraction rm nifi-2.6.0-bin.zipNavigate to the
bindirectory, configure the username and password, and start Apache NiFi.bashcd nifi-2.6.0/bin # Set your username and password, password must be at least 12 characters ./nifi.sh set-single-user-credentials <YOUR_USERNAME> <YOUR_PASSWORD> # Start NiFi service in the background ./nifi.sh start # To run NiFi in the foreground, use the following command # ./nifi.sh run
Access Apache NiFi
Apache NiFi 2.x by default uses HTTPS for access, and its built-in certificate only supports local access.
- If you deploy Apache NiFi on your local machine, you can access it by visiting https://localhost:8443/nifi in your browser.
- If it's deployed on a remote server, this tutorial provides three methods to resolve access errors.
Method 1: Enable HTTP Access (Development Only)
Modify the configuration file to access via HTTP (only for development environments; HTTPS is recommended for production environments).
bash# Navigate to the configuration directory cd ~/nifi-2.6.0/conf # Open nifi.properties with your preferred text editor, e.g., Vim vim nifi.propertiesLook for and modify the following keywords:
nifi.remote.input.secure=falsenifi.web.http.host=192.168.31.9(Adjust based on your actual situation)nifi.web.http.port=8080nifi.web.https.host=nifi.web.https.port=
Restart the Apache NiFi deployment and access it via
http://<serverIP>:8080/nifiin your browser.
Method 2: Configure HTTPS Certificates for Remote Access
Follow Stackoverflow: Apache NIFI 2+ HTTP ERROR 400 Invalid SNI to configure certificates and internal network access.
Method 3: Access via SSH Tunnel (Temporary Debugging)
Access via SSH Tunnel (requires manual tunnel setup each time, suitable for temporary debugging).
Open your terminal and enter the following command:
bashssh -L 8443:localhost:8443 <your-username>@<your-server-IP>After successful verification, open your browser and access
https://localhost:8443/nifi.
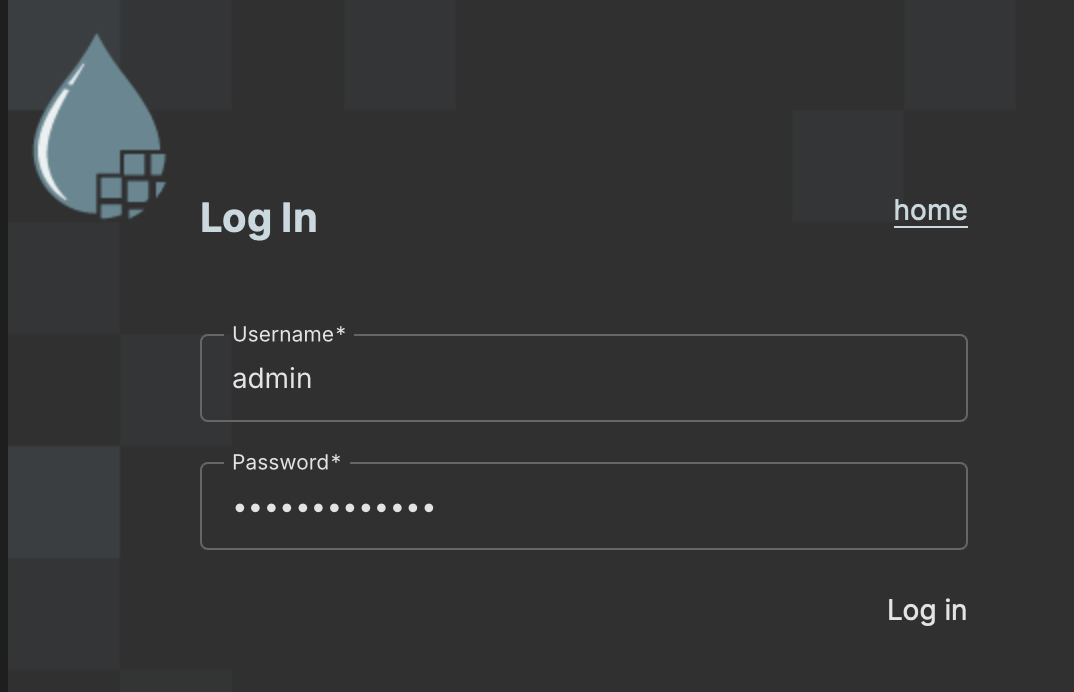
When you see the following screen, your Apache NiFi deployment is complete. Log in with the username and password you configured.
Connect Apache NiFi to Your EMQX Cloud Deployment
In Apache NiFi, you can use various processors to communicate with EMQX Cloud over MQTT. Common processors include:
- PublishMQTT: Used to send data flows to EMQX Cloud.
- ConsumeMQTT: Used to receive data flows from EMQX Cloud.
Prerequisites
Before configuring Apache NiFi, ensure that the required credentials and permissions are set up in EMQX Cloud:
- Create a user in Access Control -> Authentication for Apache NiFi to connect.
- If whitelist mode is enabled in Authorization, grant the appropriate publish and subscribe permissions to this user in Access Control -> Authorization.
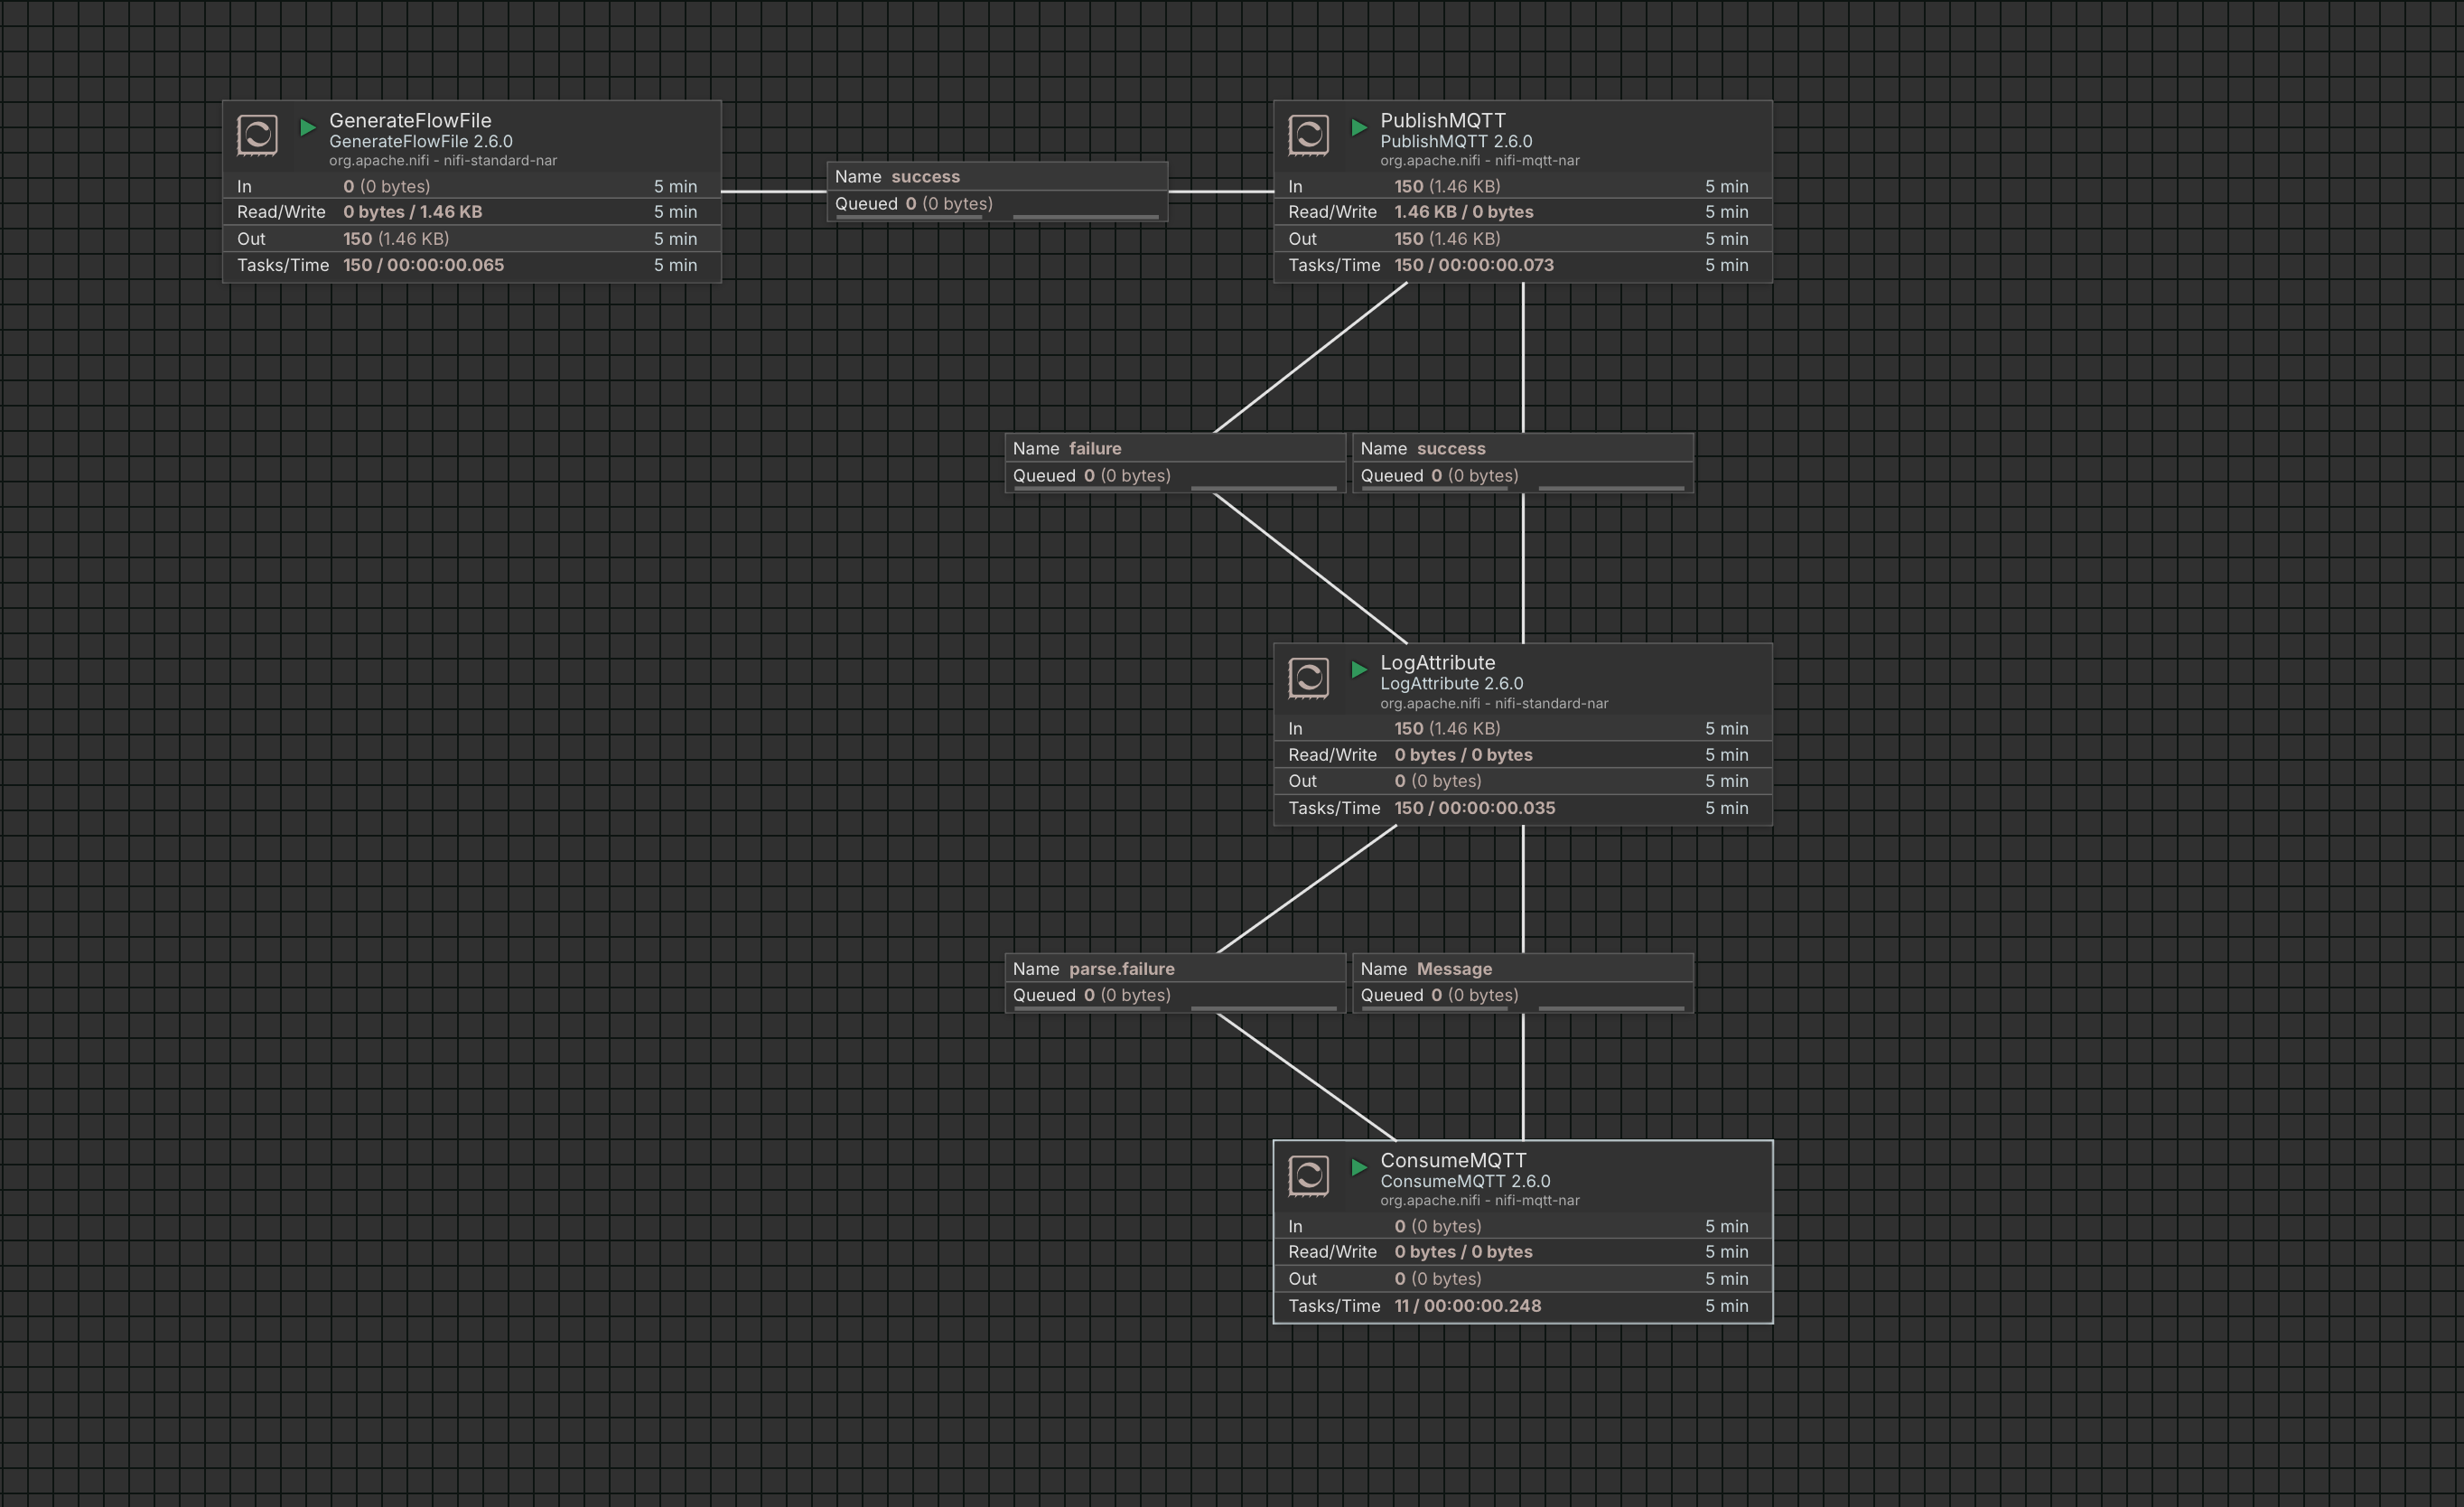
Example Data Flow
The following example demonstrates a simple log data processing flow in Apache NiFi:
- GenerateFlowFile generates simulated log data and sends it to the PublishMQTT processor.
- PublishMQTT publishes the log data to EMQX Cloud.
- ConsumeMQTT subscribes to the same topic and receives the log data from EMQX Cloud.
- LogAttribute records attributes from the data flow to the local NiFi log for verification.
Configure MQTT Processors
Both PublishMQTT and ConsumeMQTT require MQTT connection settings. The key configuration items are described below.
1. Broker URI
The Broker URI must follow this format:
<protocol: 'tcp' | 'ssl' | 'ws' | 'wss'>://<broker-address>:<port>Example:
ssl://test.emqxcloud.cn:8883For production environments, SSL or WSS is strongly recommended to ensure encrypted communication. When using encrypted protocols, you must configure an SSL Context Service in NiFi.
Configure SSL Context Service
You may use either a custom certificate or the CA certificate provided by EMQX Cloud. This example uses the EMQX Cloud CA certificate.
In the
Deployment Overview→MQTT Connection Informationsection, click to download the CA certificate file,emqxcloud-ca.crt.Upload the crt file to the server where Apache NiFi is deployed.
Run the following command:
bashkeytool -importcert \ -alias myca \ -file emqxcloud-ca.crt \ -keystore truststore.jks \ -storepass <ReplaceWithYourStorepass>Place the generated
truststore.jksin a specific directory.Click the
...next to SSL Context Service, selectCreate new service, chooseStandardRestrictedSSLContextService, then clickAdd.Click the
...next to SSL Context Service and selectGo to service.Choose the newly created service and select "Edit".
Set the Truststore Filename to the directory path where
truststore.jksis stored, the Truststore Password to your Storepass, and the Truststore Type to JKS.Exit, then enable the service by clicking the
...and selectingEnable.
Once enabled, the SSL Context Service can be reused by other processors without additional configuration.
2. MQTT Specification Version
Select the MQTT protocol version based on your requirements. MQTT v5.0 is recommended for new deployments.
3. Authentication
Set the Username and Password to the credentials created in EMQX Cloud.
4. Other Settings
Configure any additional required or optional fields as needed for your use case.
Start the Data Flow
After completing the configuration:
- Click the Verify (✅) button in each processor to validate the settings.
- Change the processor state from Stopped to Start.
- Start all processors in the flow.
Once all processors are running, the Apache NiFi log data processing pipeline is fully configured and operational.
Verify MQTT Data Flow Between Apache NiFi and EMQX Cloud
After completing the configuration, verify the data flow using an MQTT client. We recommend using MQTTX for debugging.
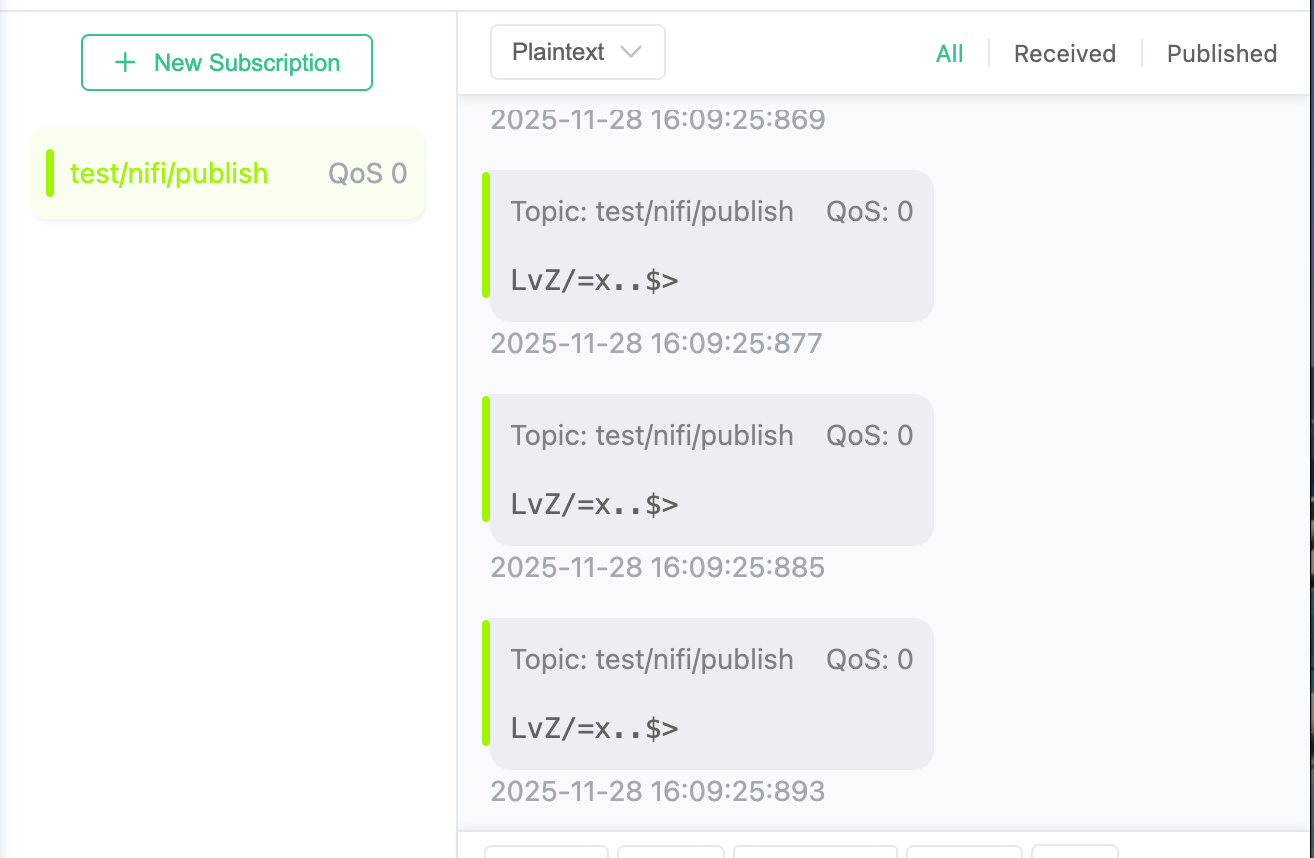
Verify PublishMQTT output.
Use MQTTX to subscribe to the topic configured in the PublishMQTT processor. You should see simulated log messages continuously published by GenerateFlowFile.
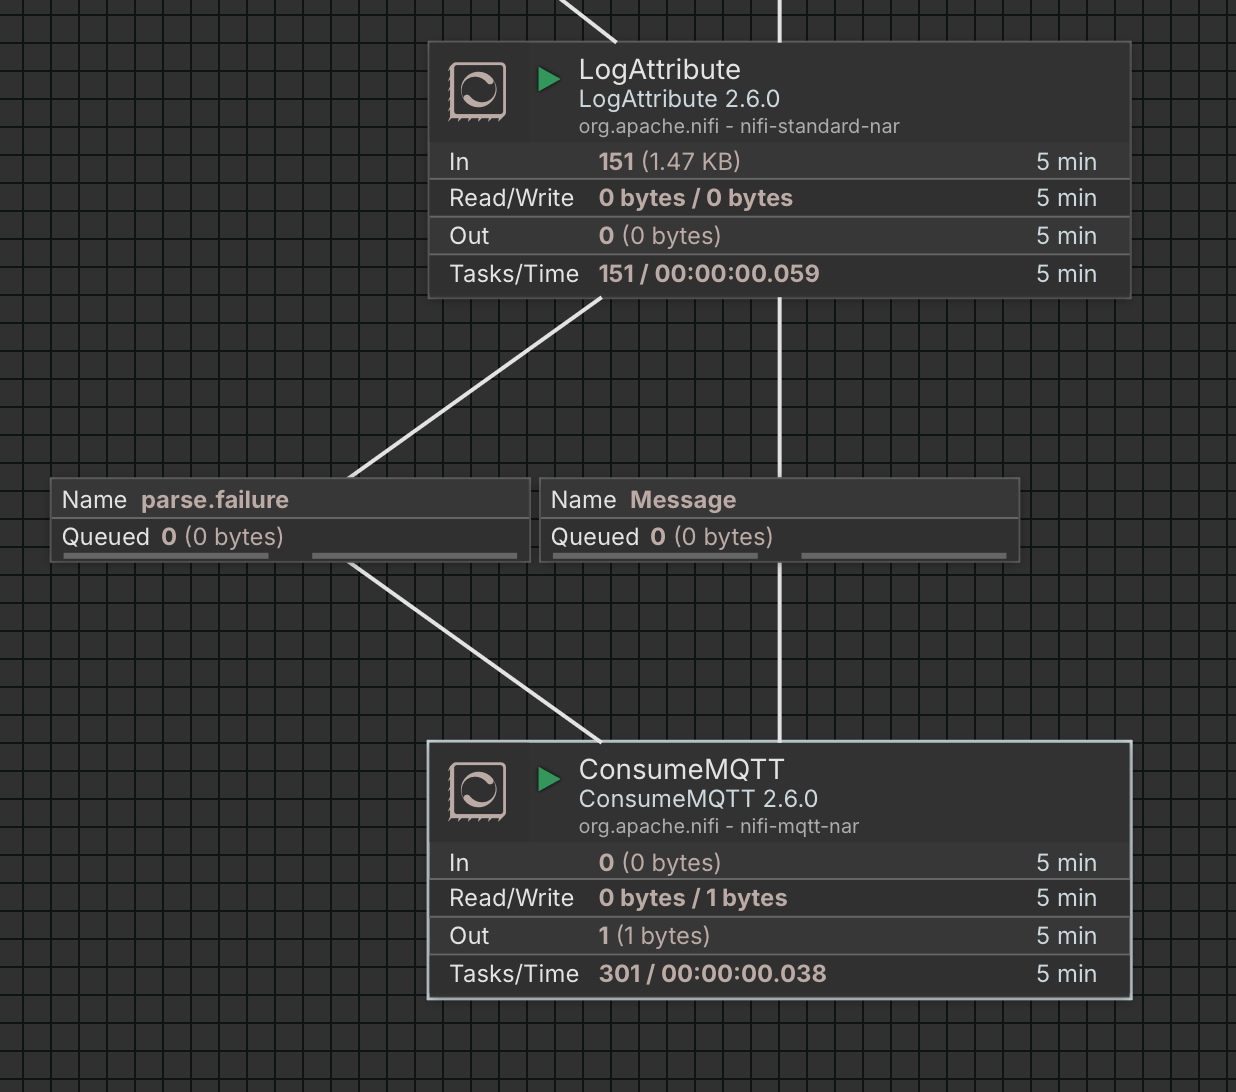
Verify ConsumeMQTT input.
Using MQTTX, manually publish log messages to the topic configured in the ConsumeMQTT processor. You should observe the output count of ConsumeMQTT increasing as messages are received.
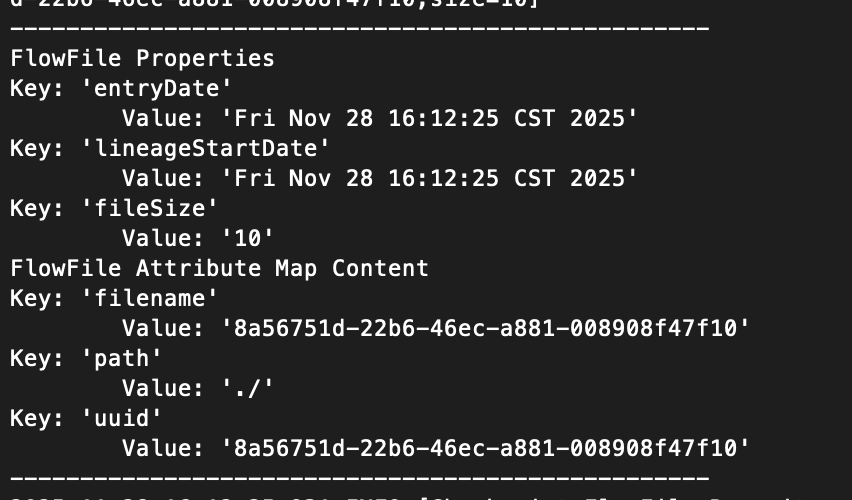
Verify NiFi logs.
Check the Apache NiFi application log (by default located at
logs/nifi-app.log). You should see entries generated by LogAttribute for:- The simulated logs produced by GenerateFlowFile.
- The logs manually published via MQTTX.
If all steps behave as expected, the Apache NiFi–EMQX Cloud integration is functioning correctly.
Next Steps
In this guide, you deployed Apache NiFi, connected it to EMQX Cloud, and built a simulated log data processing flow to validate MQTT-based communication.
After completing the basic setup, you can flexibly configure the flow structure based on your business needs. More demo examples in different languages can be found on GitHub.