Ingest MQTT Data into Supabase
Supabase is an open-source Backend as a Service (BaaS) platform designed to help developers quickly build and deploy applications. It provides backend capabilities such as real-time databases, user authentication, and file storage.
Supabase is released as open-source software. You can learn more about the project and participate in the Supabase open-source community on GitHub.
This document describes how to connect Supabase to an MQTT server and use EMQX Cloud Data Integration to process and transform MQTT messages before writing them into a Supabase database.
Before You Start
This section outlines the necessary preparations for creating a Supabase data integration in EMQX Cloud.
Prerequisites
Before you begin, make sure you are familiar with the following concepts:
- The basic concepts and usage of Data Integration
- The basic principles and configuration of Rules
Network Configuration
To ensure that EMQX Cloud can successfully access the Supabase service, go to the deployment management page and enable the NAT Gateway feature under Network Management.
Deploy Supabase
Supabase supports two deployment modes:
- Self-hosted deployment
- Managed cloud deployment
In this tutorial, we focus on the managed cloud deployment of Supabase. If you need a self-hosted deployment, refer to the Supabase Documentation – Self-hosting for more details.
Visit the Supabase Console and complete registration and login.
Follow the on-screen instructions to create your Organization and Project.
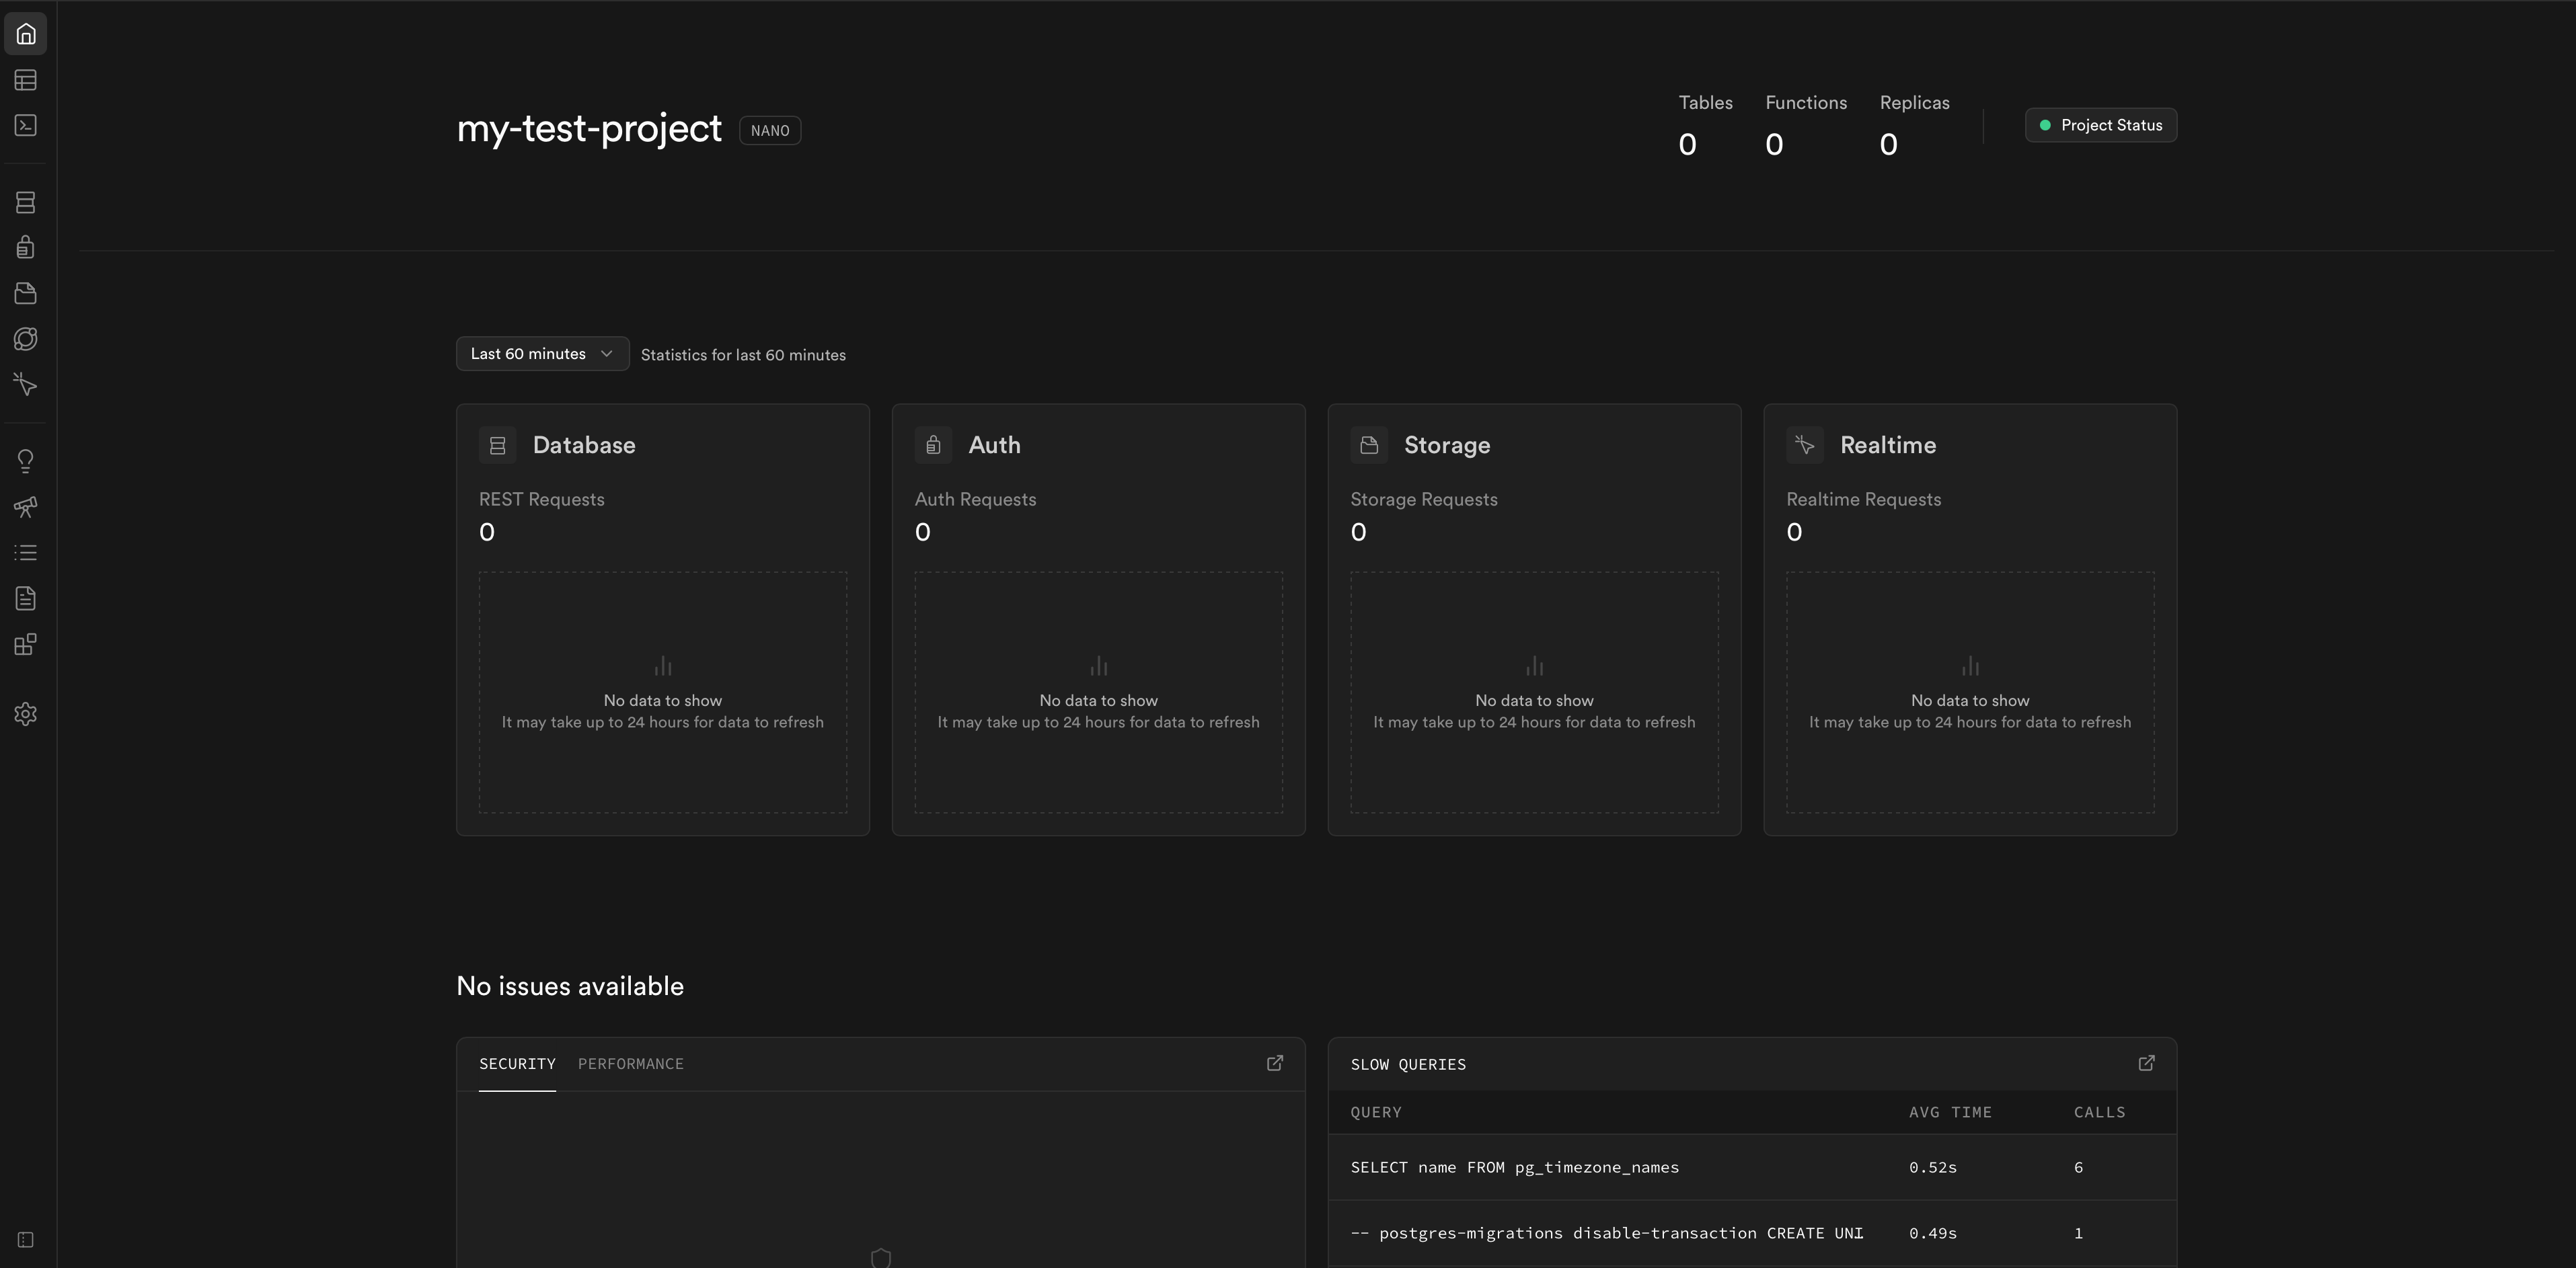
Create a database table according to your business requirements.
In this tutorial, a connected vehicle scenario is used as an example. A vehicle real-time data table is created to store vehicle longitude, latitude, speed, battery level, motor temperature, and record timestamps.

Obtain Connection Parameters
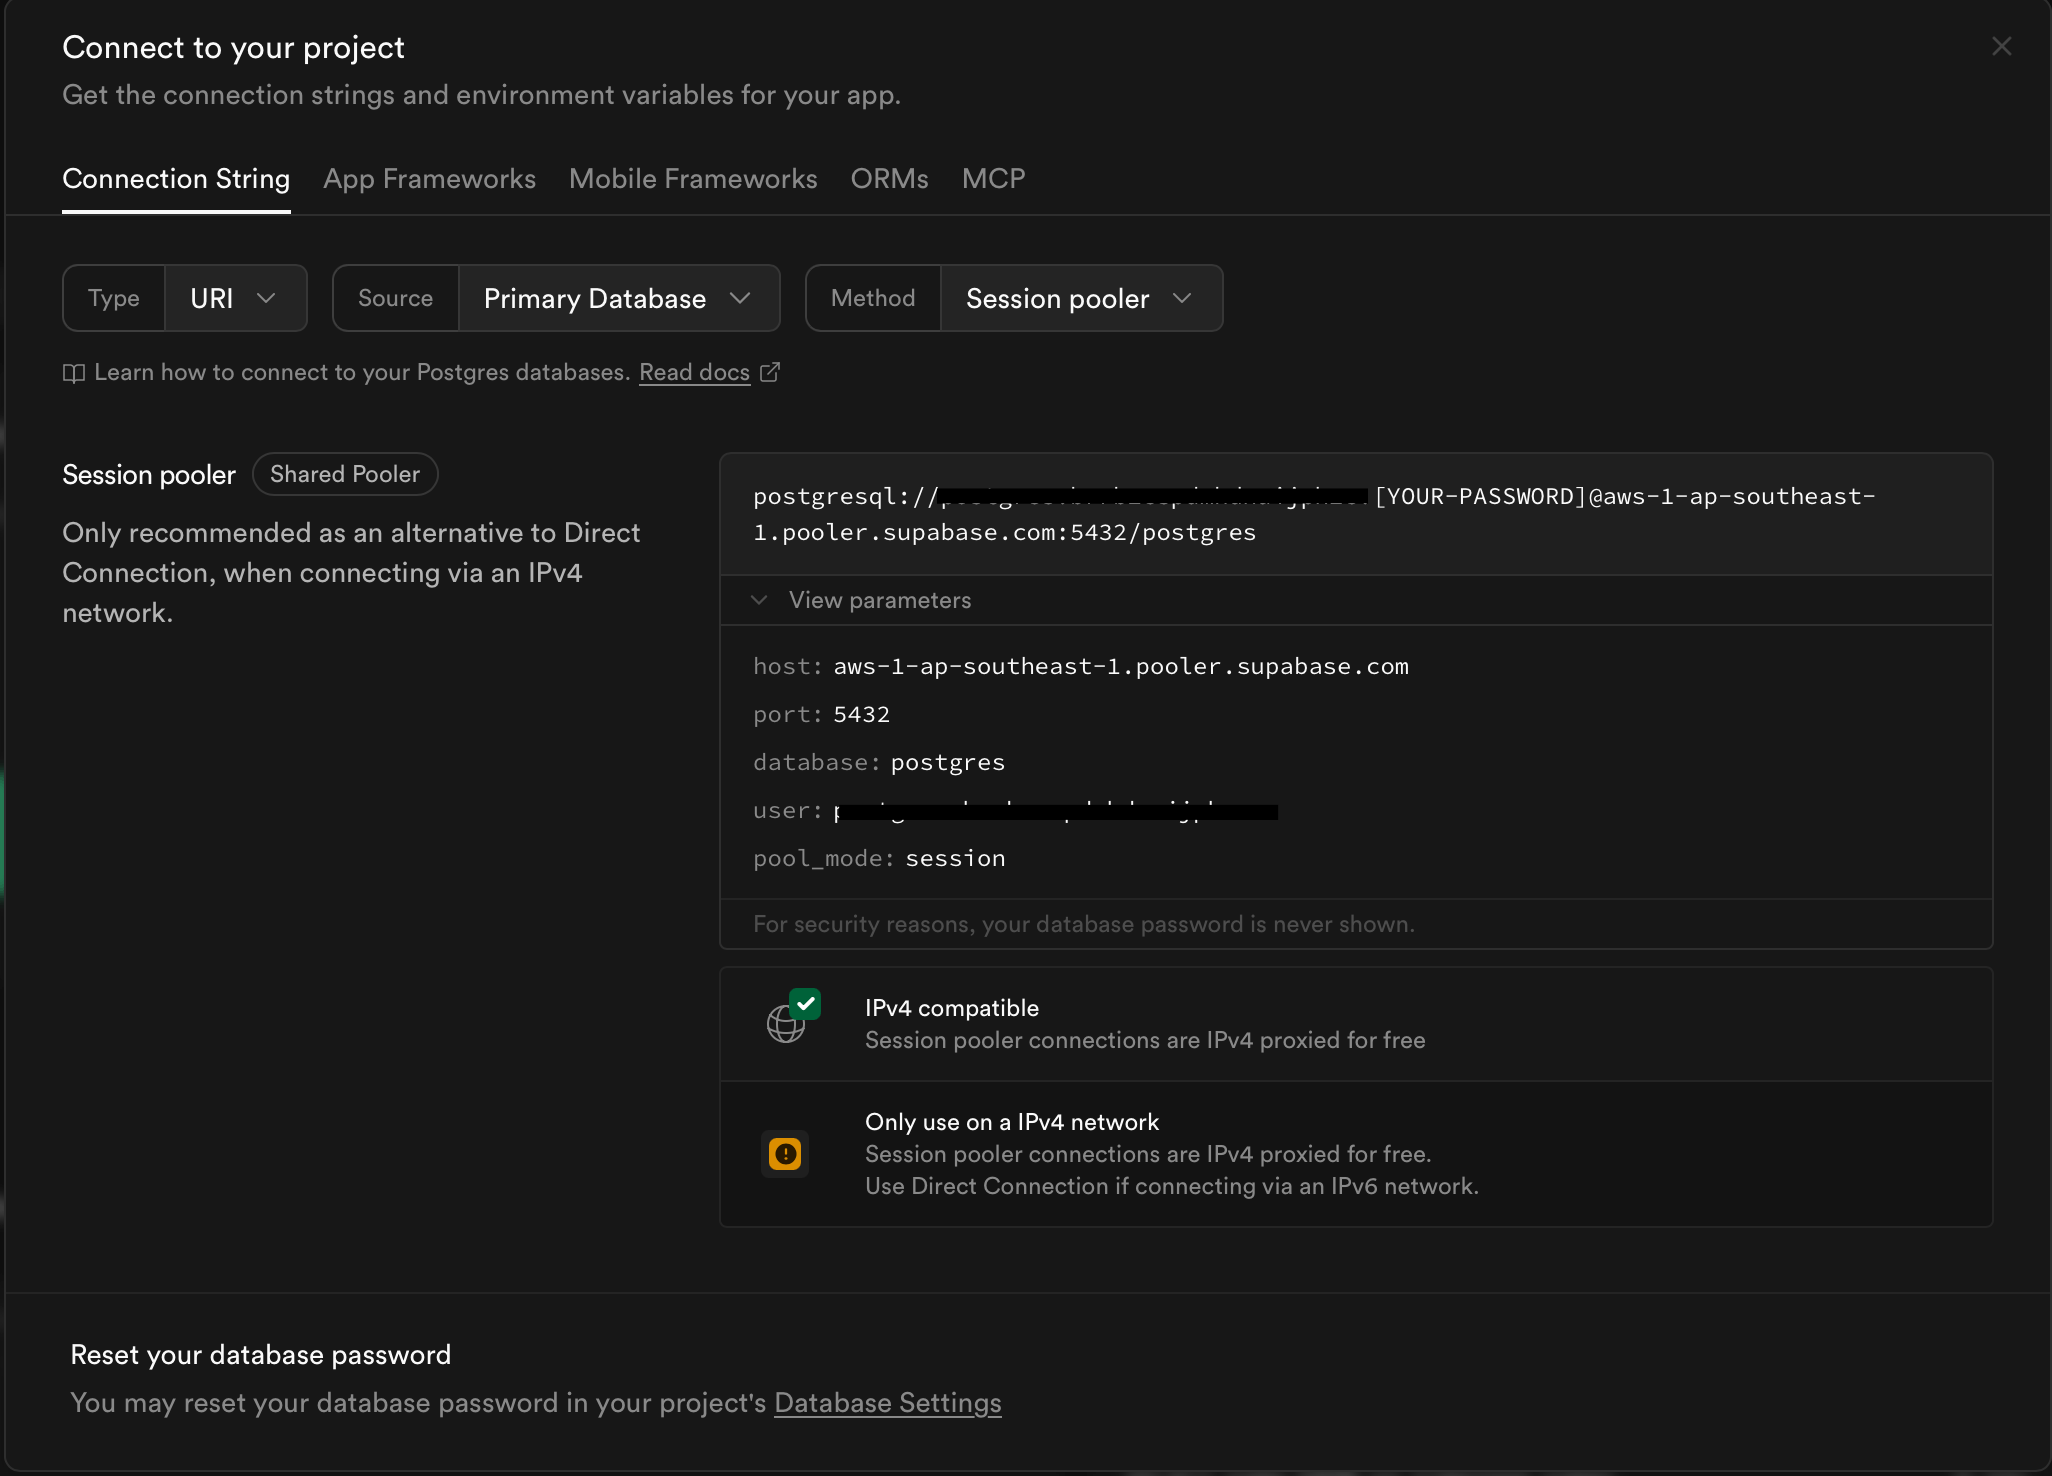
Supabase provides three database connection methods:
- Direct connection
- Transaction pooler
- Session pooler
The Direct connection method supports only IPv6 domains in the free plan, while EMQX Cloud currently supports IPv4 DNS resolution only. Therefore, you can either enable the IPv4 add-on or use Transaction pooler or Session pooler as an alternative.
This tutorial uses Session pooler as an example. Click the Connect button at the top of the Project page to view the connection details and obtain the parameters required to create the connector.
Create a Connector
In EMQX Cloud, you can access the Supabase database using a PostgreSQL connector.
Go to the Data Integration page of the deployment and select PostgreSQL. If other connectors already exist, click New Connector and then select PostgreSQL.
Configure the connector using the connection parameters you obtained earlier. The password is the database password set when creating the Supabase Project.
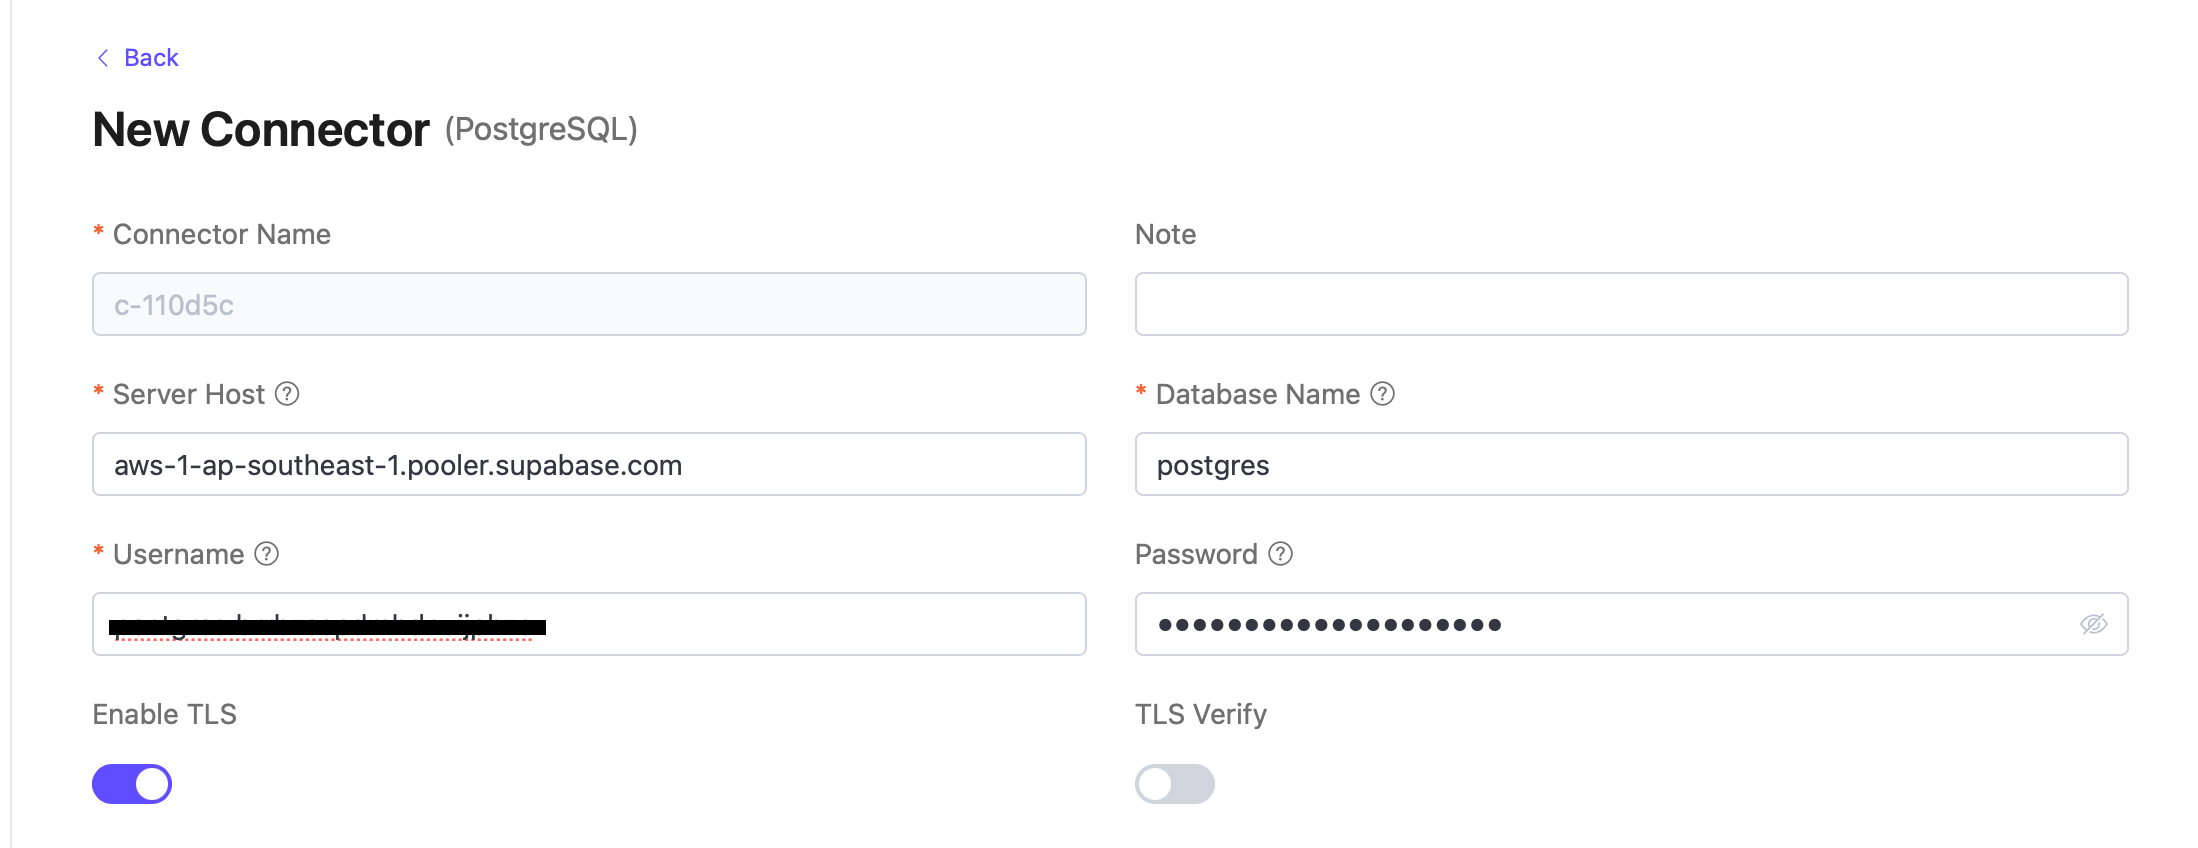
If you want to establish an encrypted connection, enable the Enable TLS switch.
Click Test Connection. If the PostgreSQL service is accessible, a success message will be returned.
Click Create to complete the connector creation.
Create a Rule
This section demonstrates how to create a rule in EMQX Cloud to process real-time vehicle data messages from the MQTT topic test/vehicle and write the processed data into the Supabase database using a PostgreSQL Sink.
Click the Create Rule icon under the Actions column in the connector list, or click Create Rule on the Rules page to enter the rule creation workflow.
In the SQL editor, enter the following rule SQL:
sqlSELECT payload.vehicle_id AS vehicle_id, payload.longitude AS longitude, payload.latitude AS latitude, payload.speed AS speed, payload.battery_level AS battery_level, payload.motor_temperature AS motor_temperature FROM "test/vehicle":::
If this is your first time using SQL, you can click SQL Examples or enable Try It Out to learn and test the rule SQL results.
:::
Click Next to create an action that includes a PostgreSQL sink.
From the Connector dropdown list, select the previously created PostgreSQL (Supabase) connector.
In the SQL Template, enter the following SQL to insert the processed data into the Supabase table.
This is a preprocessing SQL statement. Field names should not be quoted, and the SQL statement must not end with a semicolon (
;):sqlINSERT INTO vehicle_realtime_data ( vehicle_id, longitude, latitude, speed, battery_level, motor_temperature ) VALUES ( ${vehicle_id}, ${longitude}, ${latitude}, ${speed}, ${battery_level}, ${motor_temperature} )Configure advanced options as needed (optional).
Click Confirm to complete the action configuration.
In the Successfully new rule dialog, click Back to Rules to complete the entire data integration configuration.
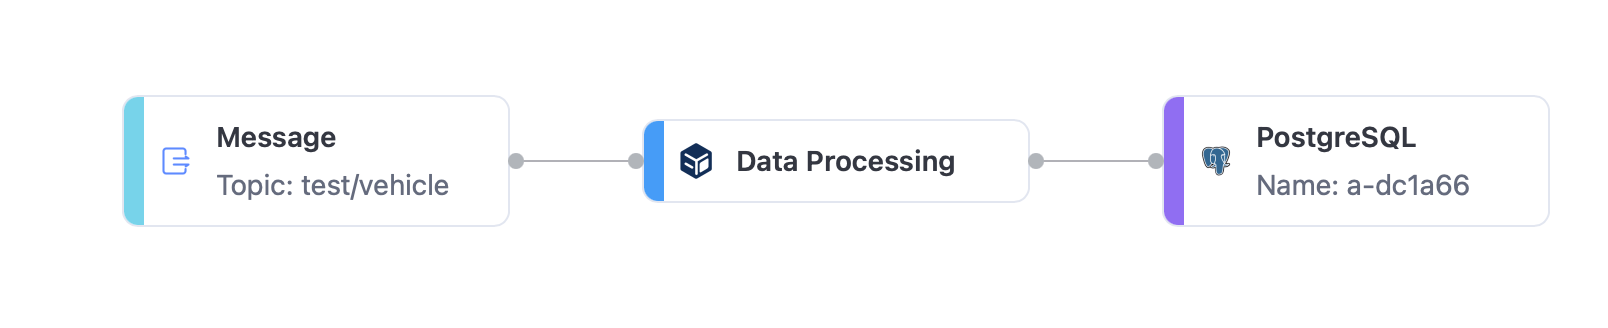
In the Flow Designer, you can see the completed data pipeline:
Test the Rule
It is recommended to use MQTTX to simulate vehicle data publishing. You may also use any other MQTT client.
Use MQTTX to connect to the deployment and publish vehicle real-time data messages to the predefined topic (for example,
test/vehicle).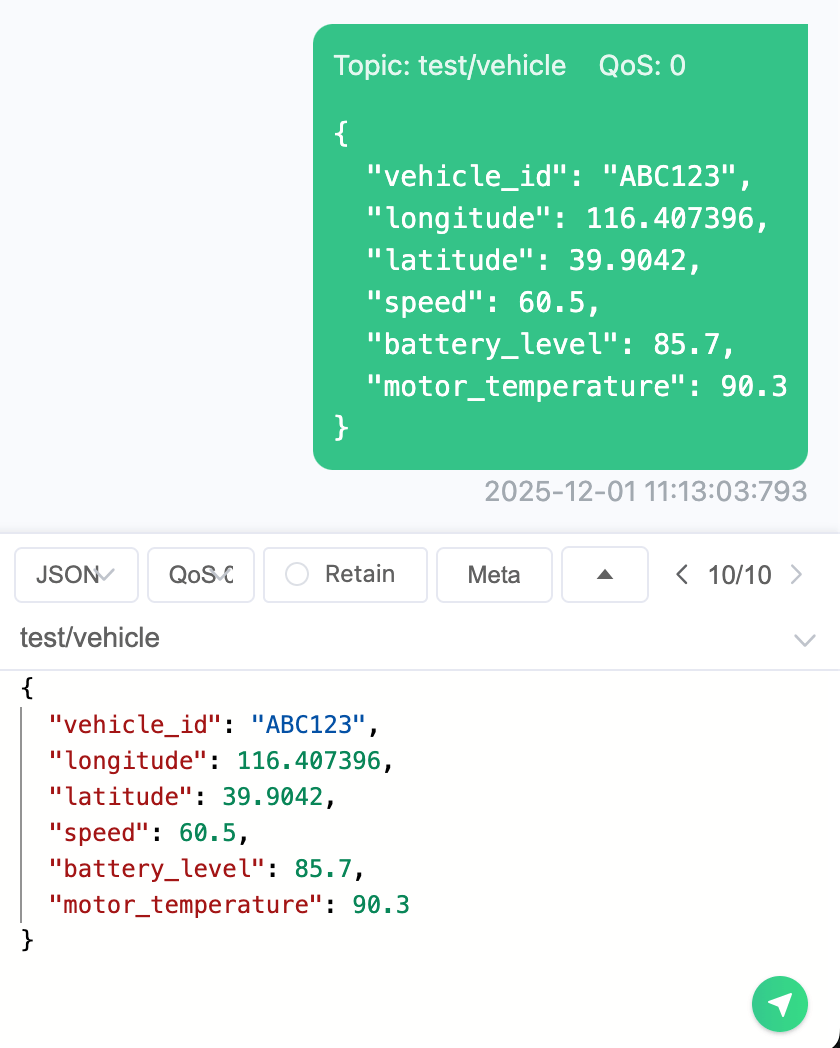
In the Supabase Table Editor, you can see that the newly published data has been successfully inserted into the table.

More Information
You have now completed the integration between Supabase and EMQX Cloud, enabling MQTT messages to be processed, transformed, and written into Supabase.
For more information about Supabase features, see the Supabase Documentation.
You can also visit GitHub to find additional MQTT client examples in various programming languages.