VPC Peering Connection with Confluent Cloud
This document describes how to create a VPC peering connection between EMQX Cloud and Confluent Cloud to enable private network communication between your EMQX Cloud deployment and the Confluent Cloud cluster.
Create a VPC Peering Connection
After the Confluent Cloud cluster has been created, you can add peering by referring to the following steps:
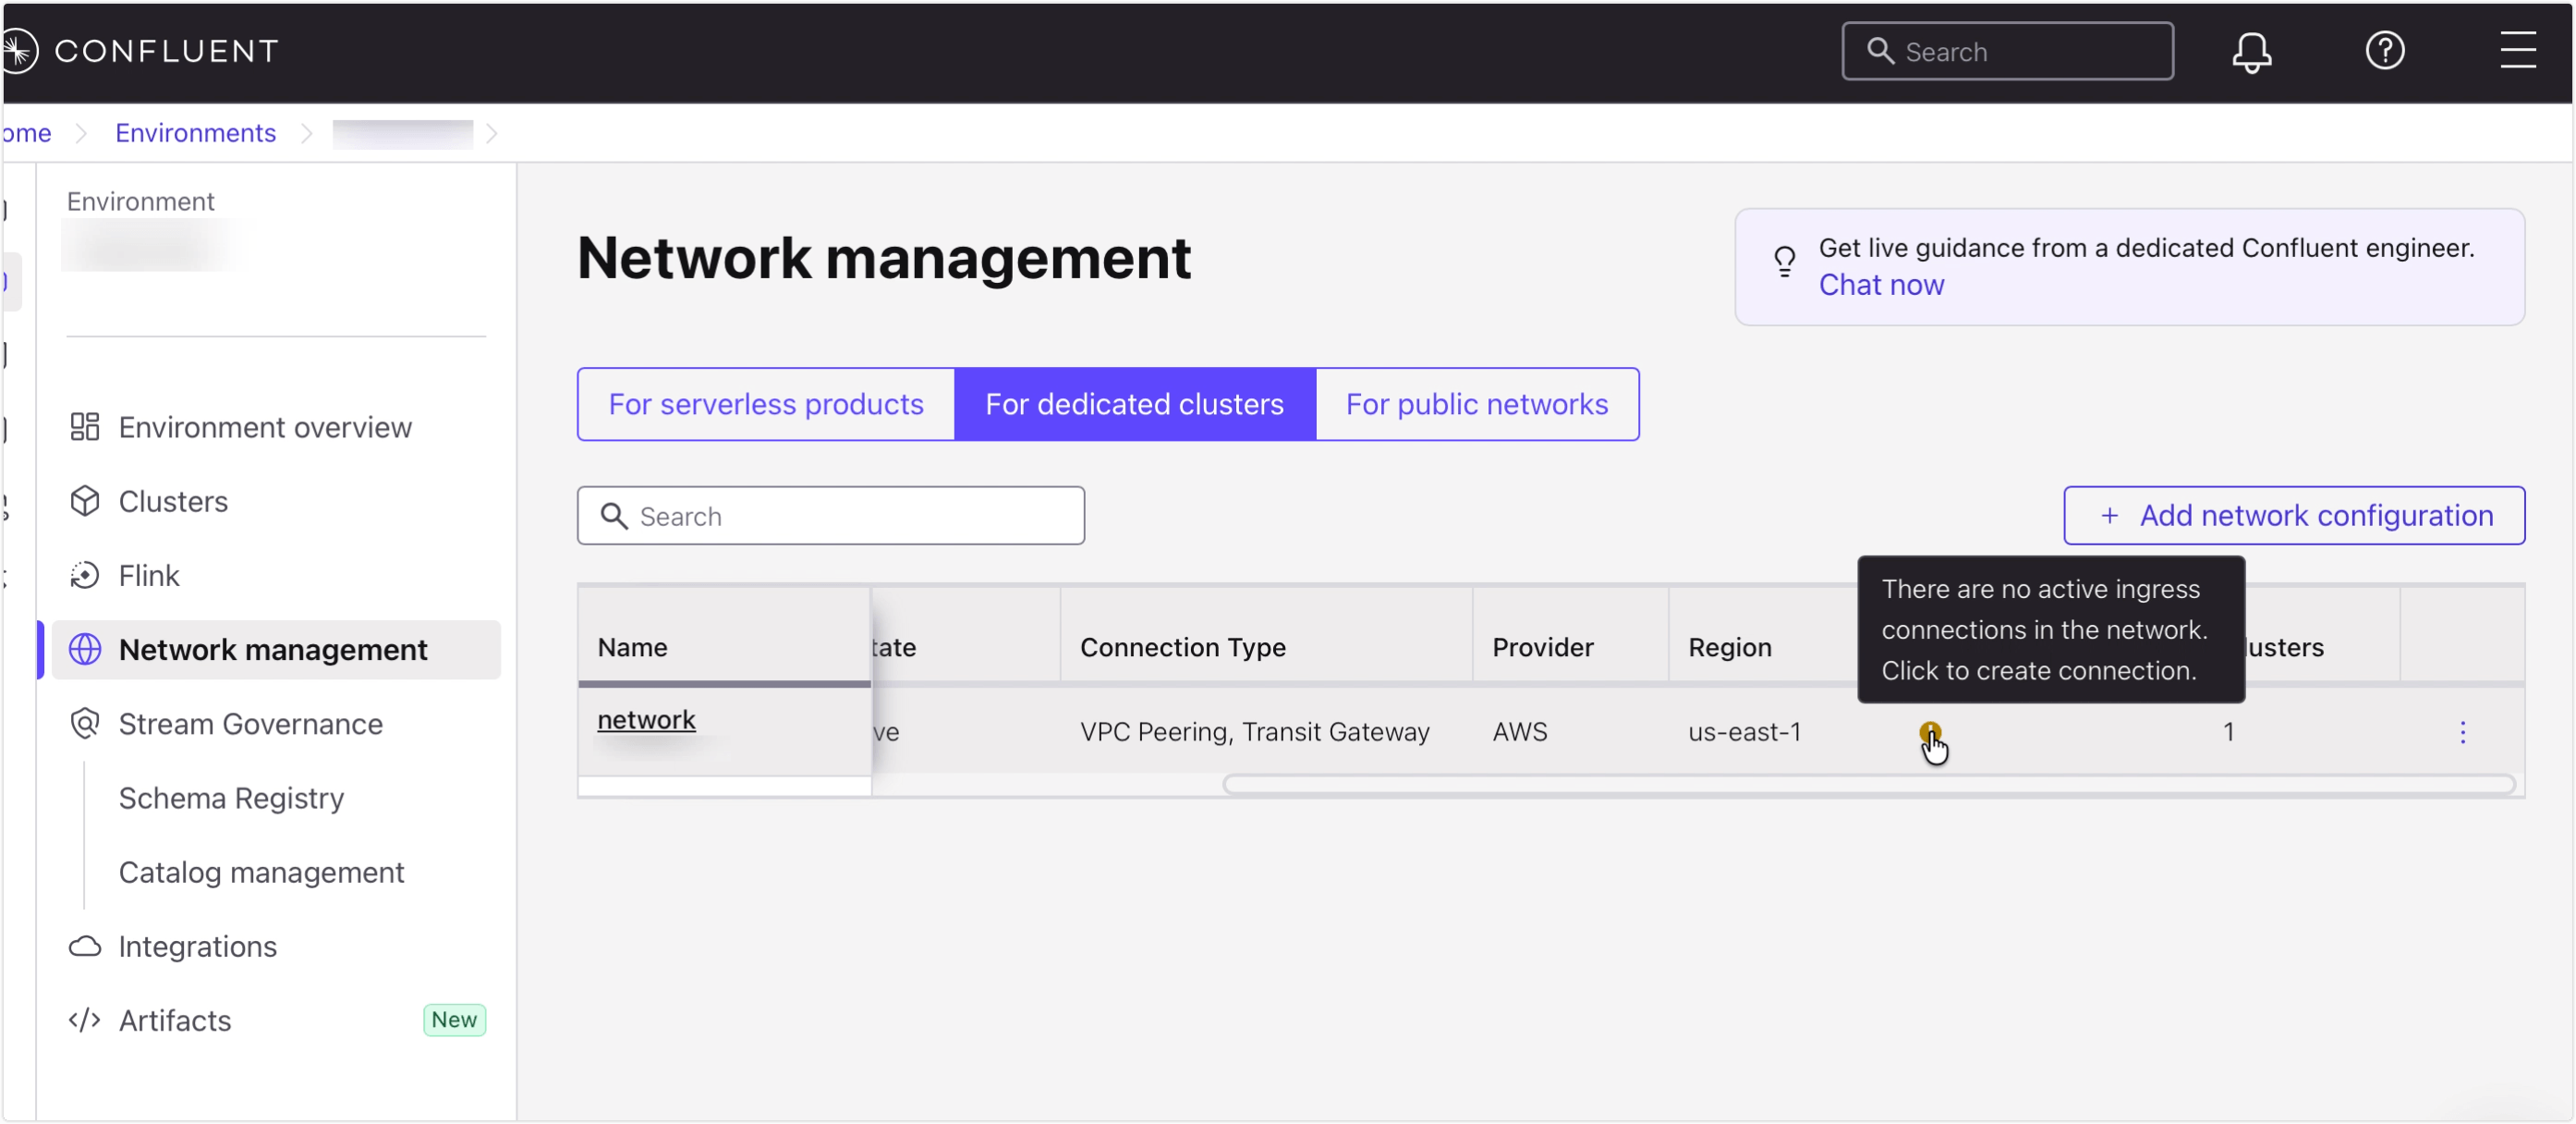
Navigate to Network Management in your Confluent Cloud environment.
Select the For dedicated cluster tab.
Select the network associated with the dedicated cluster you want to connect to. Under the Ingress connections column, click the button to create a new peering connection.
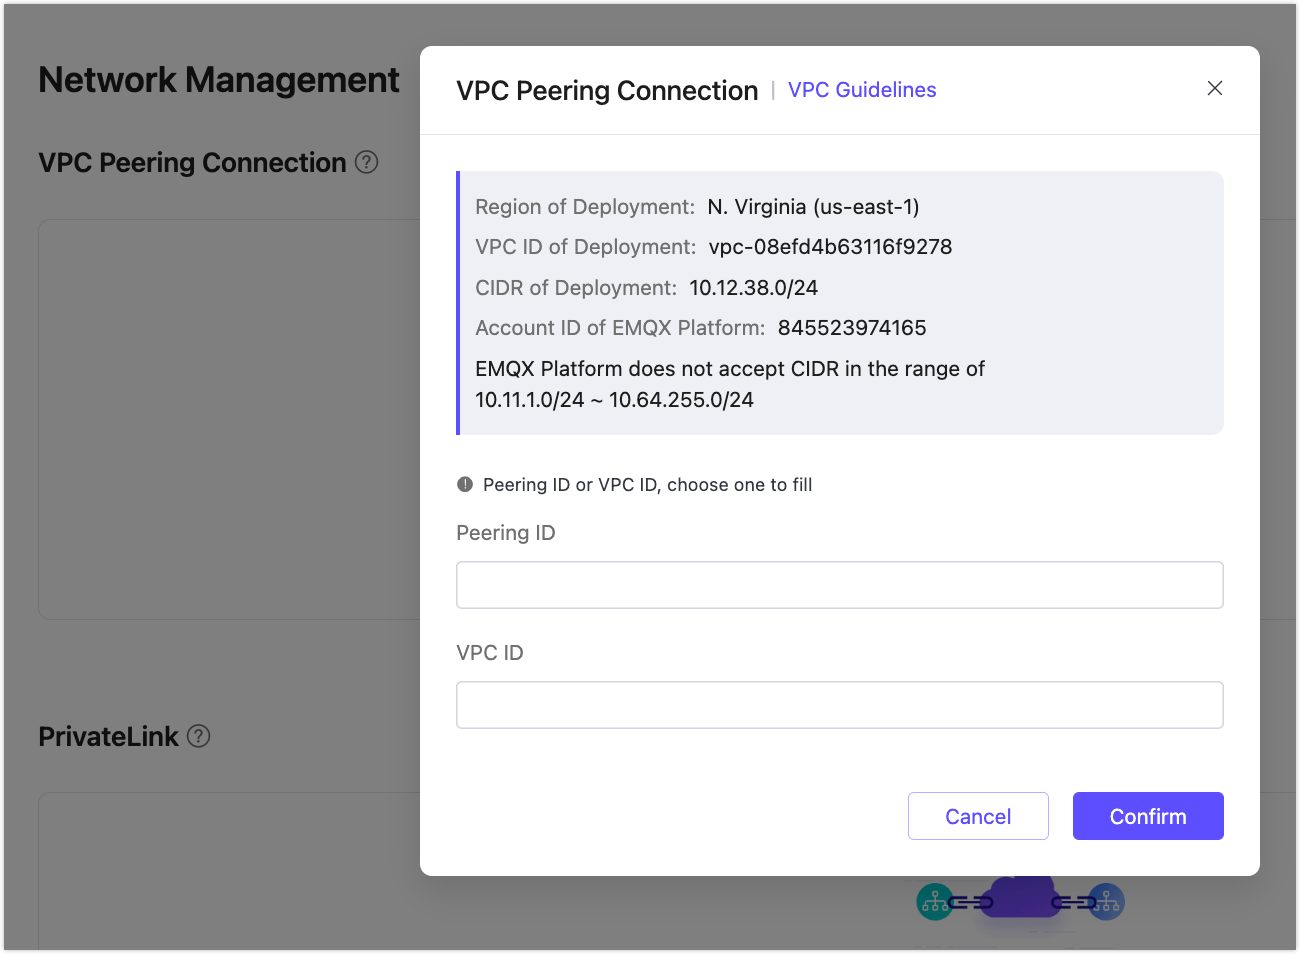
Enter the VPC details from EMQX Cloud.
You can get the information from the Network Management -> VPC Peering Connection section of your deployment in the EQMX Cloud Console.
Once the peering is added in Confluent, go to the Network Overview page and copy the
Confluent Cloud VPC ID.
Return to the EMQX Cloud console. Enter the Confluent Cloud VPC ID you just copied and click Confirm. When the status changes to Running, the VPC peering connection is successfully established.

Delete a VPC Peering Connection
To delete a peering connection, you need to ensure that the status of the peering connection is Running.
TIP
Before deleting the peering connection, please make sure that there are no associated resources in the deployment; otherwise, there will be unpredictable risks
Go to the VPC Peering Connection area on the Network Management page.
Click the "delete" icon in the Actions column of the peering connection.
